![]()
![]()
![]()
![]()
![]()
![]()
![]()
![]()
![]()
![]()
![]()
| 1. Sheet Flooring | |
| 2. Attic Flooring | |
| 3. Stain and Finishing | here |
| 4. Tile and Carpet | |


DHTMLGoodies.com
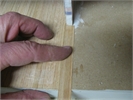
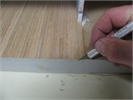
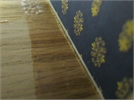
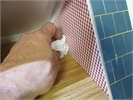
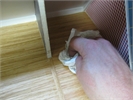
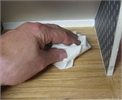
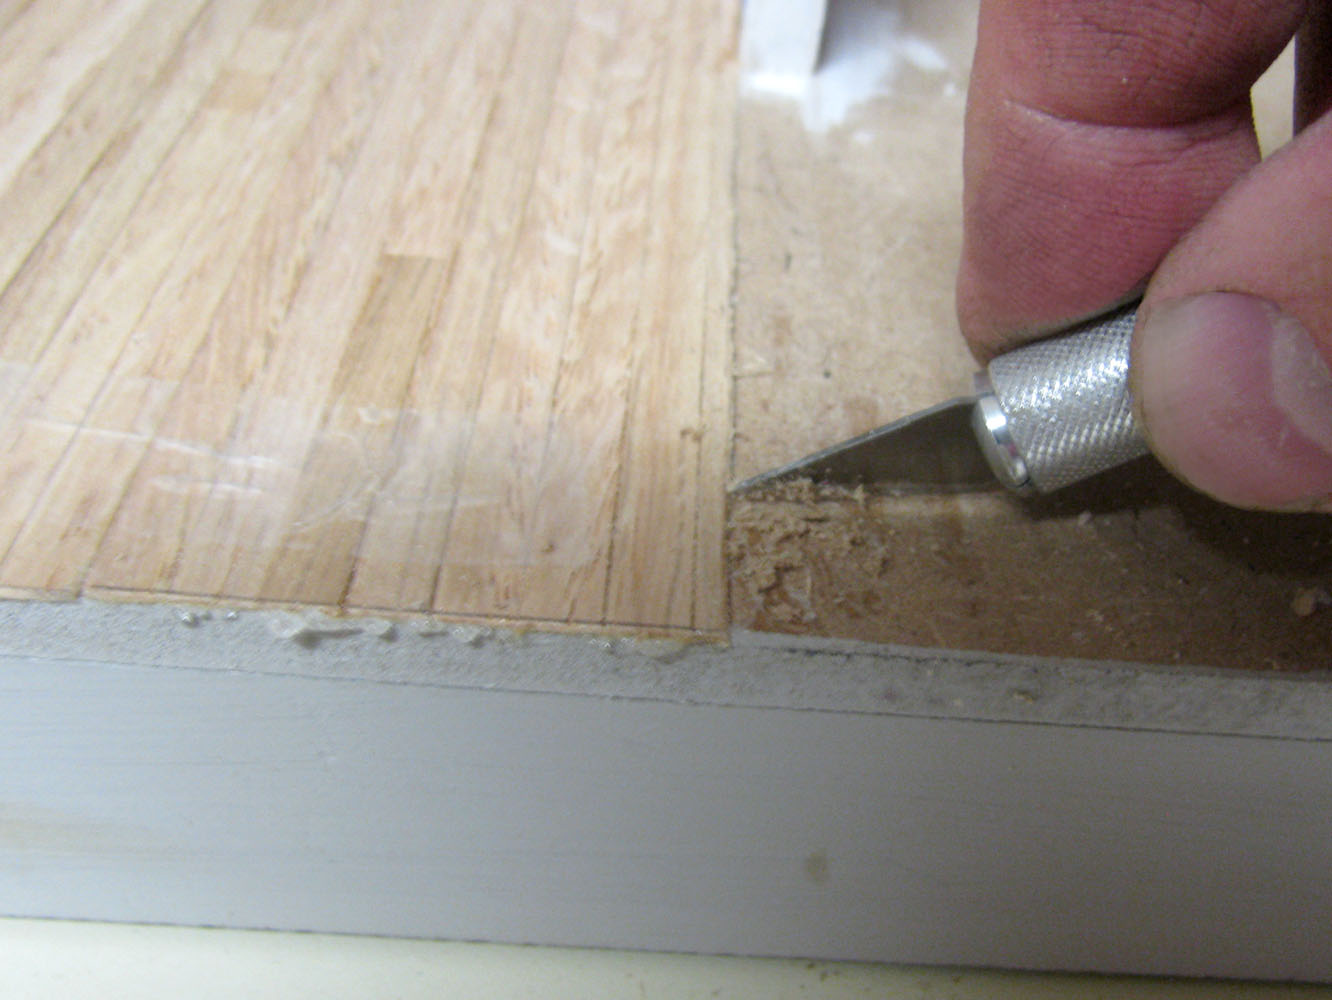
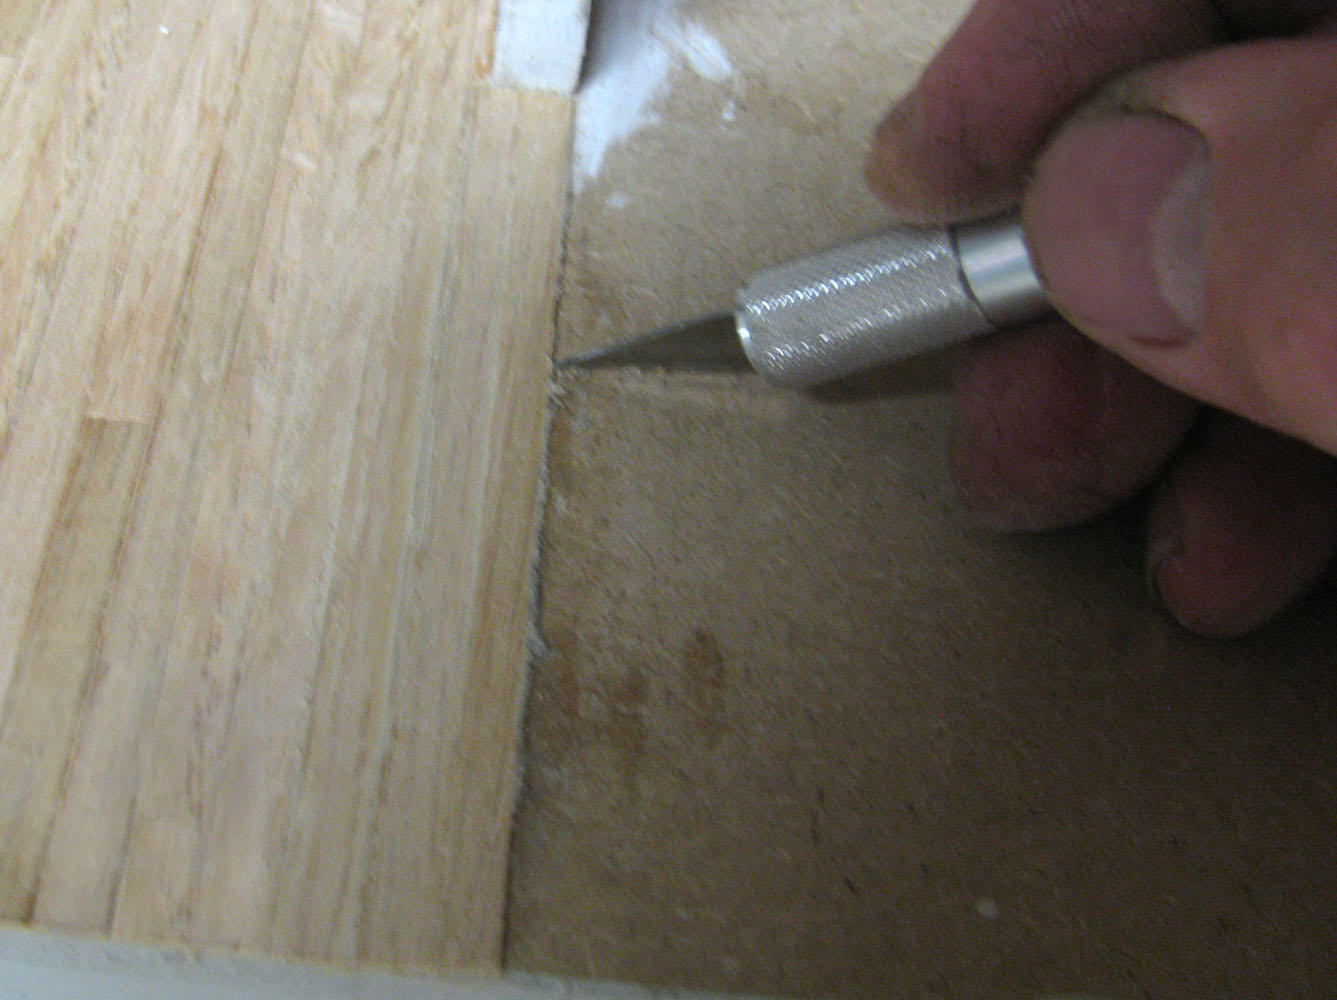
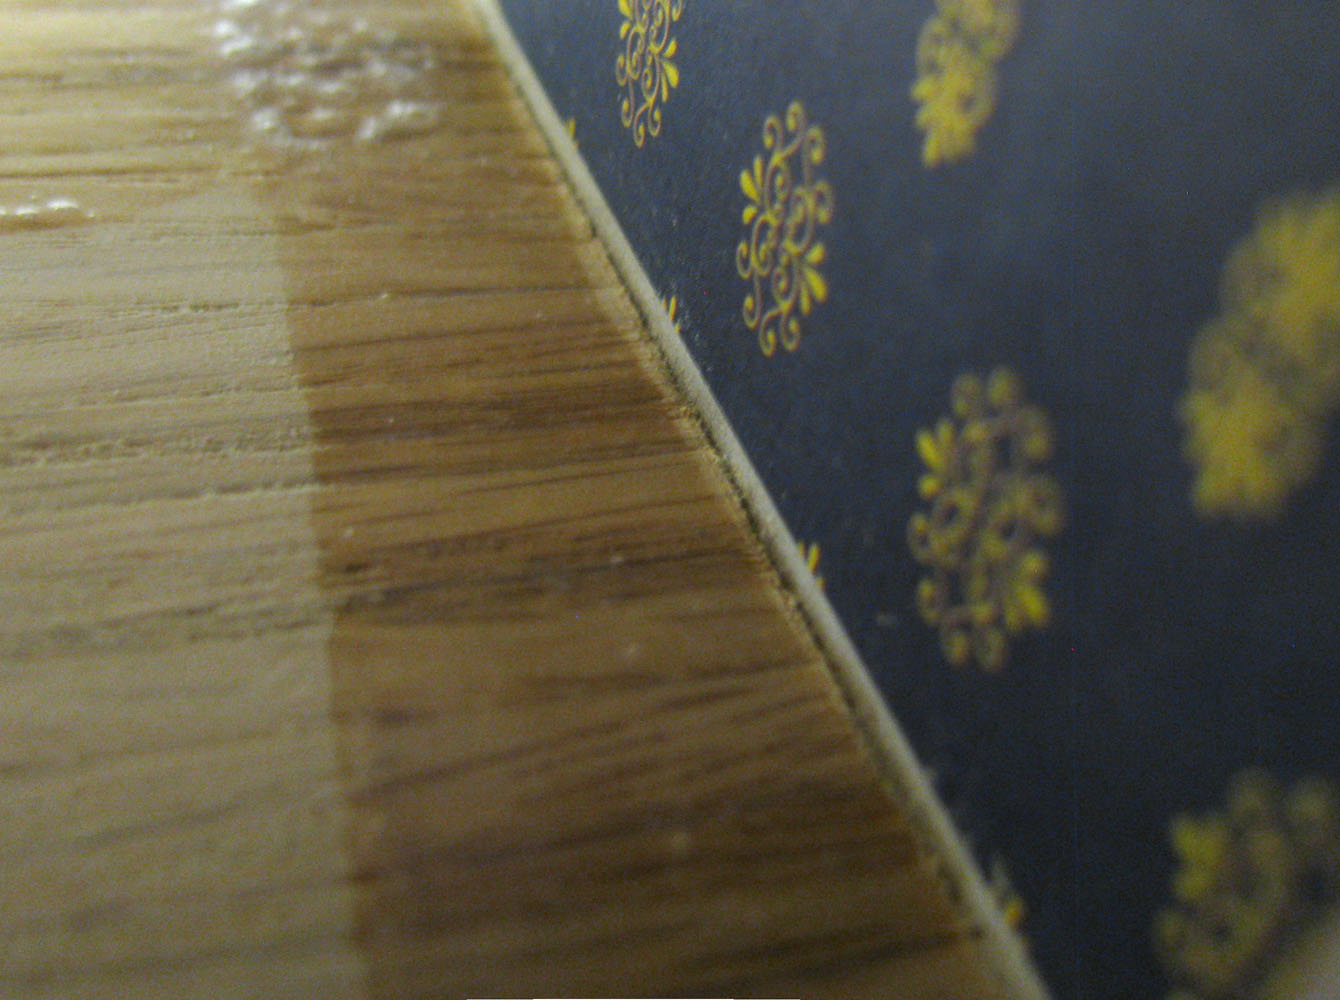
 I'll put in a filler to make the edge with the tile smooth
flooring/flooring54_lg.jpg
I'll put in a filler to make the edge with the tile smooth
flooring/flooring54_lg.jpg
I'll put in a filler to make the edge with the tile smooth
flooring/flooring54_lg.jpg
DHTMLGoodies.com
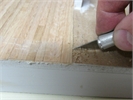
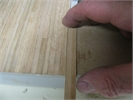
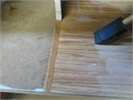
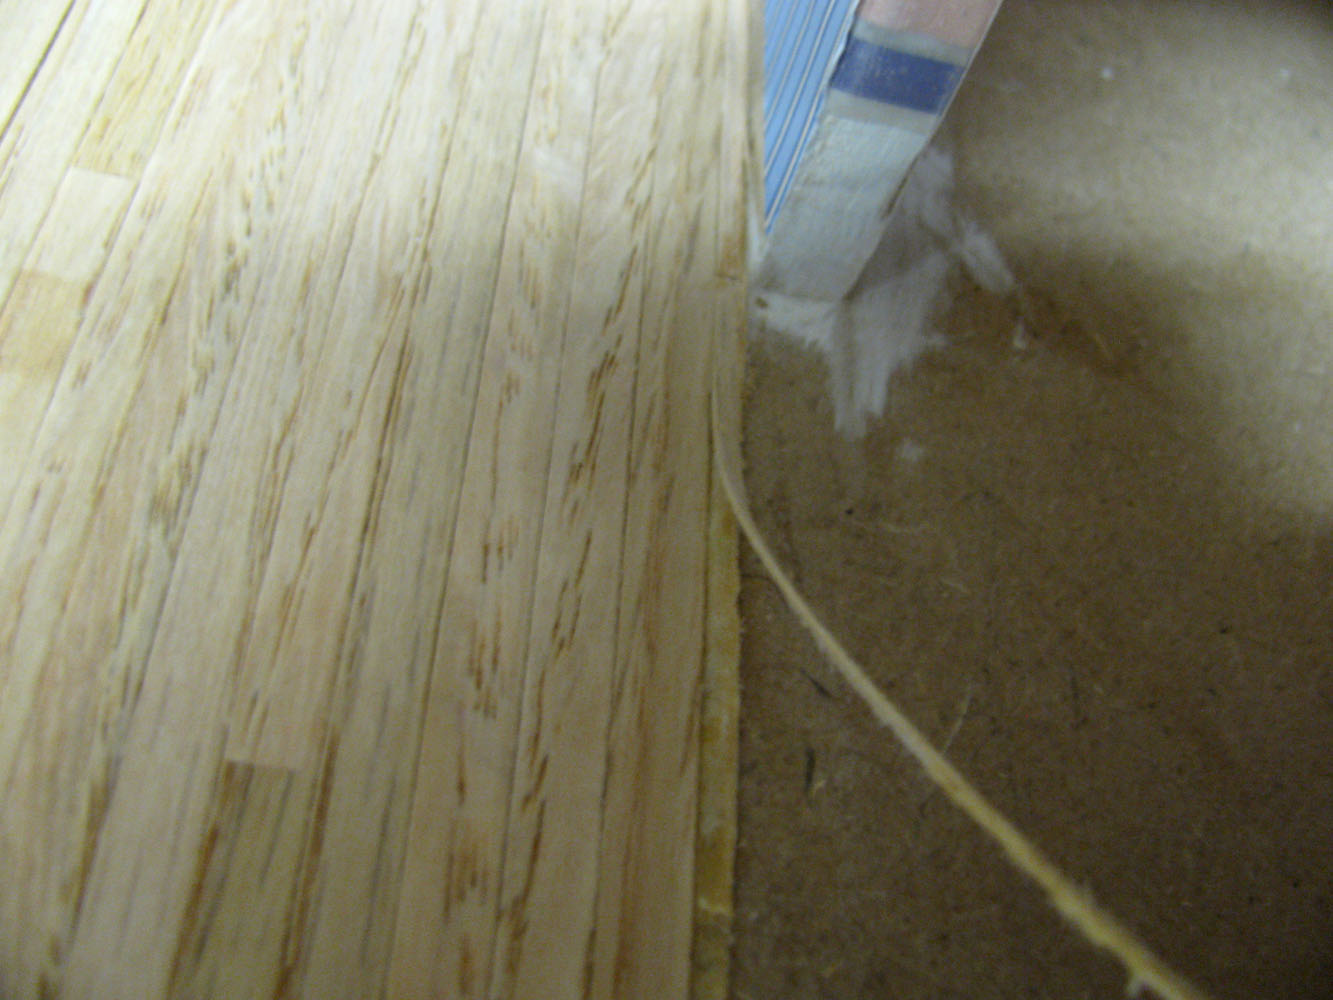
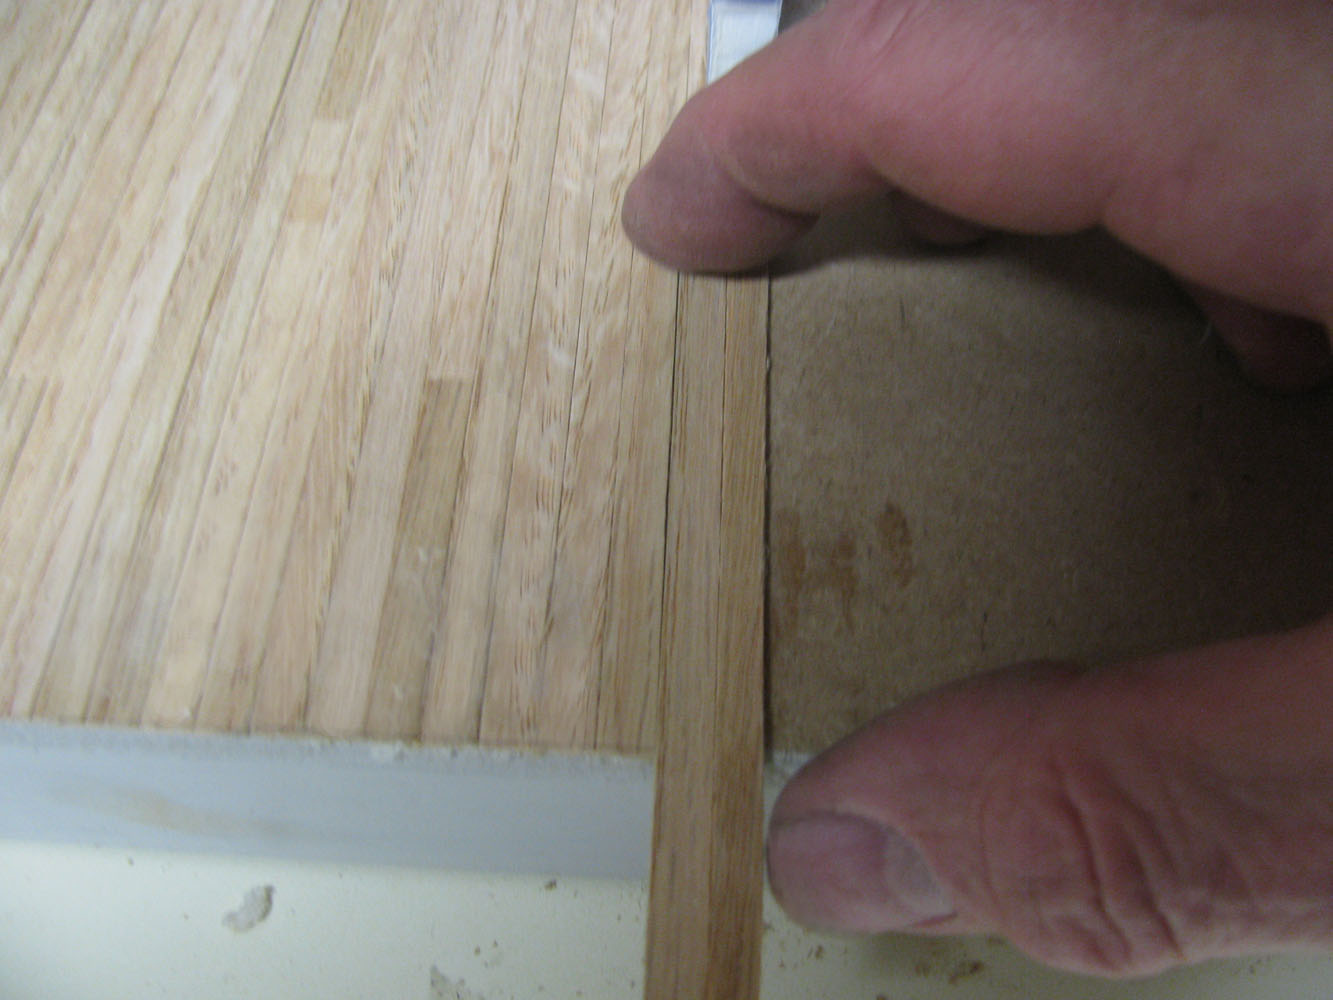
 I will take off the partial board; the joint will be between full boards
flooring/flooring55_lg.jpg
I will take off the partial board; the joint will be between full boards
flooring/flooring55_lg.jpg
I will take off the partial board; the joint will be between full boards
flooring/flooring55_lg.jpg


DHTMLGoodies.com
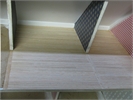
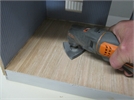
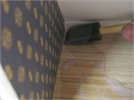
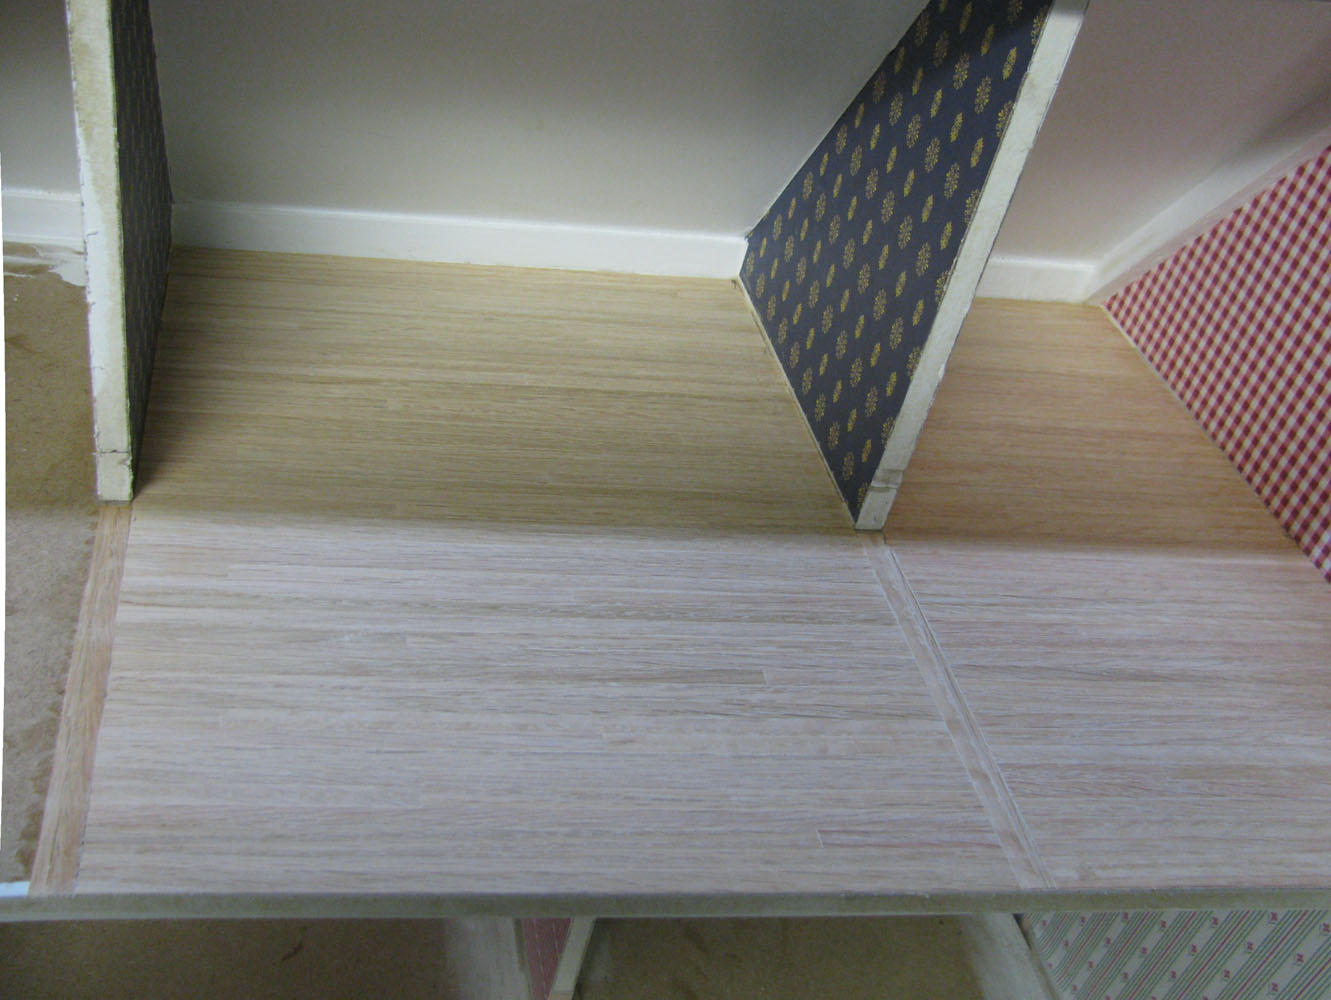
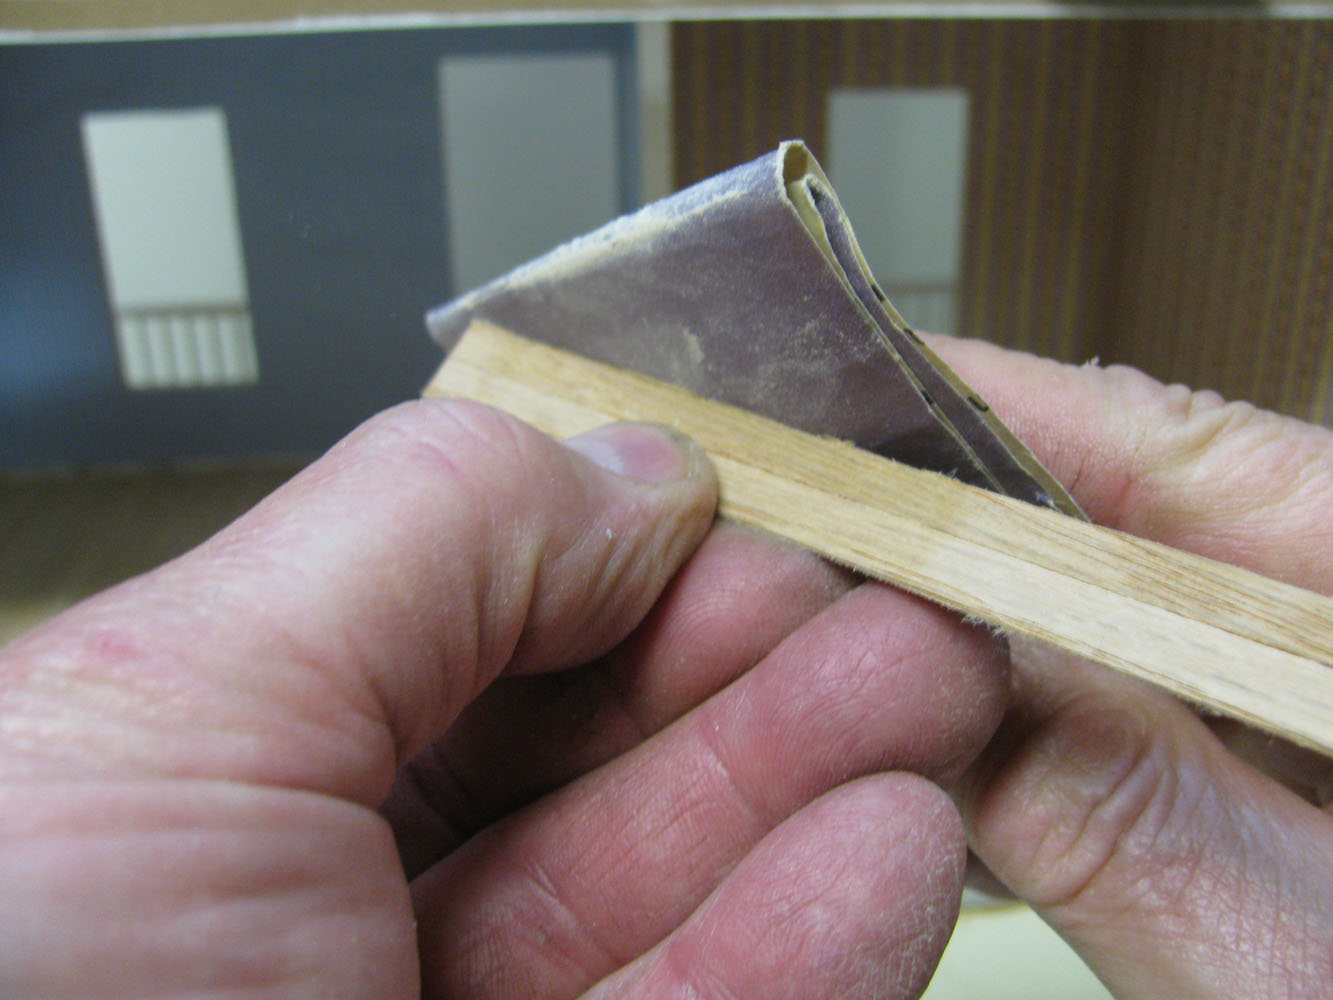
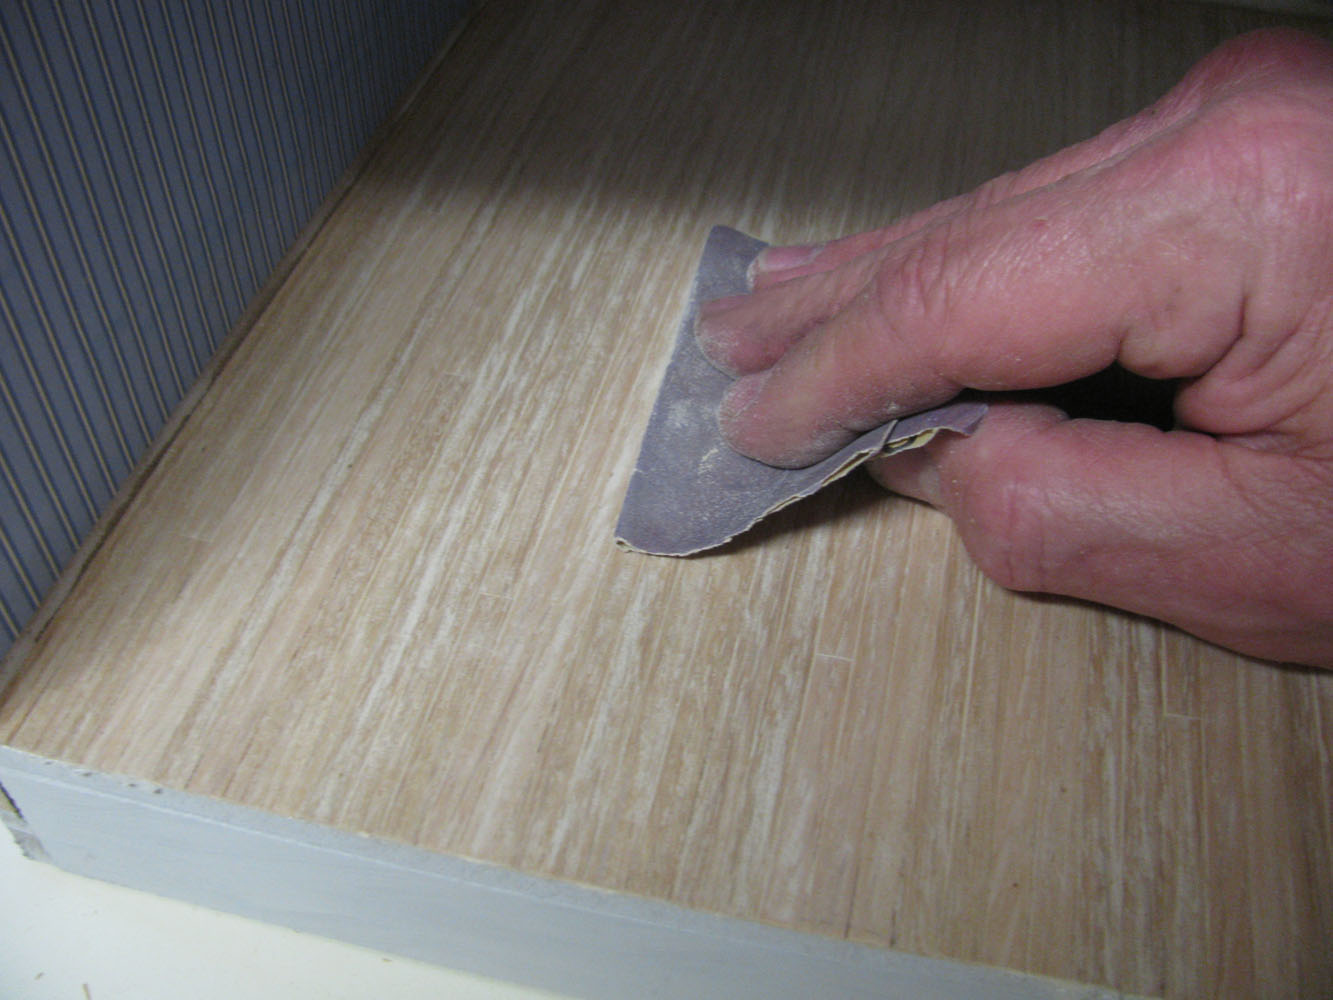
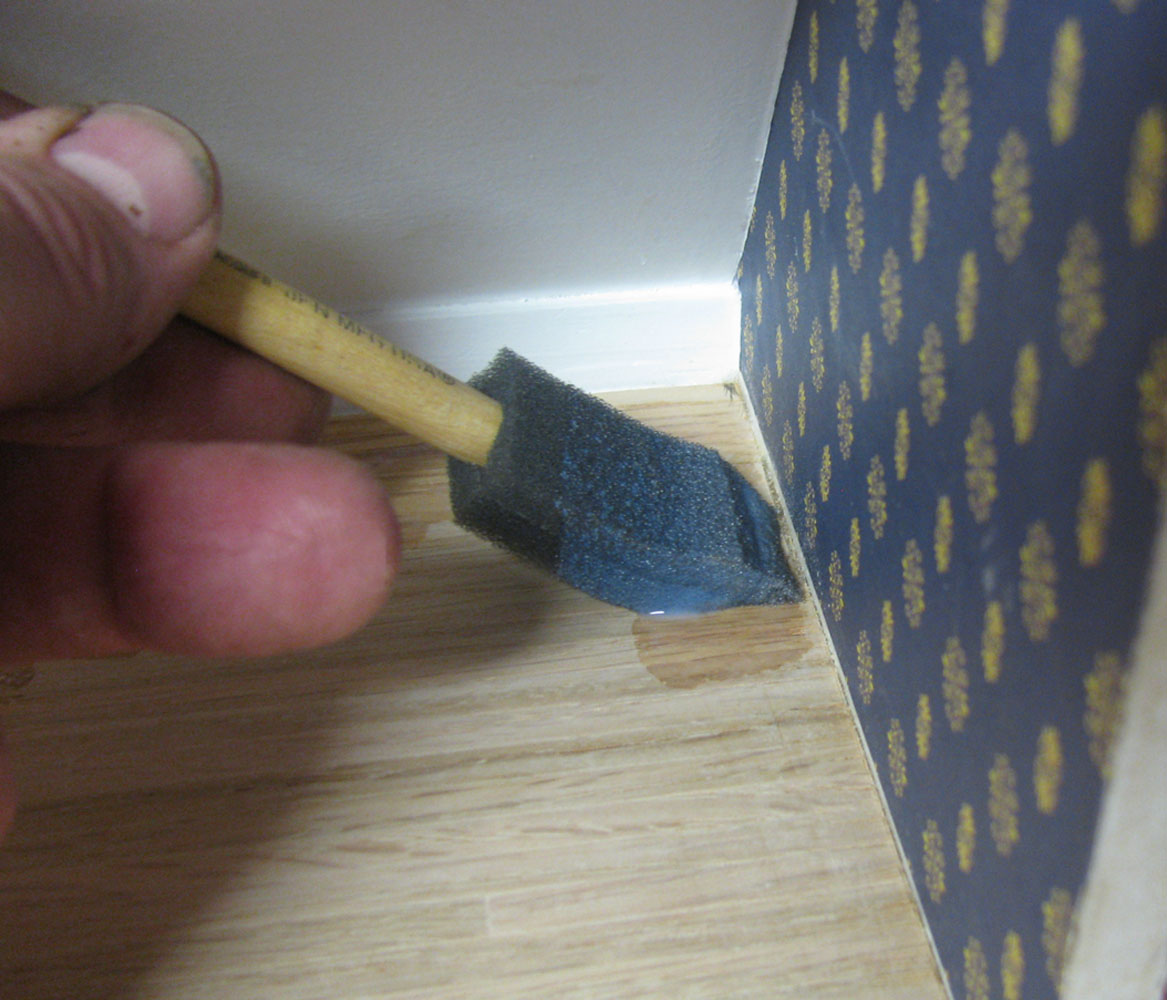
 The bottom edge of the wall will be covered with baseboard
flooring/flooring70_lg.jpg
The bottom edge of the wall will be covered with baseboard
flooring/flooring70_lg.jpg
The bottom edge of the wall will be covered with baseboard
flooring/flooring70_lg.jpg
DHTMLGoodies.com
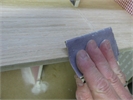
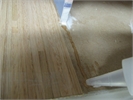
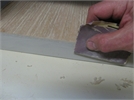
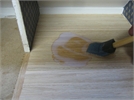
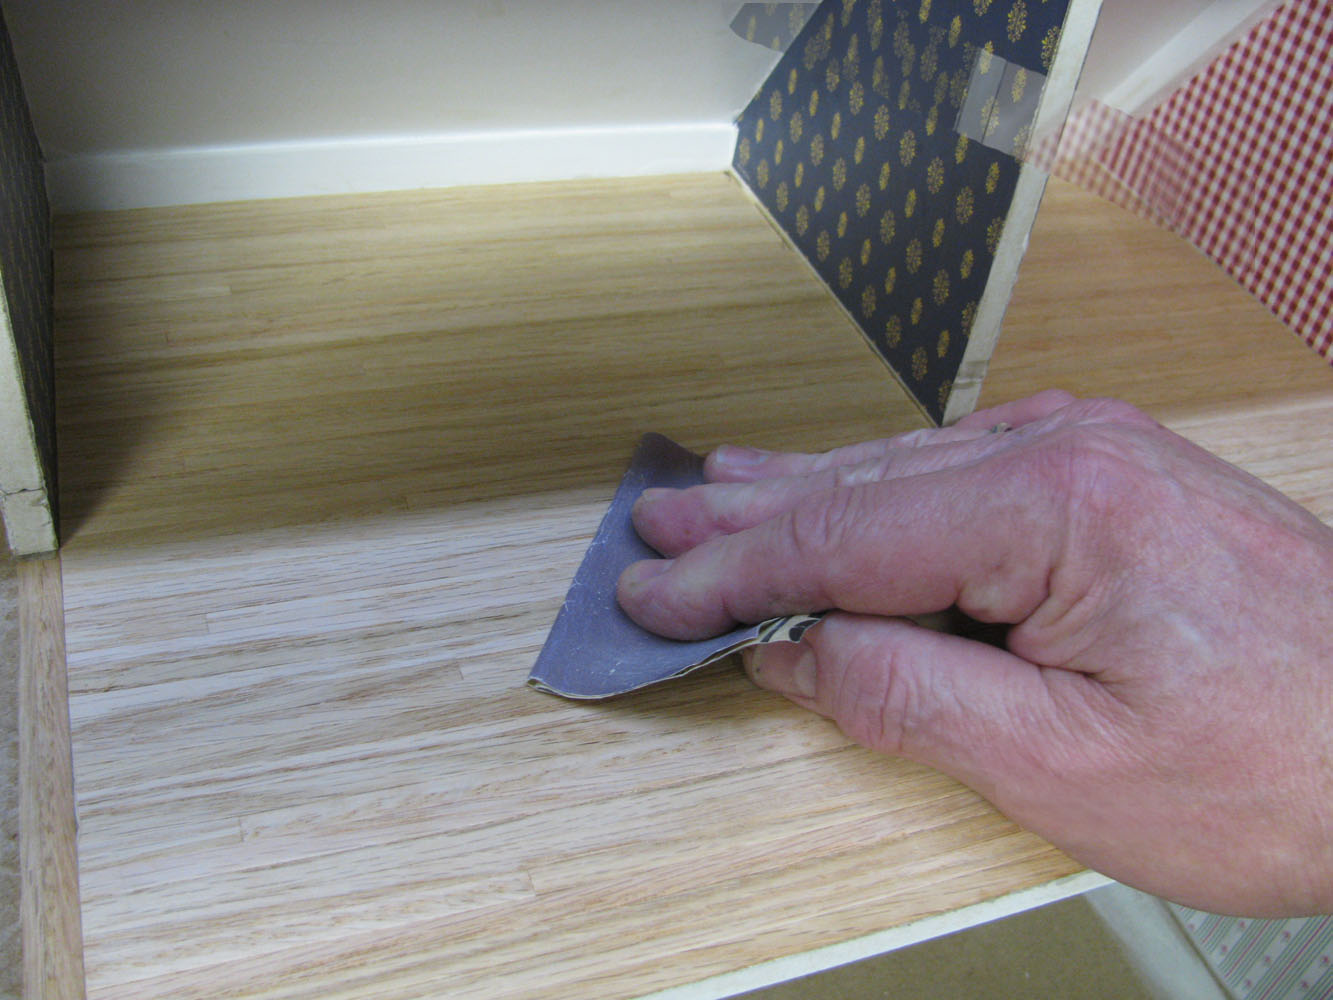
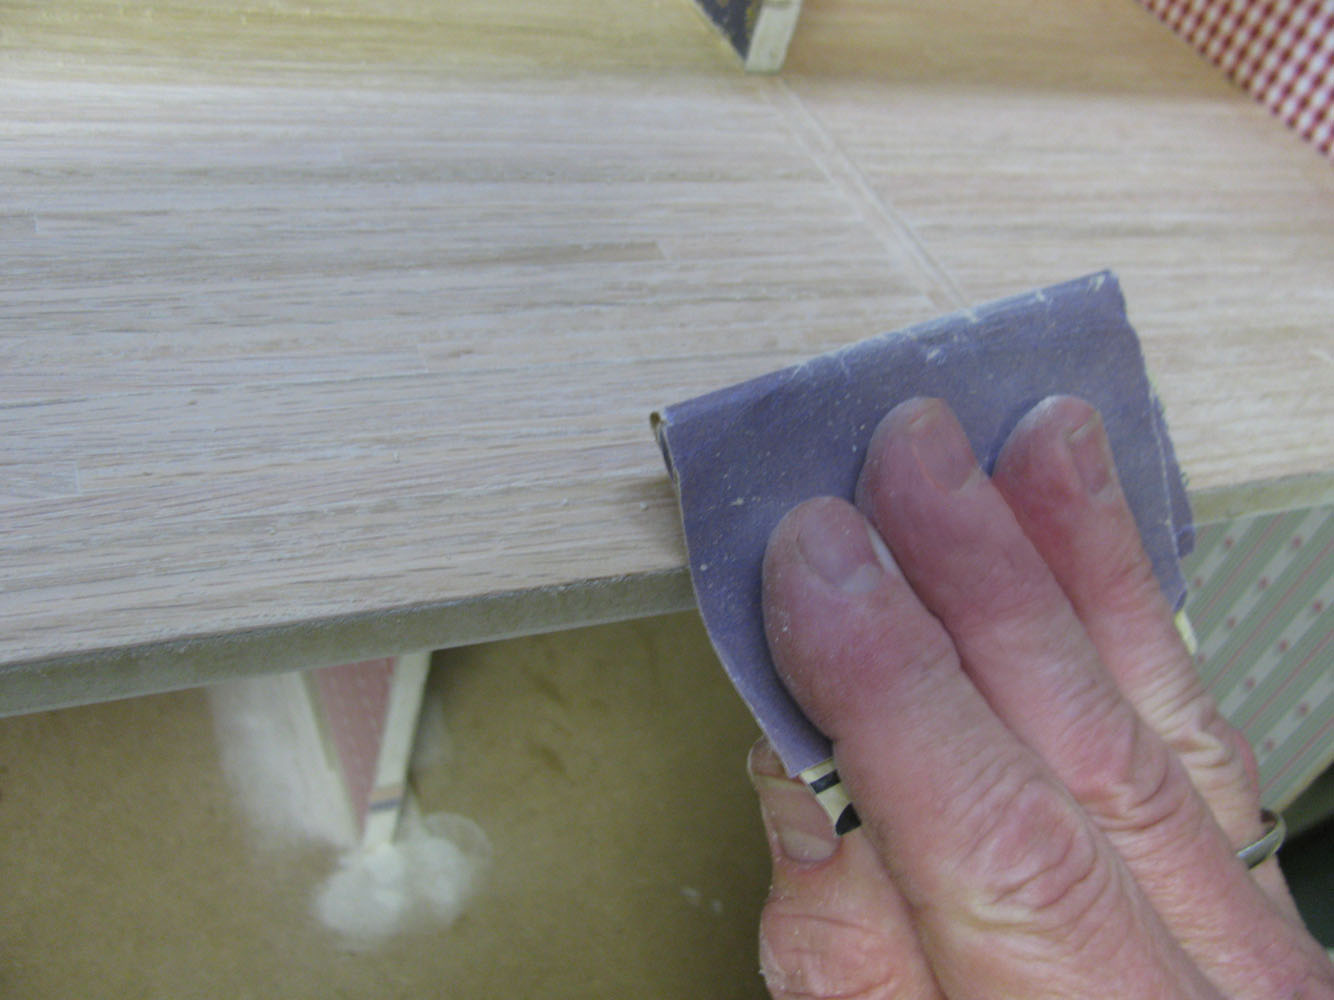
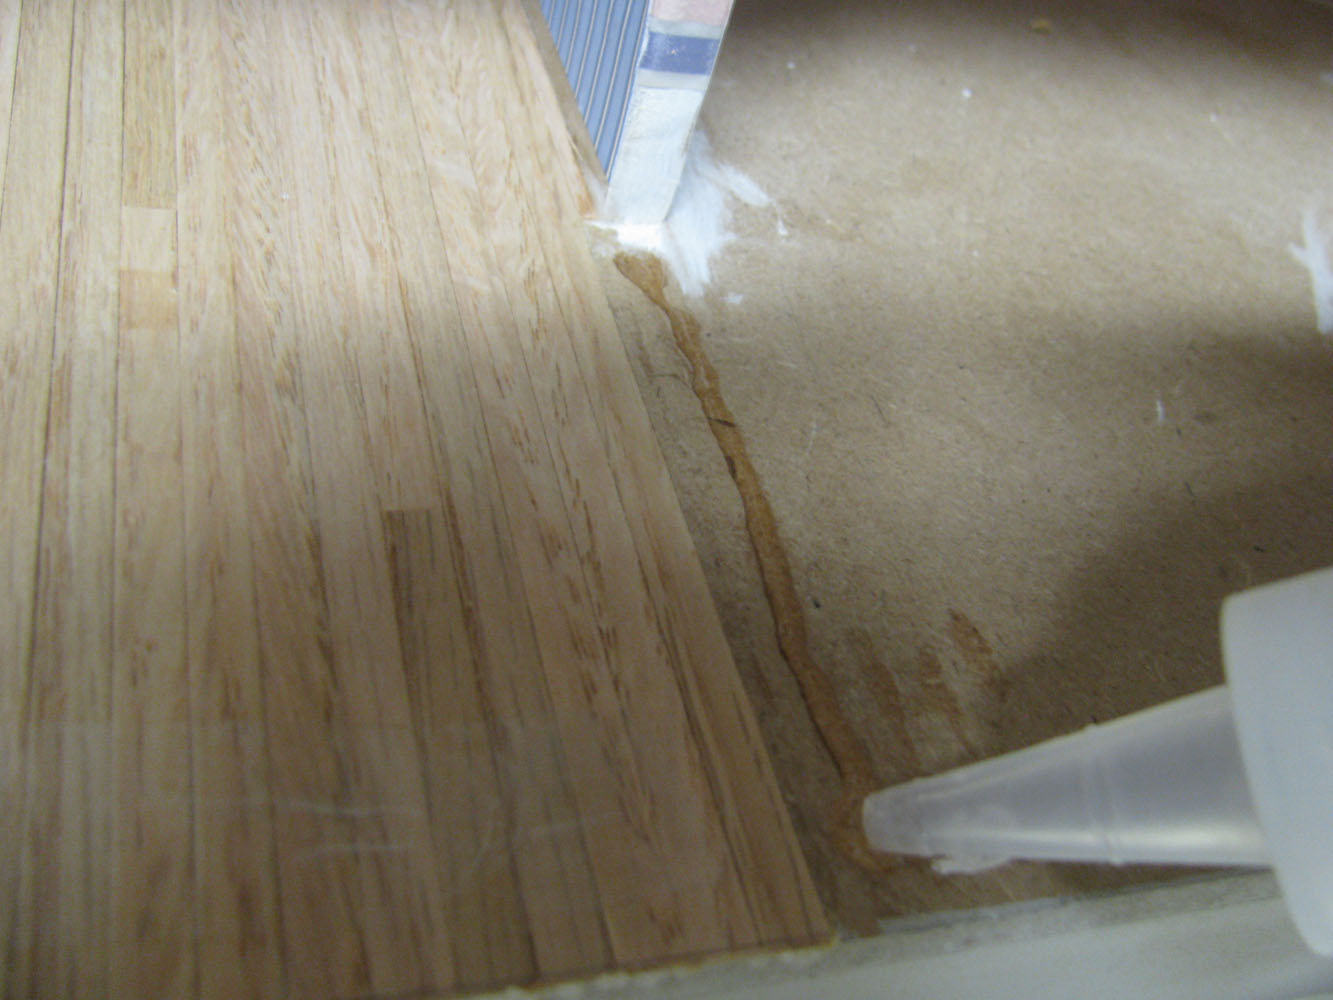
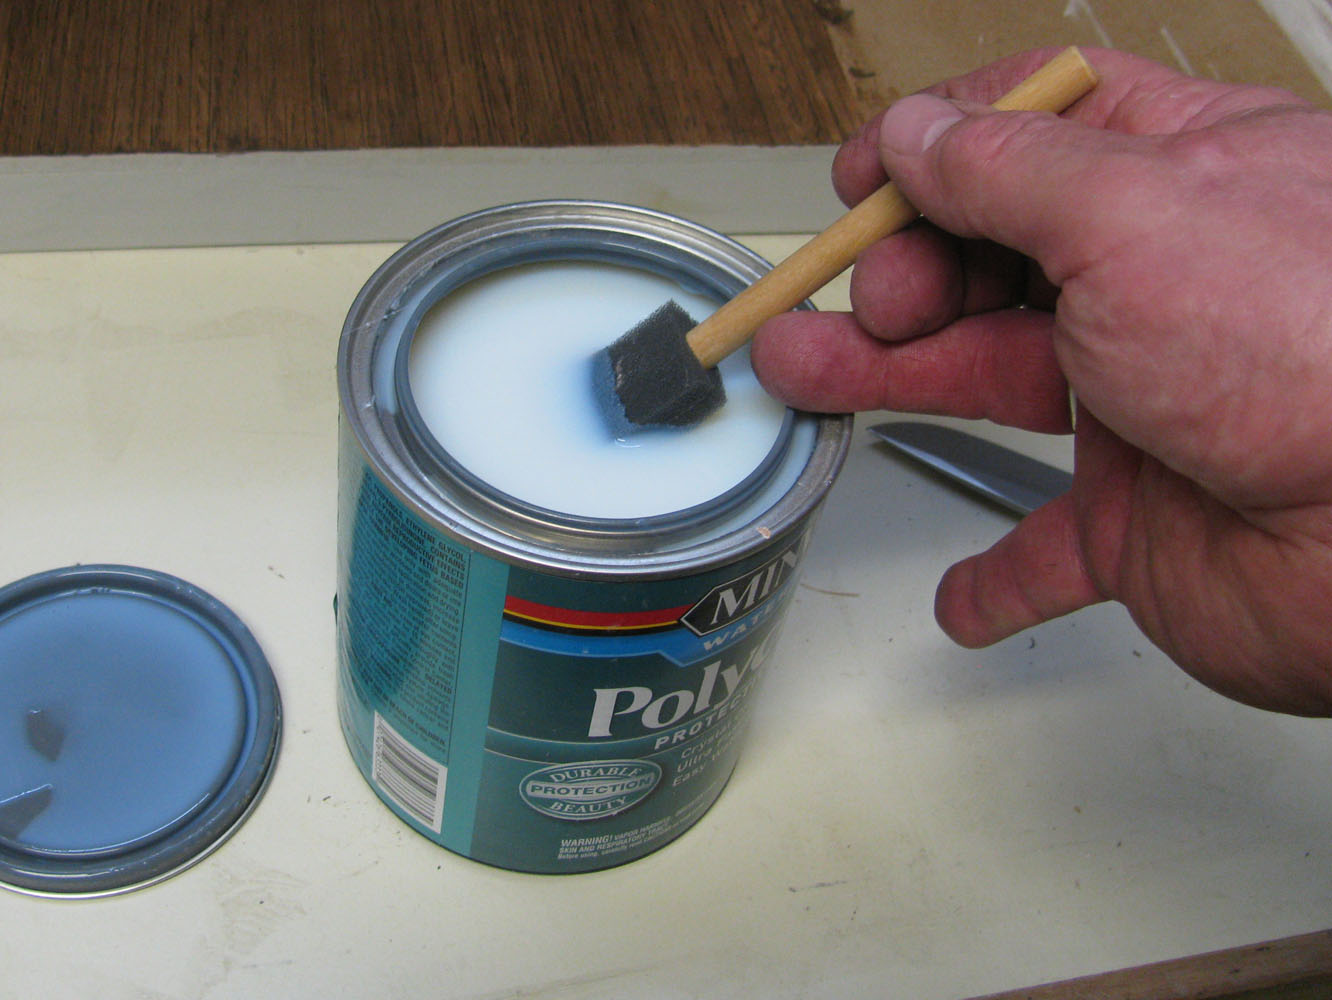
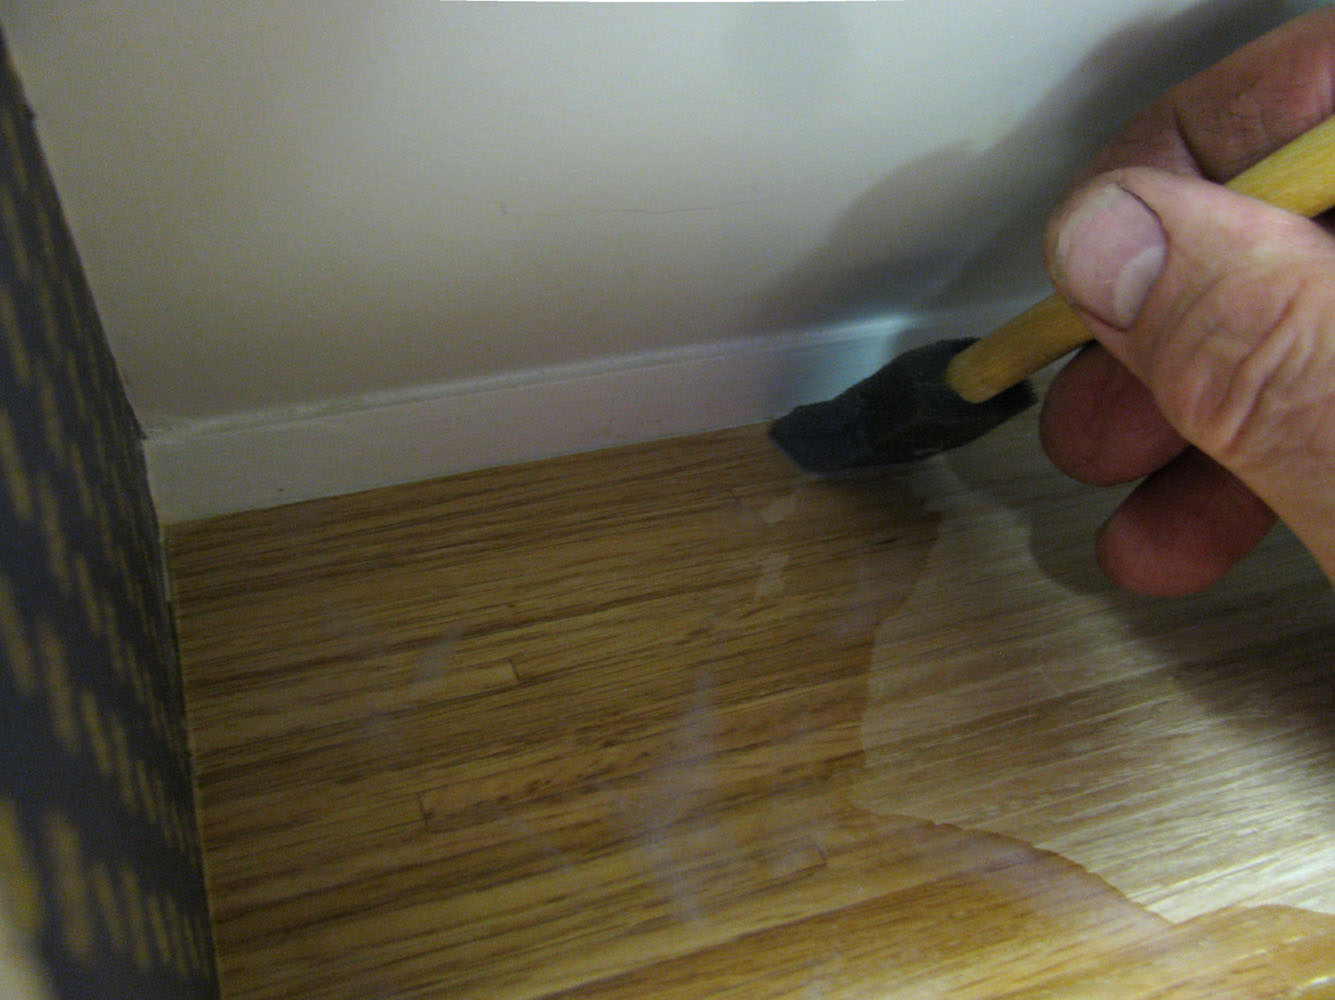
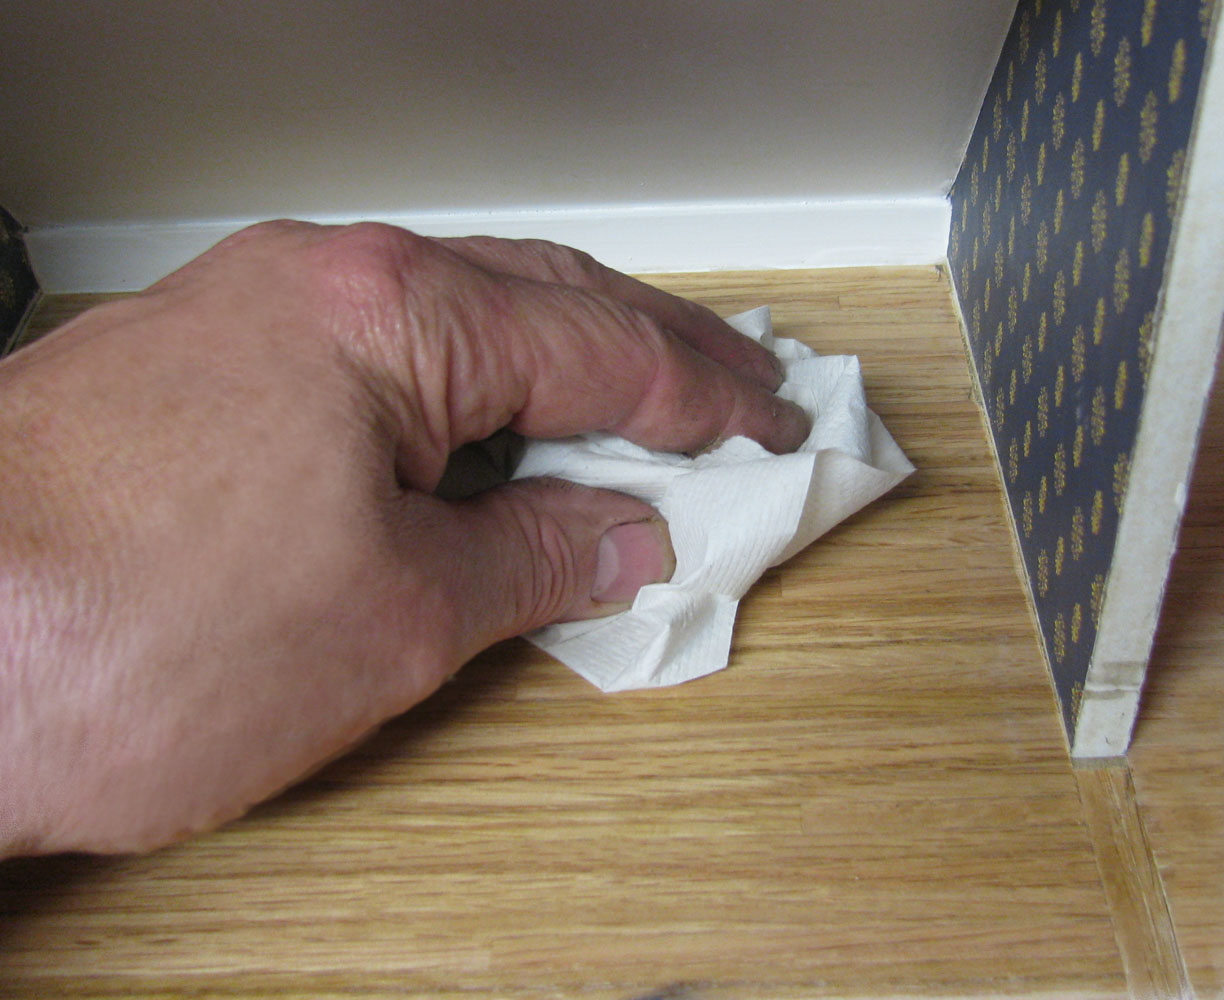
 Sand, then a second coat put on full thickness (not wiped off)
flooring/flooring76_lg.jpg
Sand, then a second coat put on full thickness (not wiped off)
flooring/flooring76_lg.jpg
Sand, then a second coat put on full thickness (not wiped off)
flooring/flooring76_lg.jpg
