![]()
![]()
![]()
![]()
![]()
![]()
![]()
![]()
![]()
![]()
![]()
| 1. Sheet Flooring | here |
| 2. Attic Flooring | |
| 3. Stain and Finishing | |
| 4. Tile and Carpet | |


DHTMLGoodies.com
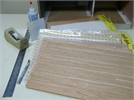
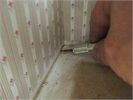
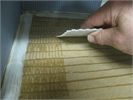
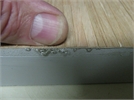
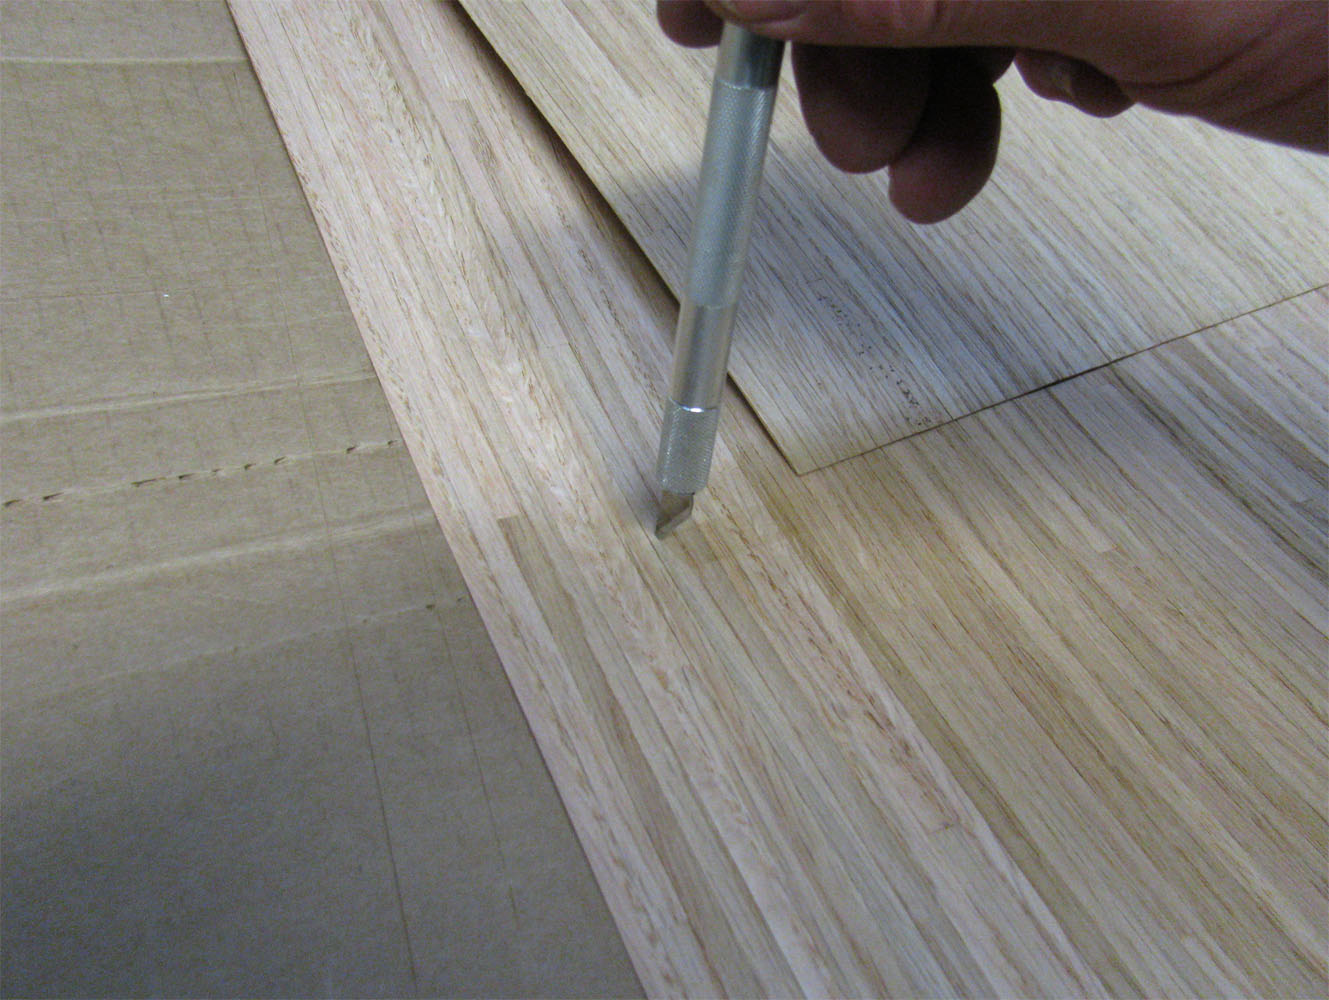
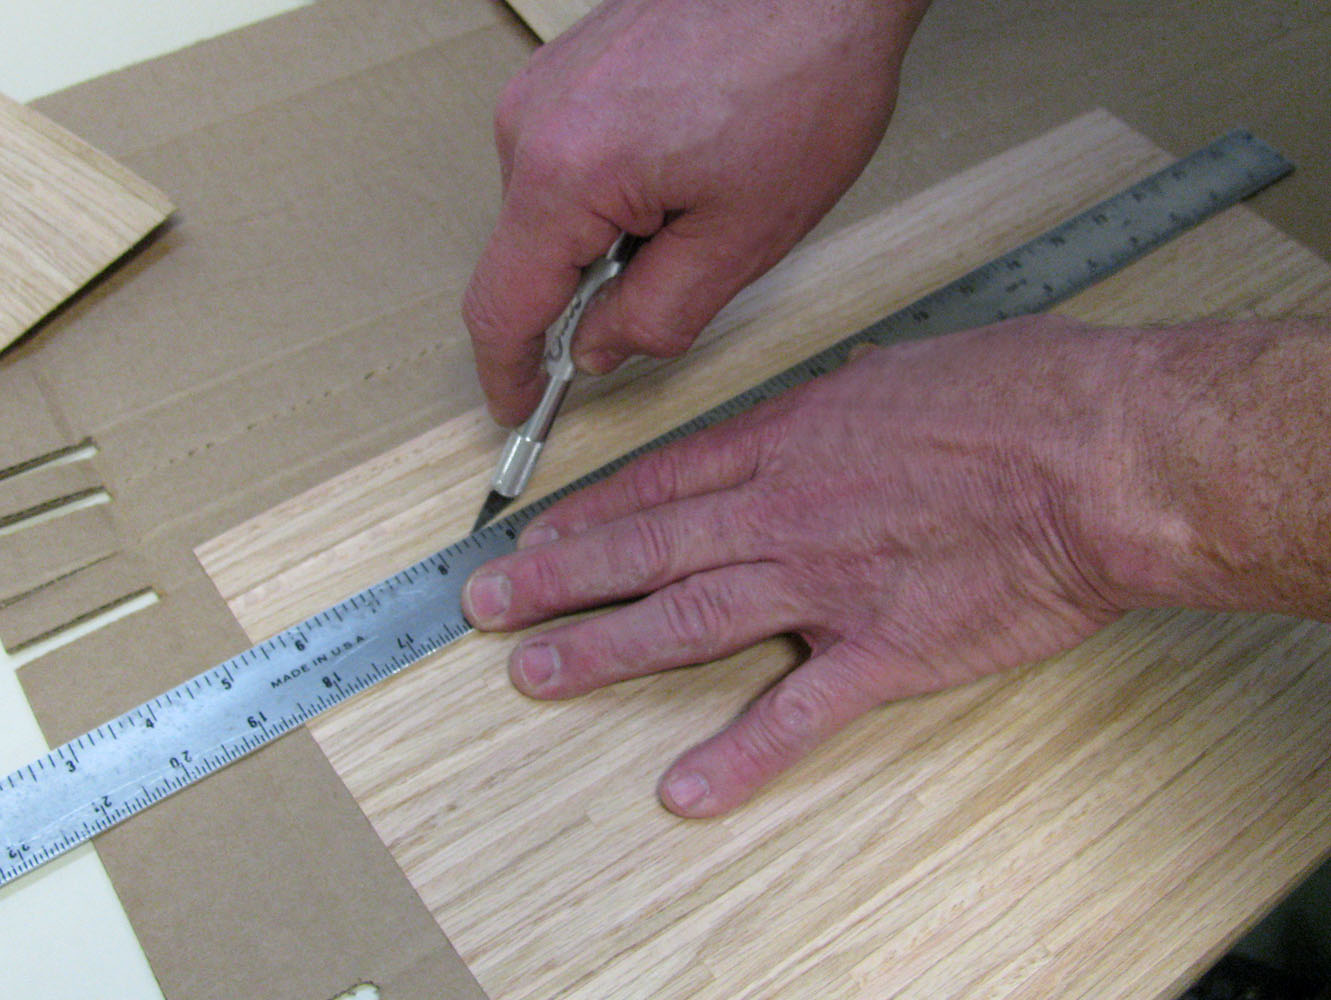
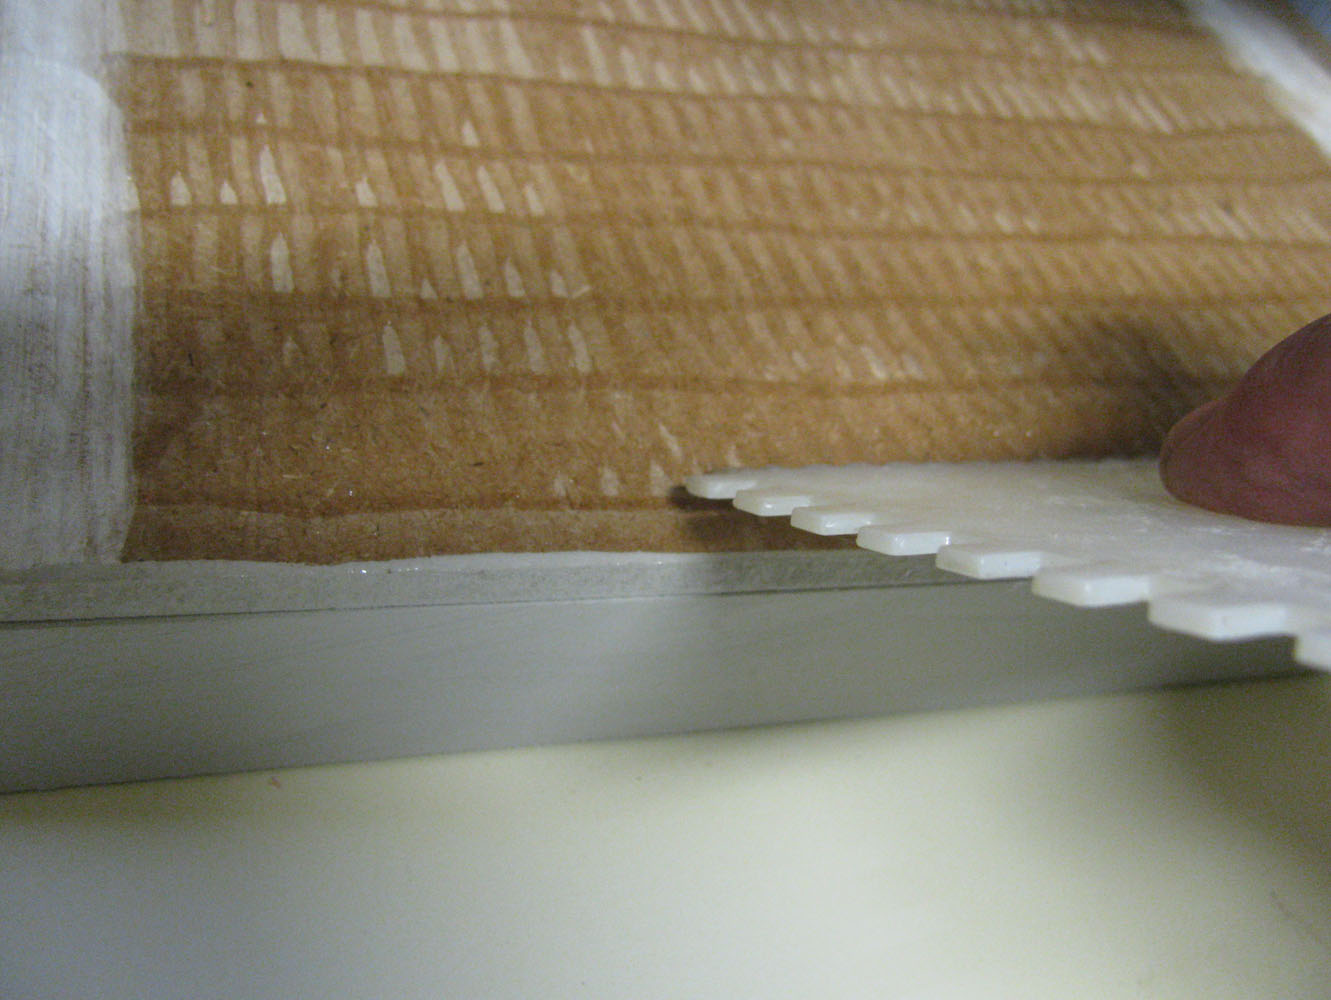
 A cutting board protects the table (one layer of cardboard isn't enough)
flooring/flooring04_lg.jpg
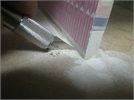
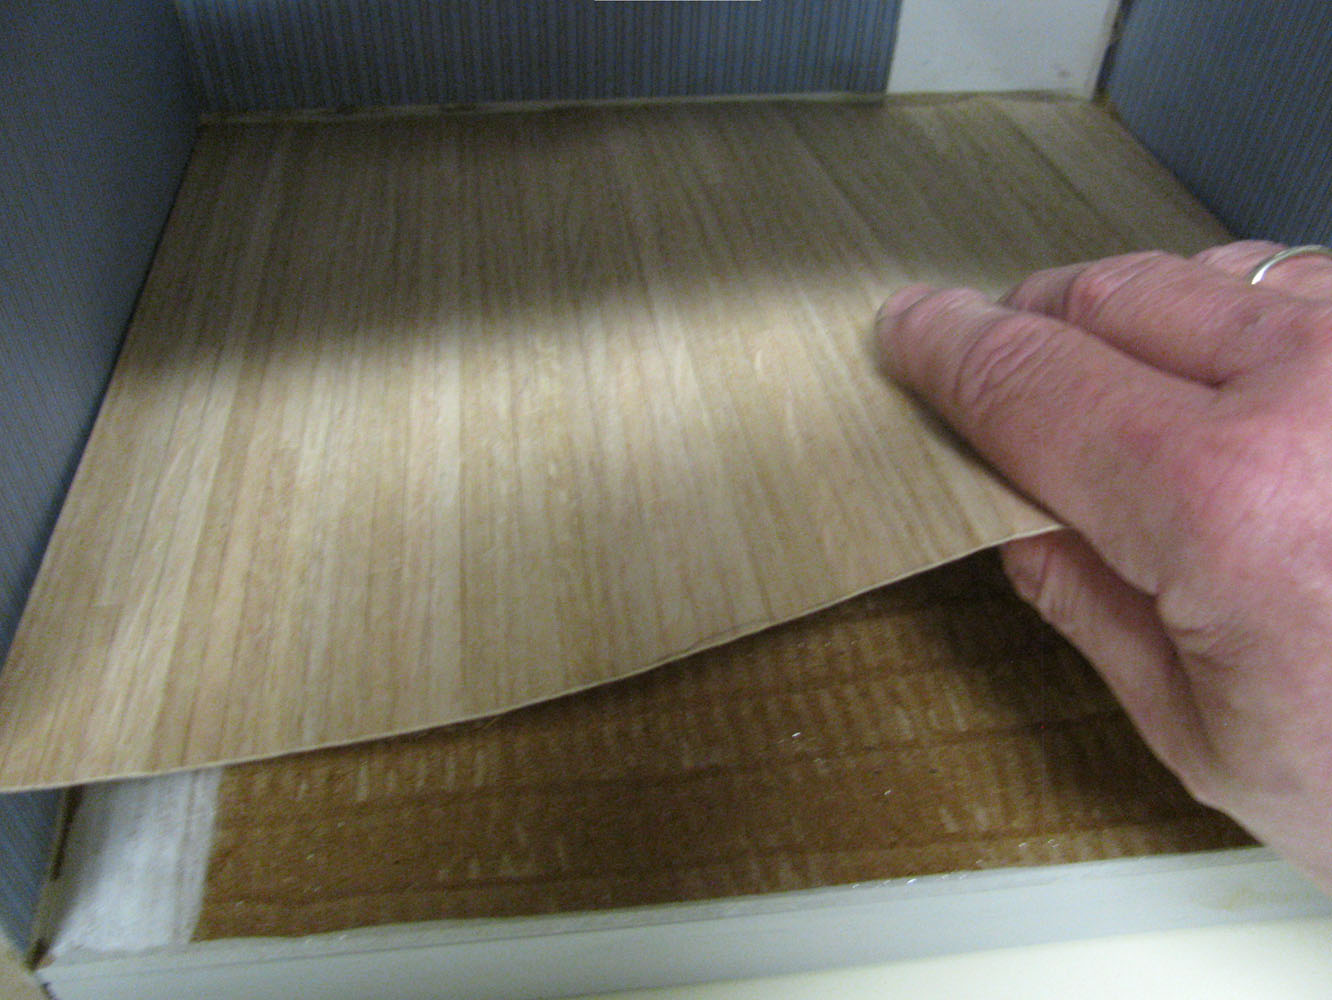
A cutting board protects the table (one layer of cardboard isn't enough)
flooring/flooring04_lg.jpg
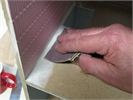
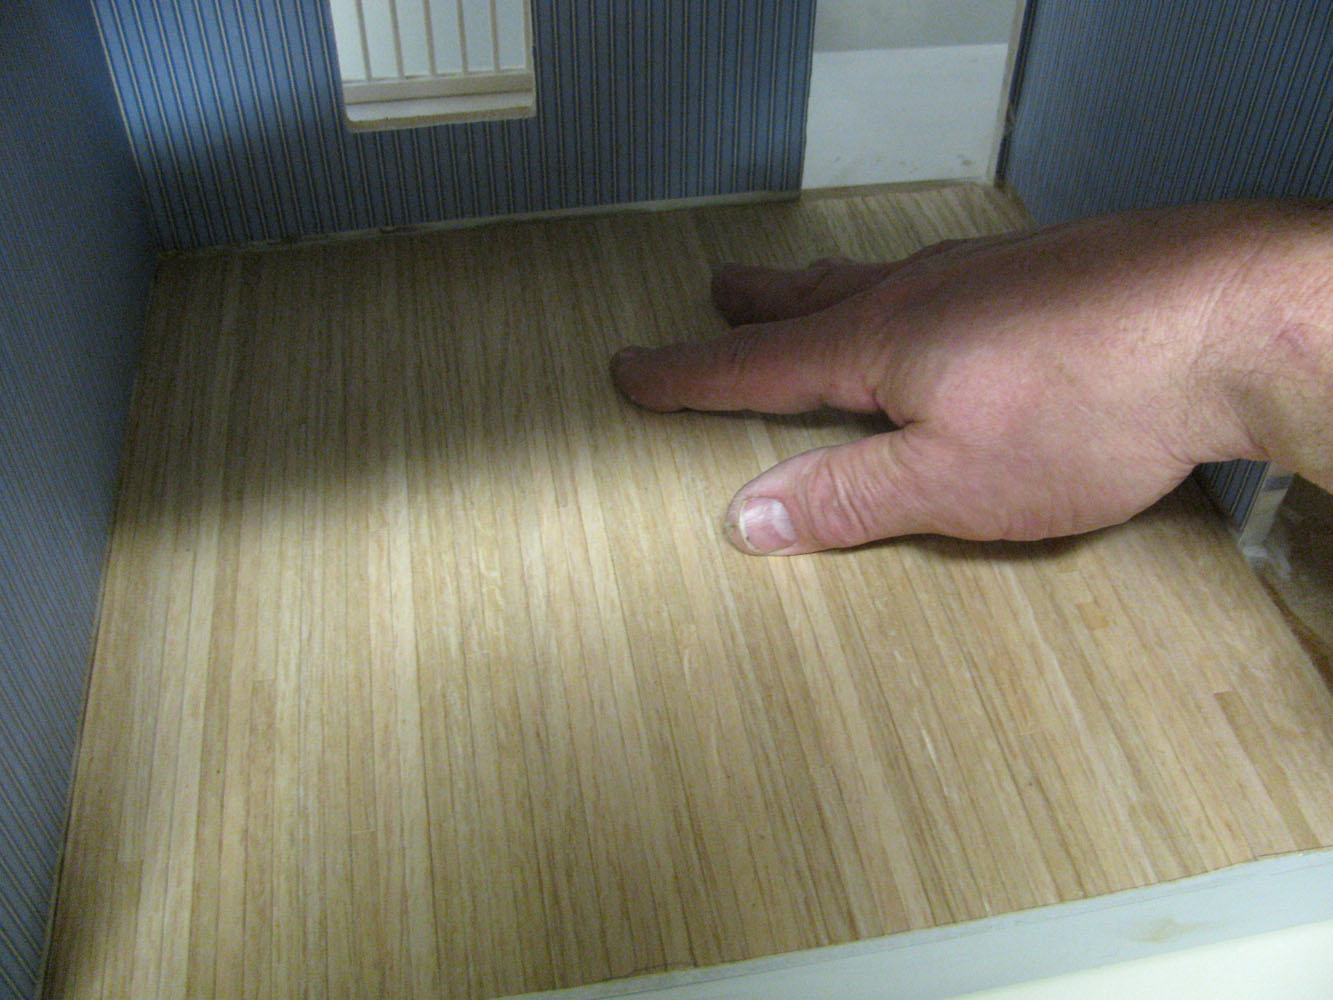
A cutting board protects the table (one layer of cardboard isn't enough)
flooring/flooring04_lg.jpg


