![]()
![]()
![]()
![]()
![]()
![]()
![]()
![]()
![]()
![]()
![]()
| 1. Painted Edge | |
| 2. Strip Baseboard | here |
| 3. Stripwood Trim | |
| 4. Crown and Window | |

DHTMLGoodies.com
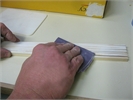
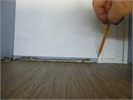
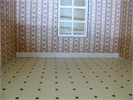
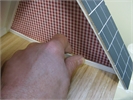
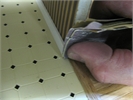
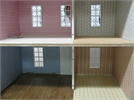 Baseboard and Back Edge Trim can be completed with one SW16 Pack
stripwood/Stripwood05_lg.jpg
Baseboard and Back Edge Trim can be completed with one SW16 Pack
stripwood/Stripwood05_lg.jpg
Baseboard and Back Edge Trim can be completed with one SW16 Pack
stripwood/Stripwood05_lg.jpg
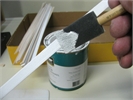
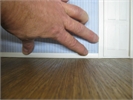
DHTMLGoodies.com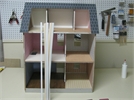 Crown (wall-top trim) and window + door trim would take a second pack
stripwood/Stripwood03_lg.jpg
Crown (wall-top trim) and window + door trim would take a second pack
stripwood/Stripwood03_lg.jpg
Crown (wall-top trim) and window + door trim would take a second pack
stripwood/Stripwood03_lg.jpg

DHTMLGoodies.com
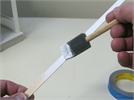
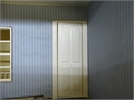 Install Door trim (6804 or stripwood) before Baseboards
stripwood/Stripwood10_lg.jpg
Install Door trim (6804 or stripwood) before Baseboards
stripwood/Stripwood10_lg.jpg
Install Door trim (6804 or stripwood) before Baseboards
stripwood/Stripwood10_lg.jpg


DHTMLGoodies.com
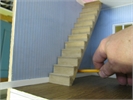
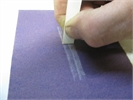
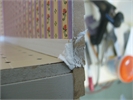
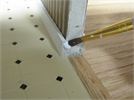
 This is the Stairs Baseboard leftover (it has the right angle)
stripwood/Stripwood31_lg.jpg
This is the Stairs Baseboard leftover (it has the right angle)
stripwood/Stripwood31_lg.jpg
This is the Stairs Baseboard leftover (it has the right angle)
stripwood/Stripwood31_lg.jpg
DHTMLGoodies.com
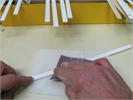
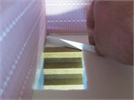
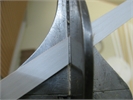
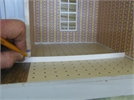
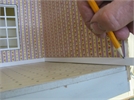
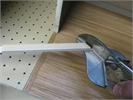
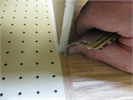
 move the Stair Angle Piece to the front, and mark the length on the stripwood
stripwood/Stripwood33_lg.jpg
move the Stair Angle Piece to the front, and mark the length on the stripwood
stripwood/Stripwood33_lg.jpg
move the Stair Angle Piece to the front, and mark the length on the stripwood
stripwood/Stripwood33_lg.jpg
DHTMLGoodies.com
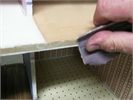
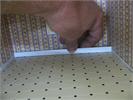
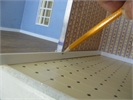
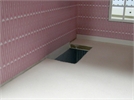
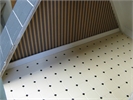
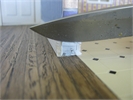
 This is how to get the angles and length of the attic baseboard
stripwood/Stripwood34_lg.jpg
This is how to get the angles and length of the attic baseboard
stripwood/Stripwood34_lg.jpg
This is how to get the angles and length of the attic baseboard
stripwood/Stripwood34_lg.jpg
DHTMLGoodies.com
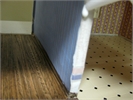
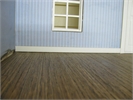
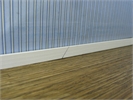
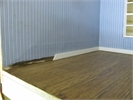
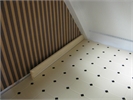
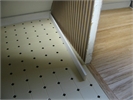
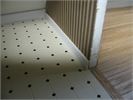
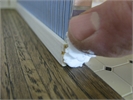
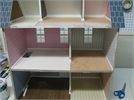 The baseboard is in and touched-up... ready for back-edge trim
stripwood/Stripwood43_lg.jpg
The baseboard is in and touched-up... ready for back-edge trim
stripwood/Stripwood43_lg.jpg
The baseboard is in and touched-up... ready for back-edge trim
stripwood/Stripwood43_lg.jpg
