![]()
![]()
![]()
![]()
![]()
![]()
![]()
![]()
![]()
![]()
![]()
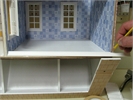
Baseboard and Crown Molding using the
#J-FK-P set
 |
| Craft Saw & Miter Box |
 |
| EZ Cutter & Sandpaper |
 |
| Hacksaw & Craft Knife |
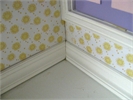
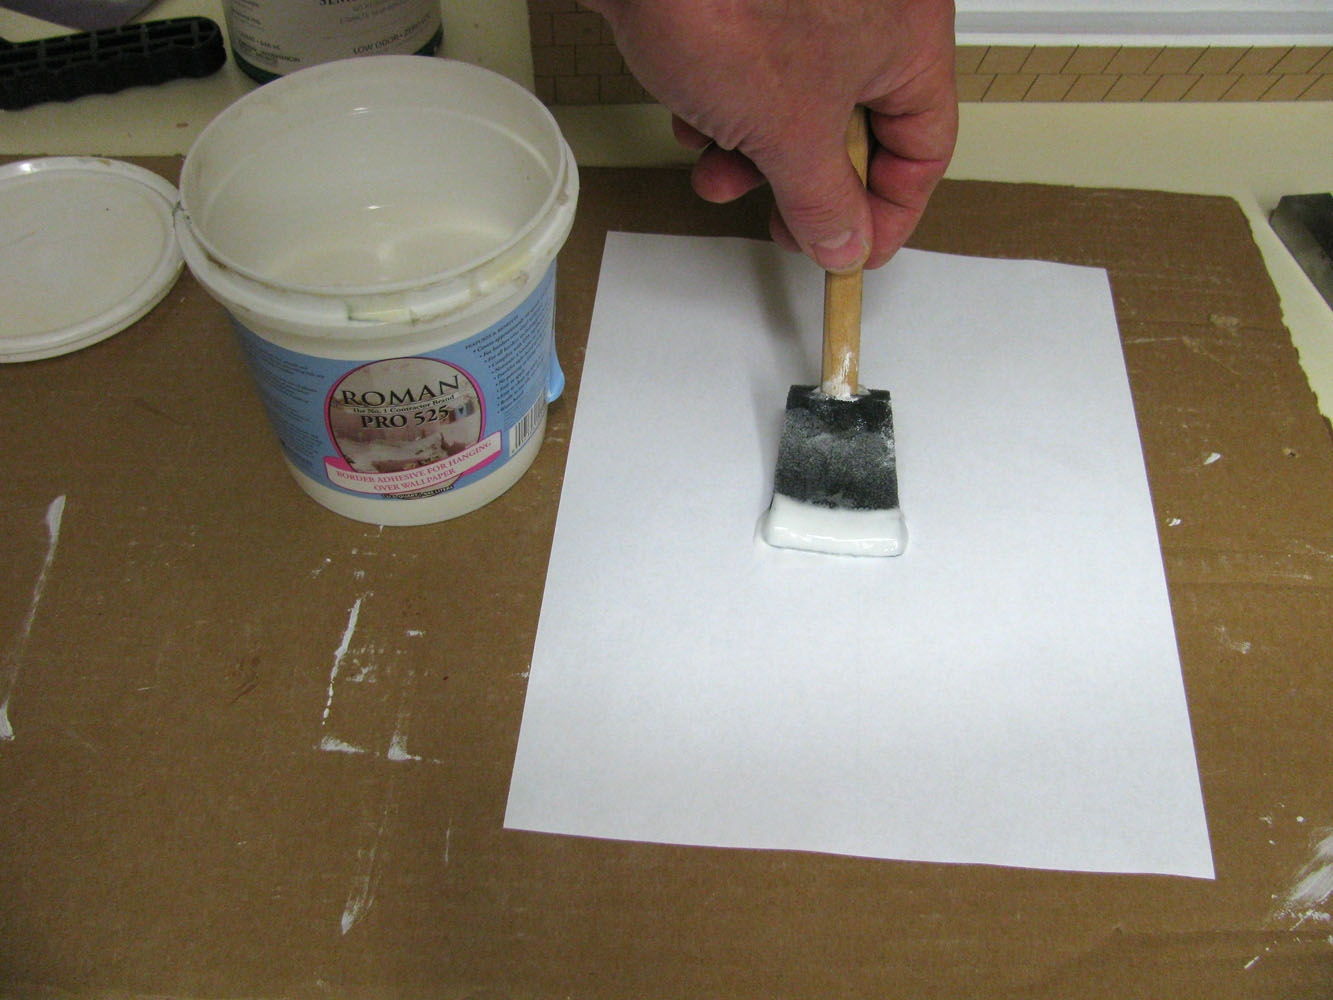
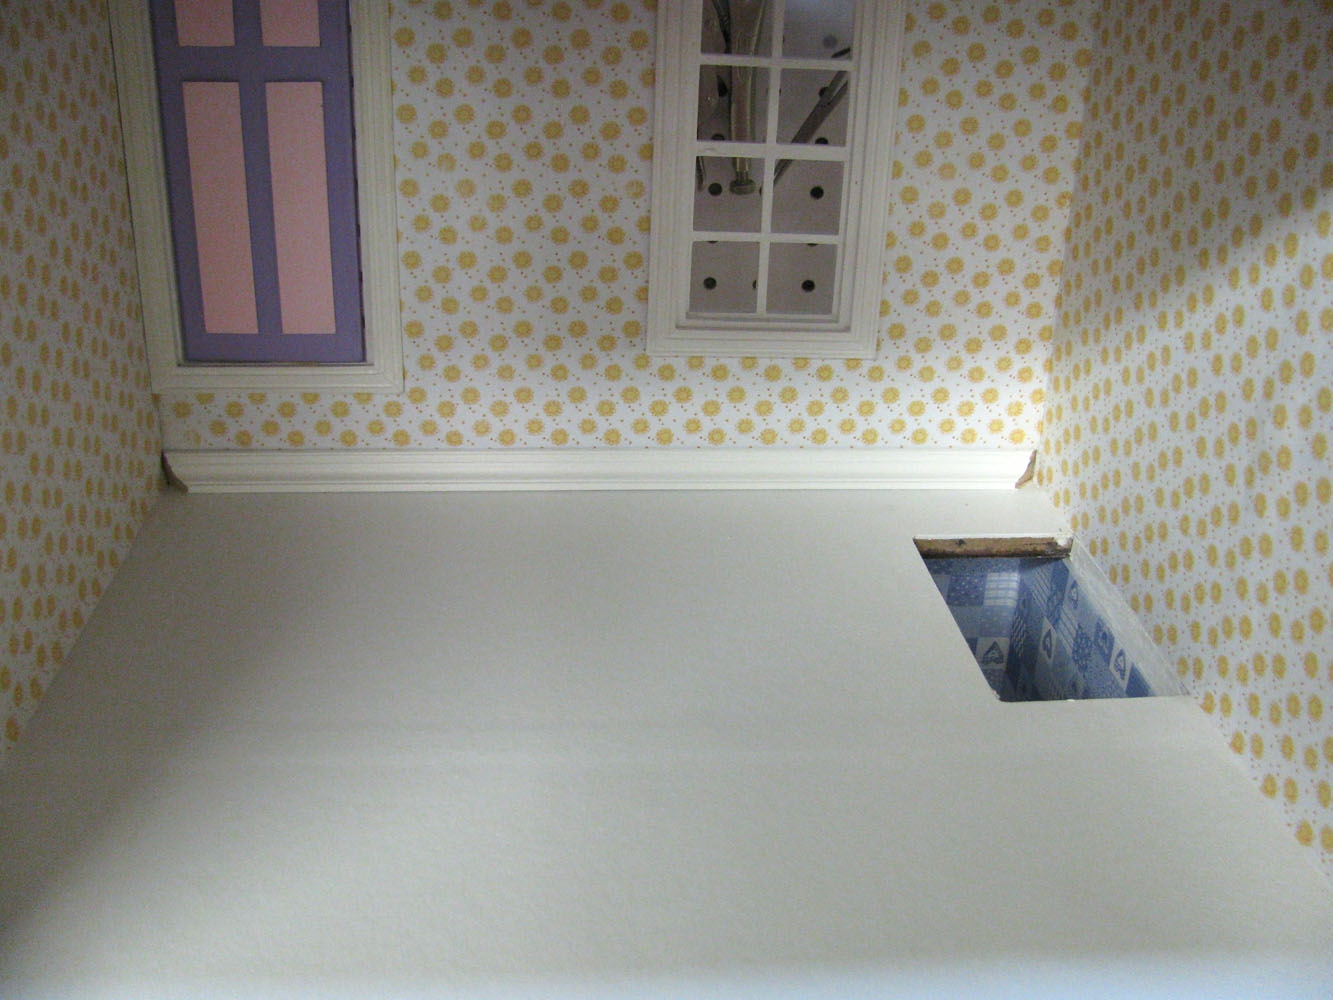
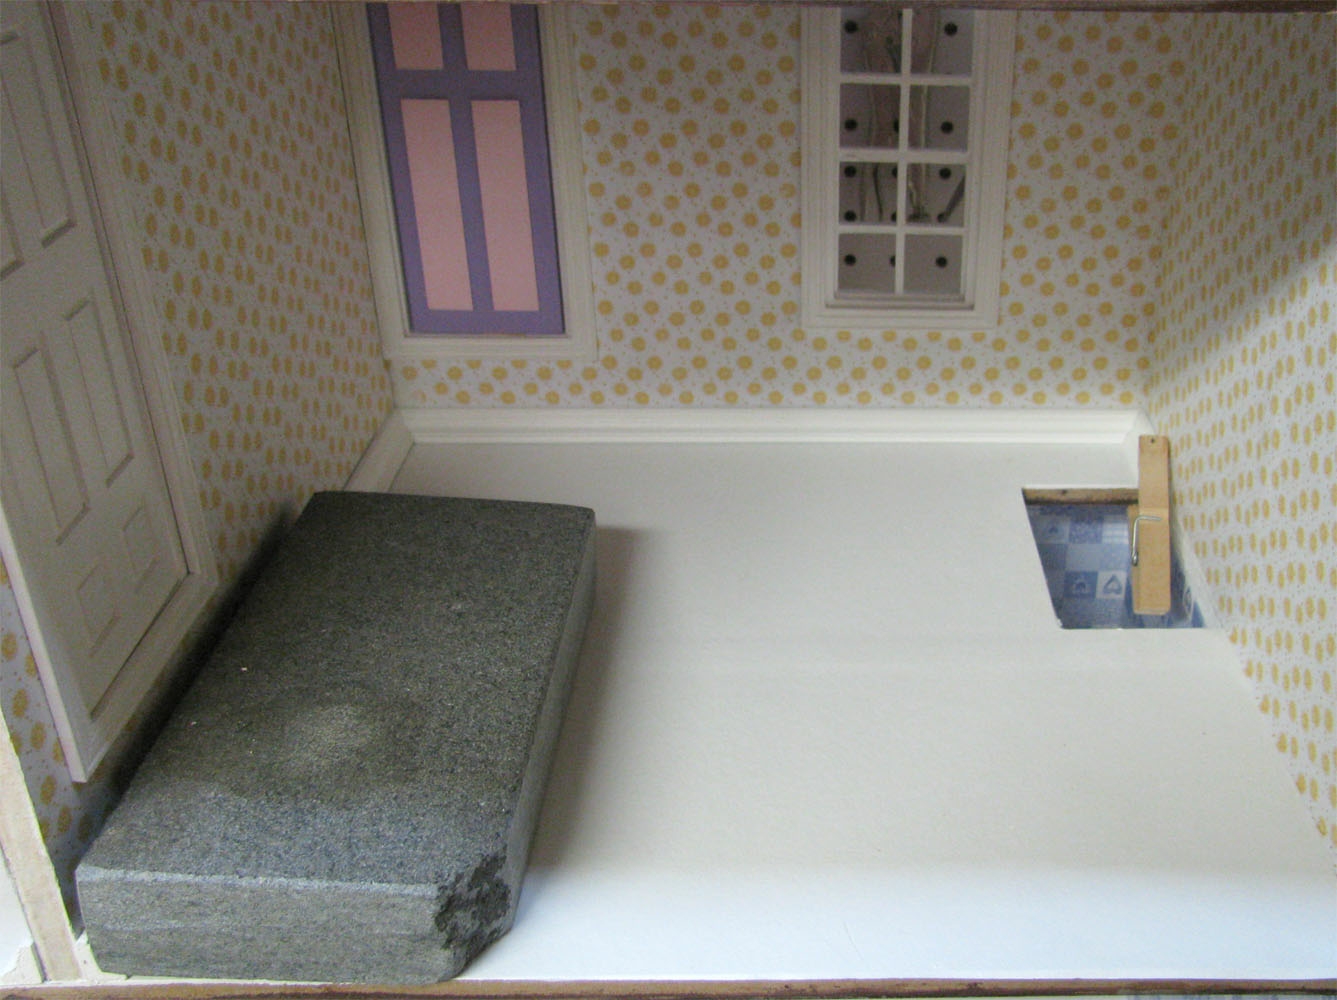
 Baseboard and Crown using a saw and knife
wallpaper00_lg.jpg
Baseboard and Crown using a saw and knife
wallpaper00_lg.jpg
DHTMLGoodies.com
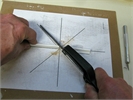
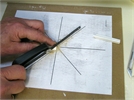
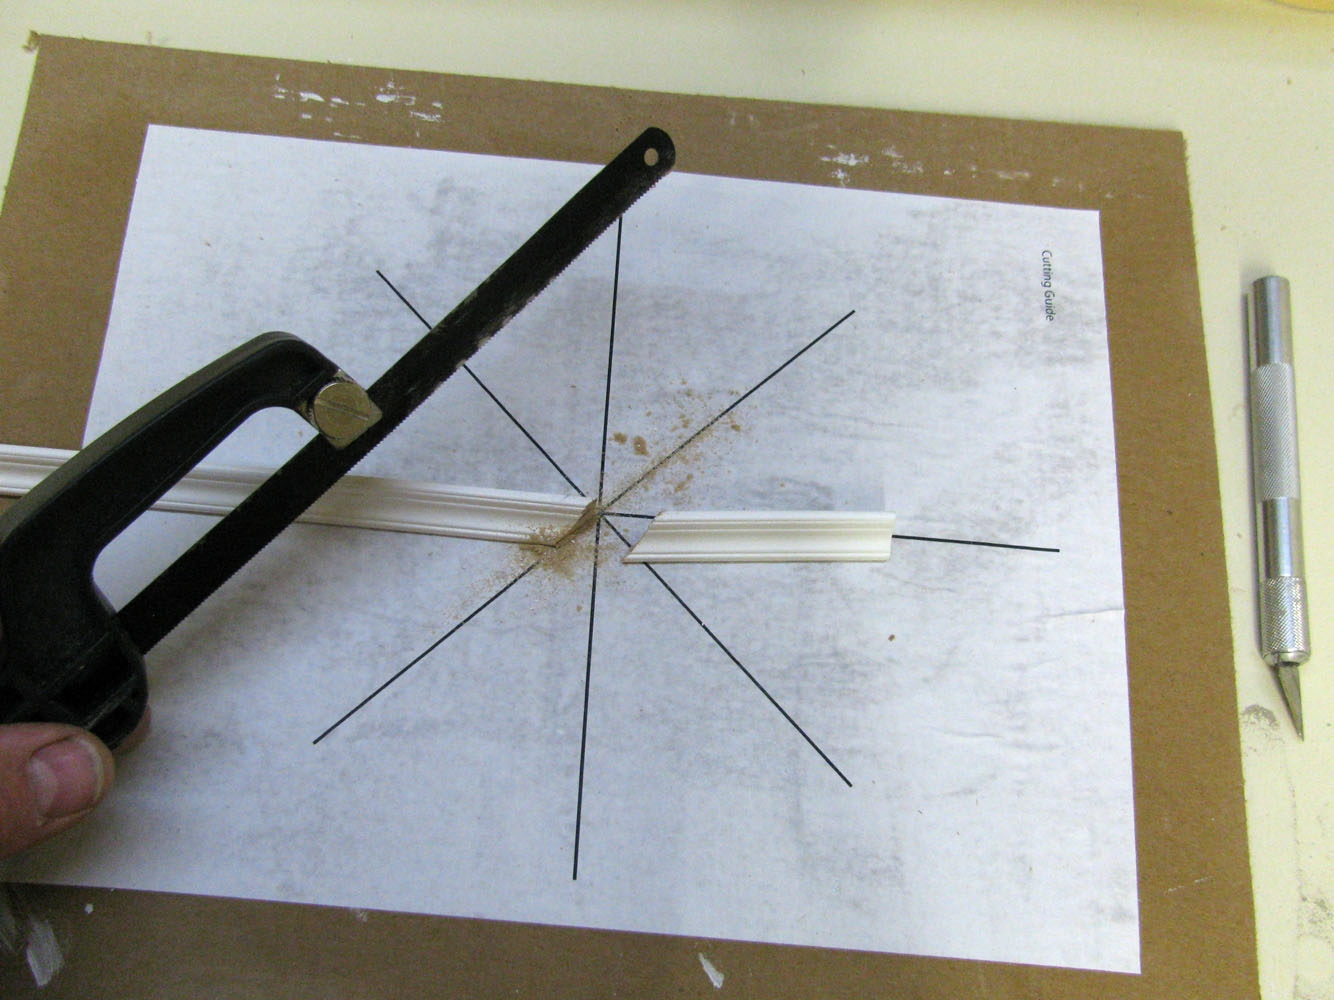
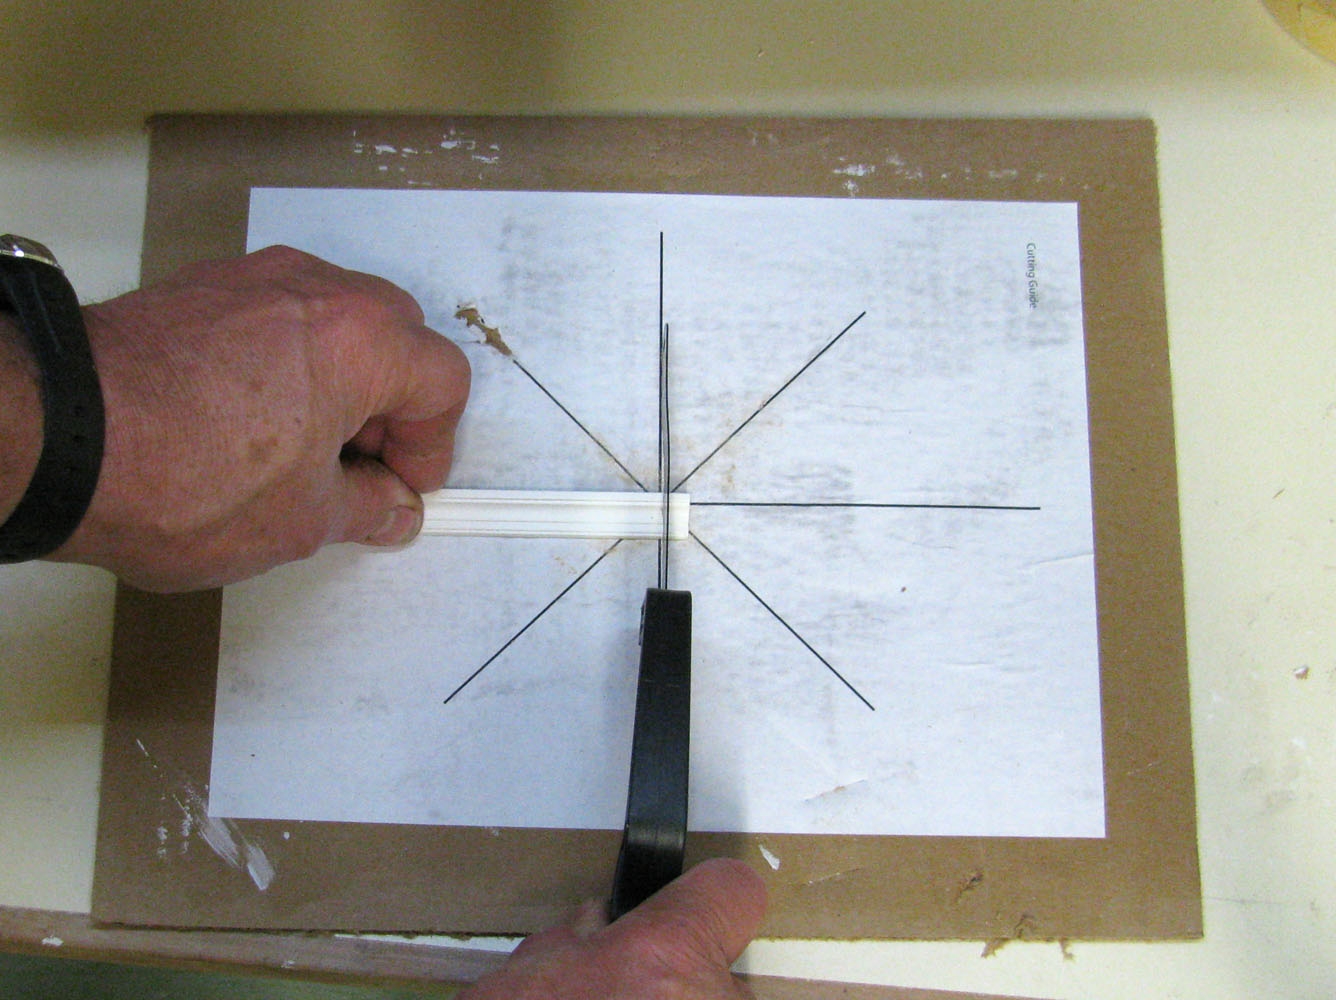
 Click this photo for a 45 & 90 degree printable Cutting Guide
BaseboardCrown/CuttingGuide_lg.jpg
Click this photo for a 45 & 90 degree printable Cutting Guide
BaseboardCrown/CuttingGuide_lg.jpg
Click this photo for a 45 & 90 degree printable Cutting Guide
BaseboardCrown/CuttingGuide_lg.jpg


DHTMLGoodies.com
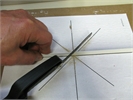
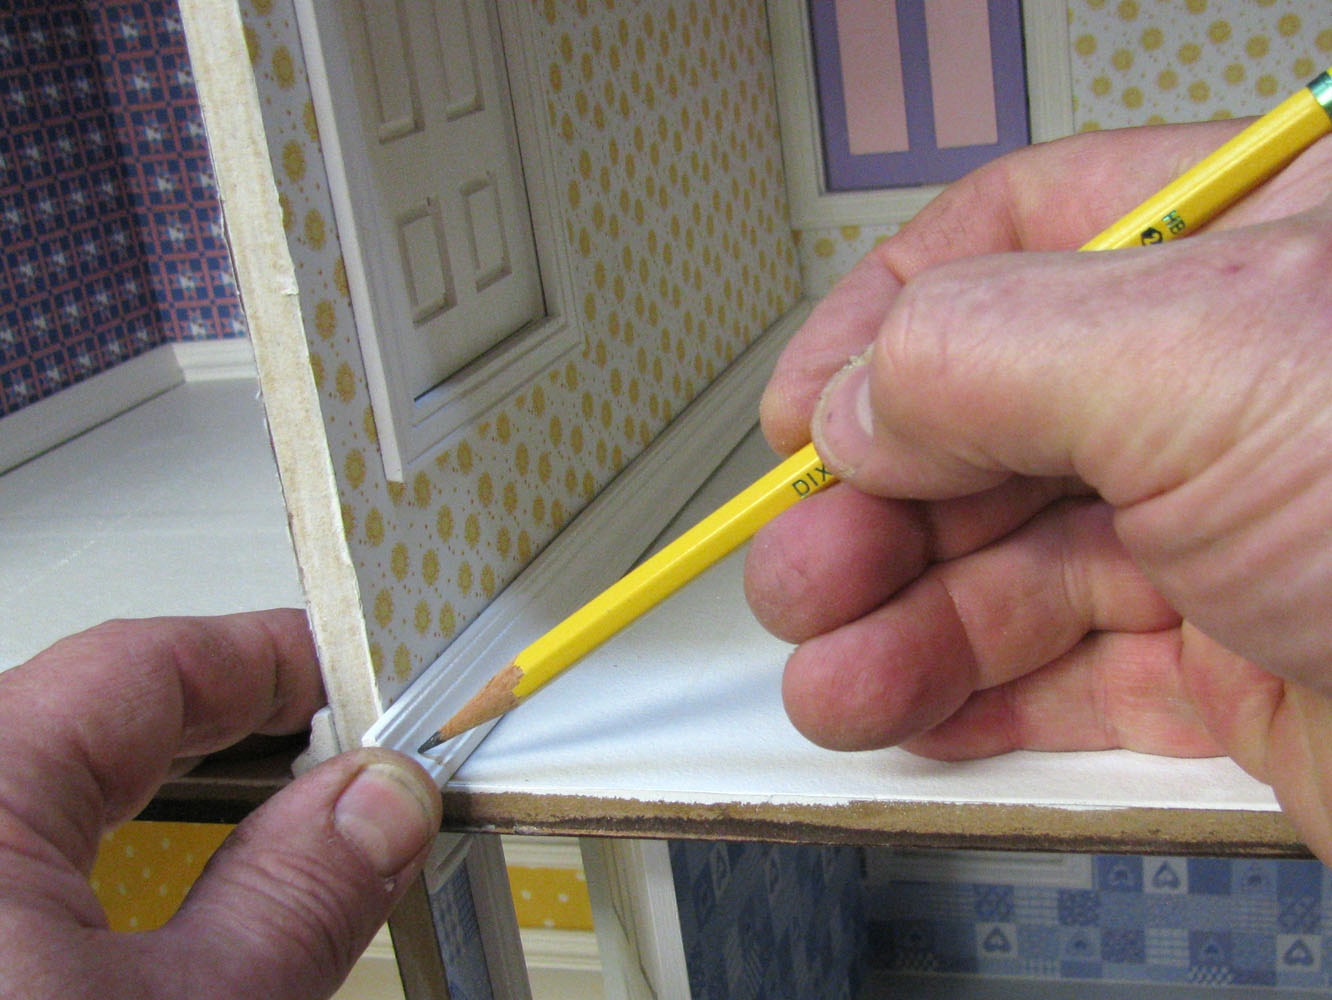
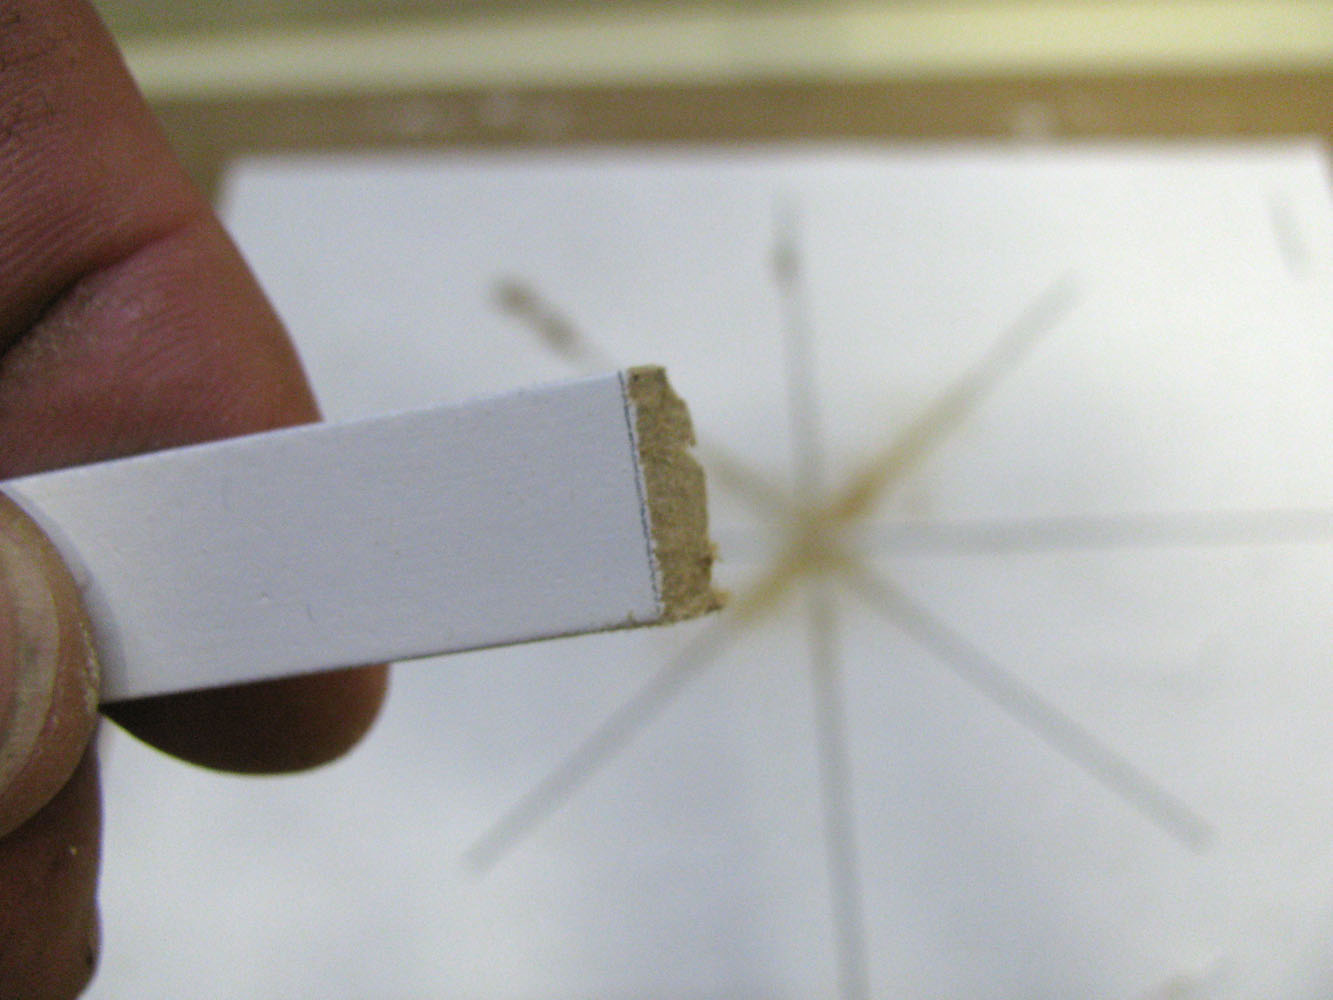
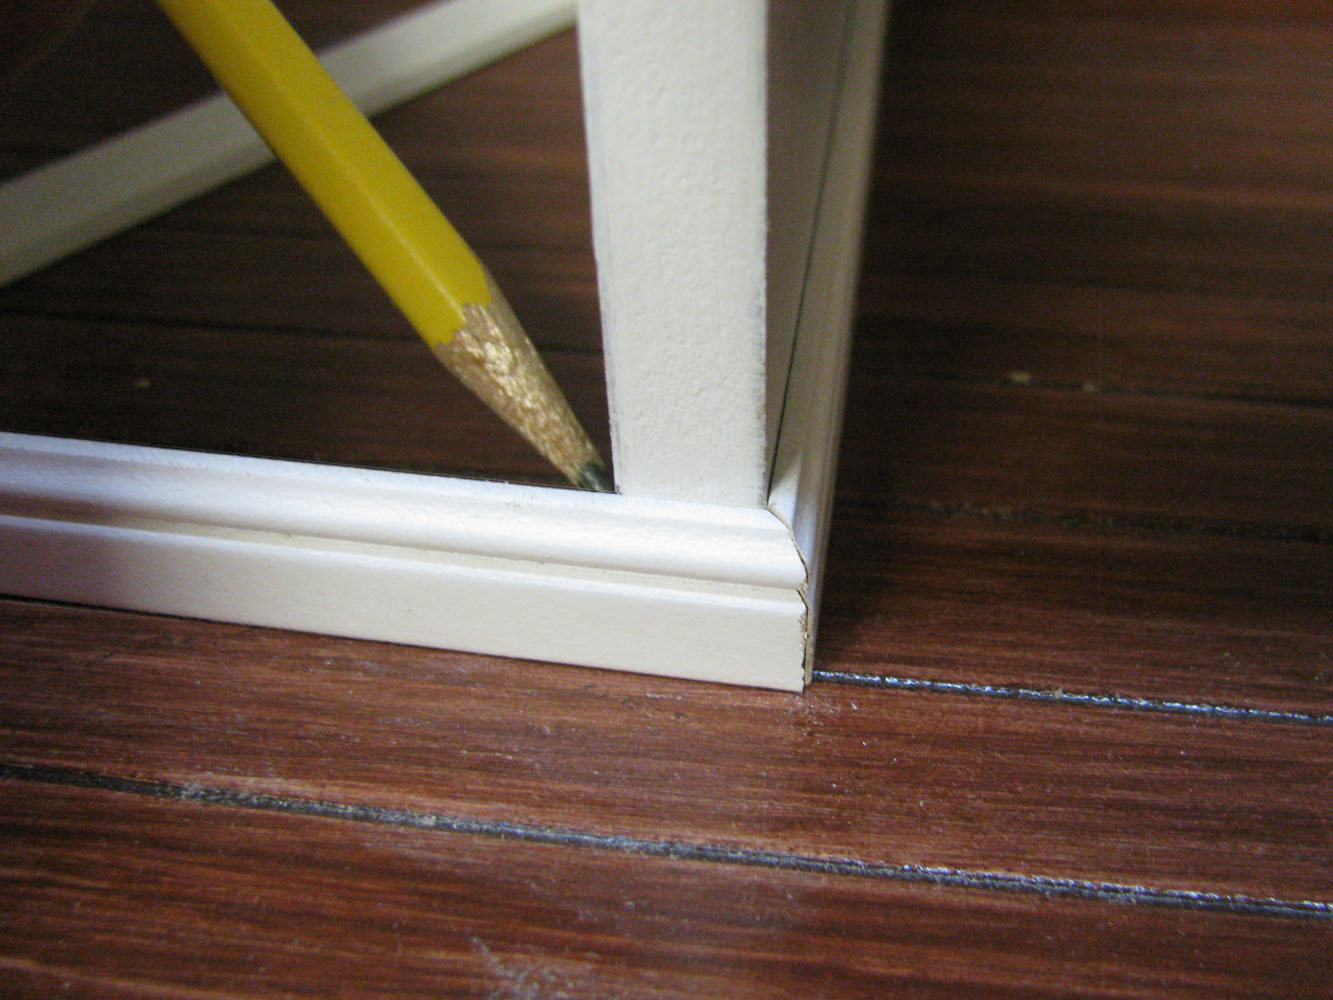
 the mark is at the "X" (where the lines cross)
BaseboardCrown/BaseboardCrown205_lg.jpg
the mark is at the "X" (where the lines cross)
BaseboardCrown/BaseboardCrown205_lg.jpg
the mark is at the "X" (where the lines cross)
BaseboardCrown/BaseboardCrown205_lg.jpg


DHTMLGoodies.com
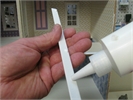
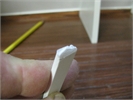
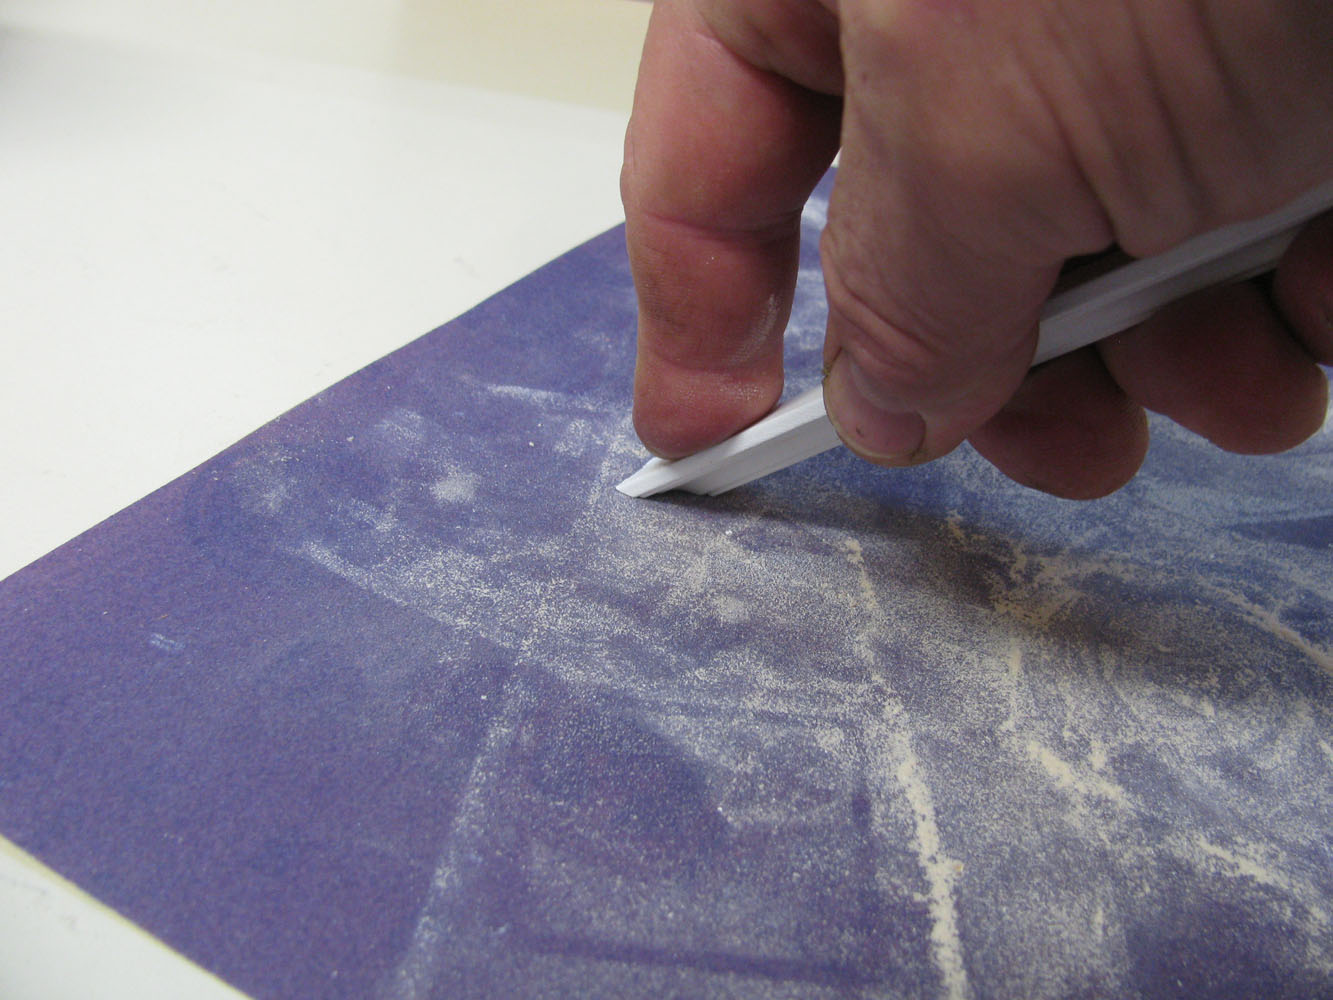
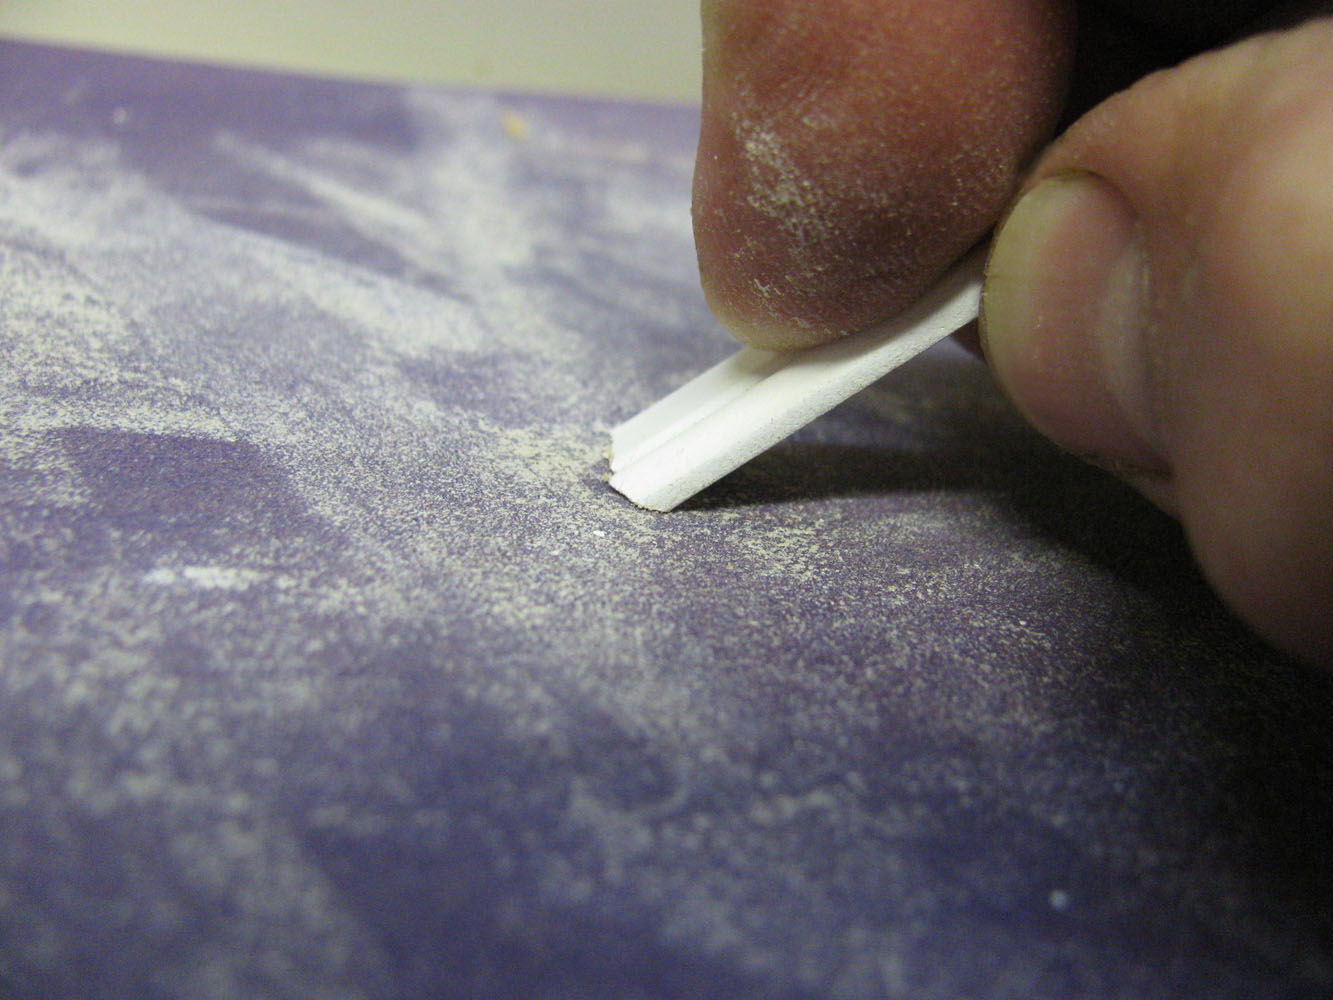
 Keeping the angle, I am sanding the roughness
BaseboardCrown/BaseboardCrown71_lg.jpg
Keeping the angle, I am sanding the roughness
BaseboardCrown/BaseboardCrown71_lg.jpg
Keeping the angle, I am sanding the roughness
BaseboardCrown/BaseboardCrown71_lg.jpg
DHTMLGoodies.com
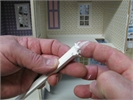
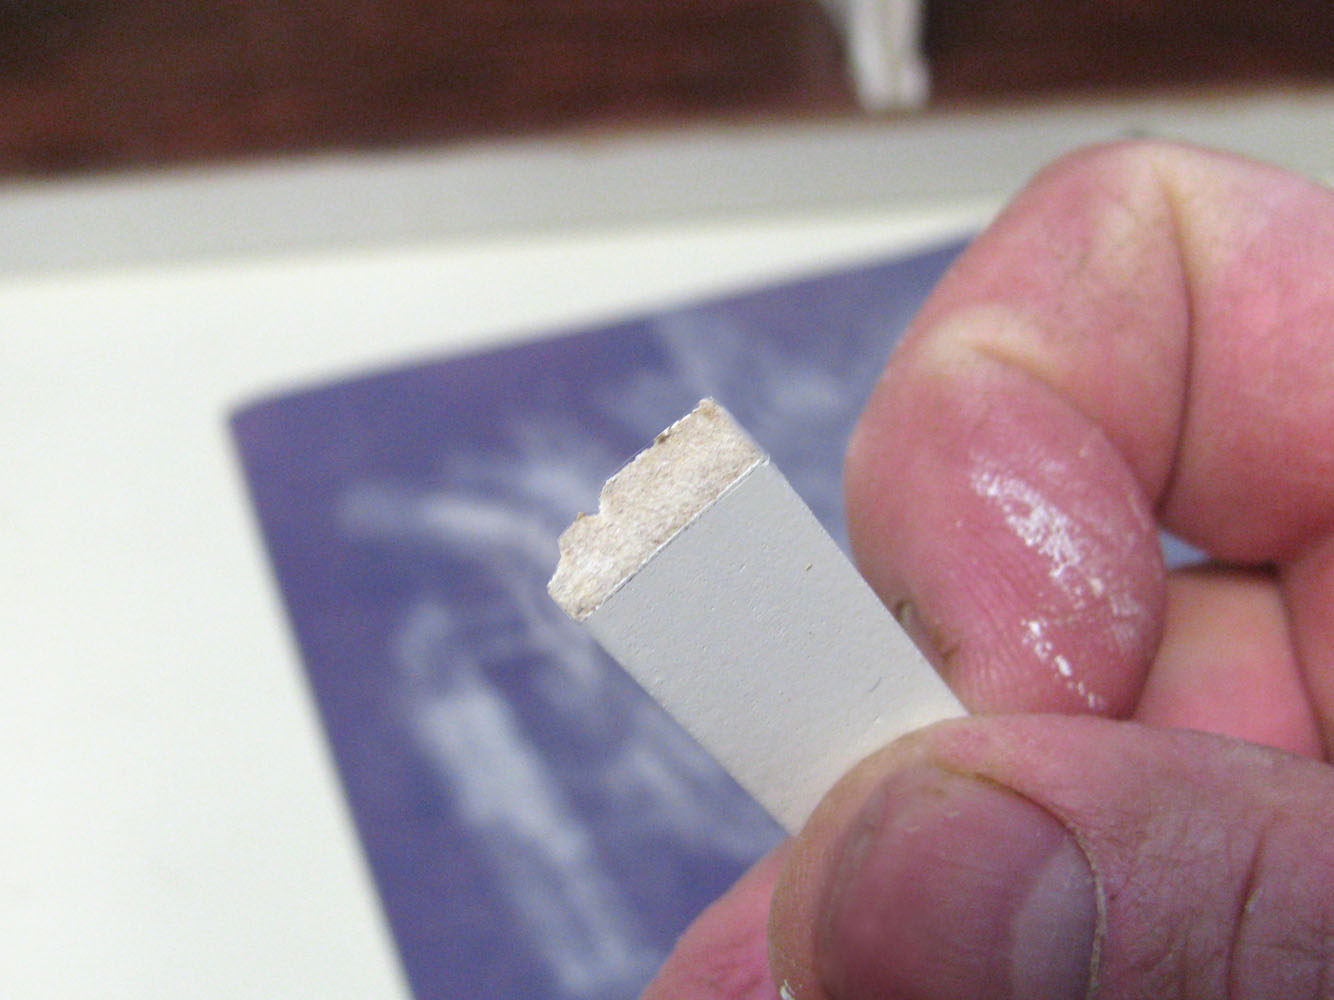
 Carving the inside of the joint (not the part that shows)
BaseboardCrown/BaseboardCrown213_lg.jpg
Carving the inside of the joint (not the part that shows)
BaseboardCrown/BaseboardCrown213_lg.jpg
Carving the inside of the joint (not the part that shows)
BaseboardCrown/BaseboardCrown213_lg.jpg


DHTMLGoodies.com
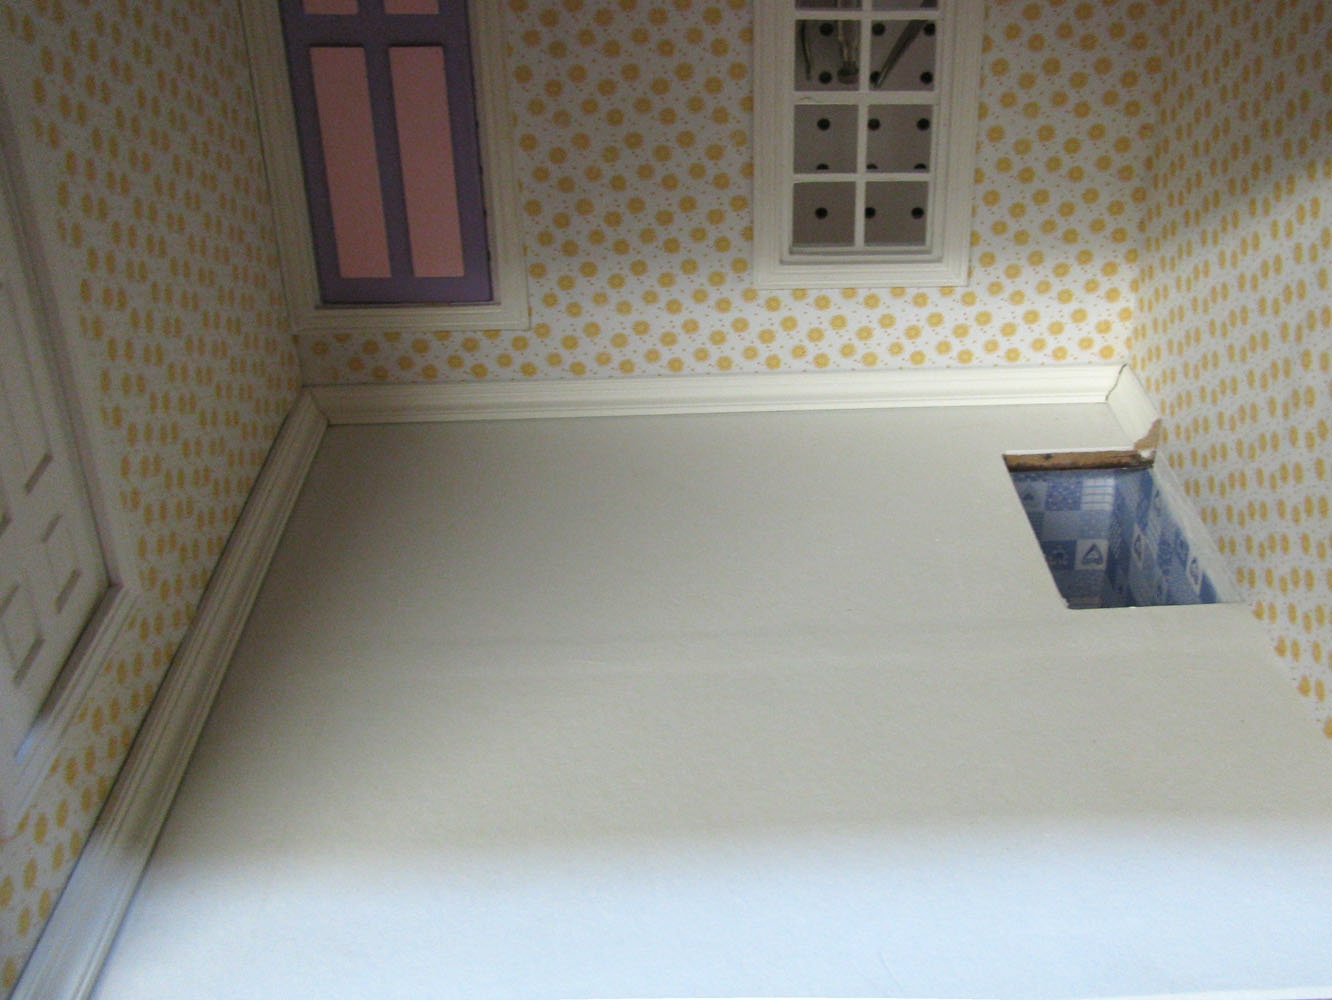
 If you're installing 6803 Landing Rails, wait to cut the remaining crown
BaseboardCrown/BaseboardCrown217_lg.jpg
If you're installing 6803 Landing Rails, wait to cut the remaining crown
BaseboardCrown/BaseboardCrown217_lg.jpg
If you're installing 6803 Landing Rails, wait to cut the remaining crown
BaseboardCrown/BaseboardCrown217_lg.jpg
DHTMLGoodies.com
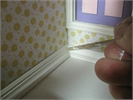
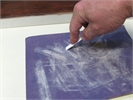
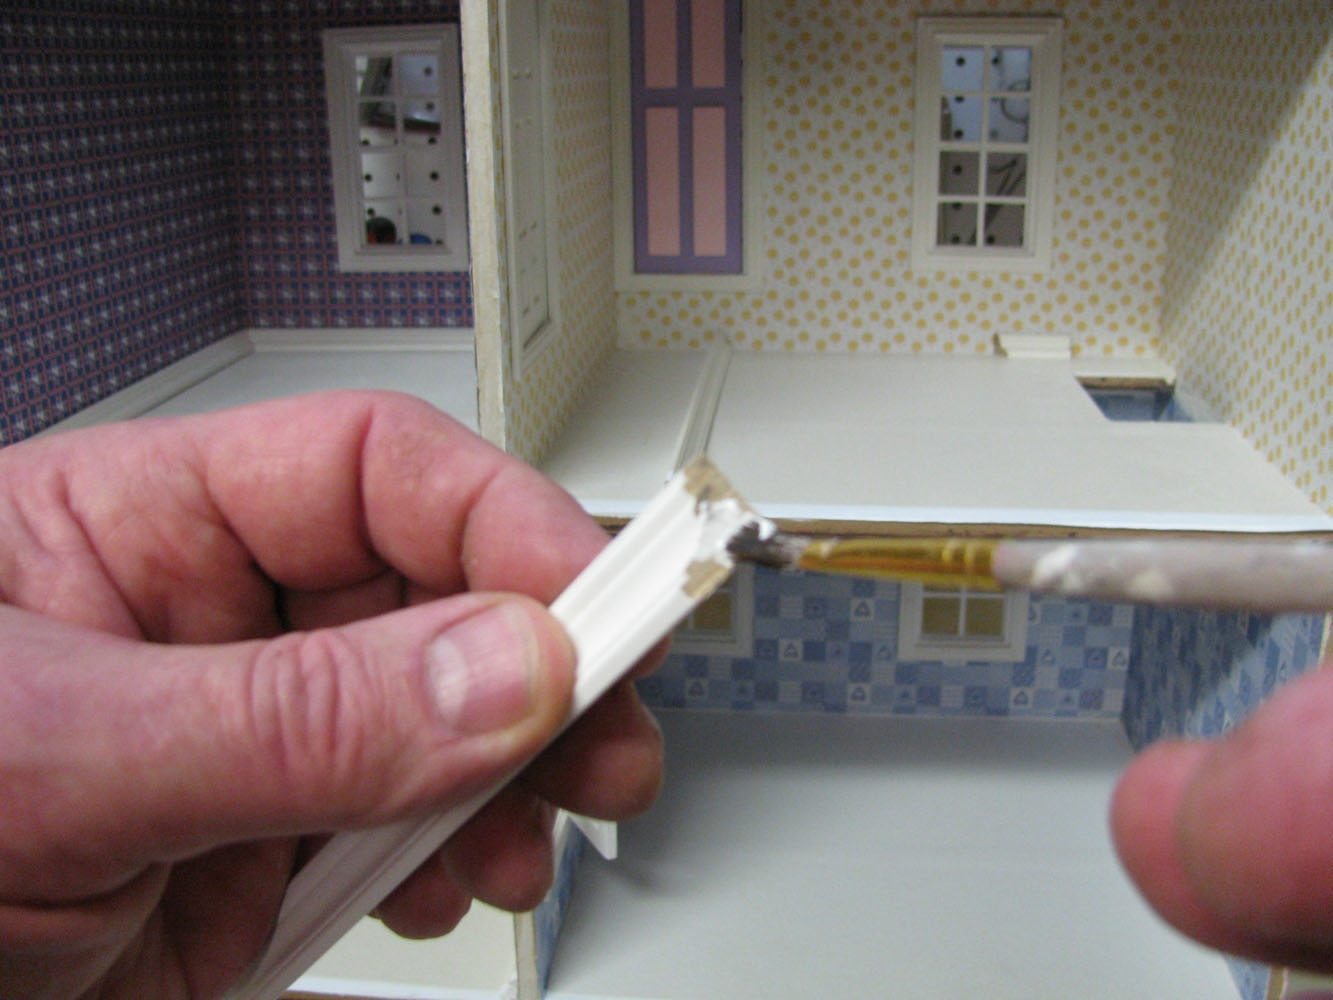
 Spackle the angled cut on the side Crown and paint the back ends
BaseboardCrown/BaseboardCrown219_lg.jpg
Spackle the angled cut on the side Crown and paint the back ends
BaseboardCrown/BaseboardCrown219_lg.jpg
Spackle the angled cut on the side Crown and paint the back ends
BaseboardCrown/BaseboardCrown219_lg.jpg
DHTMLGoodies.com
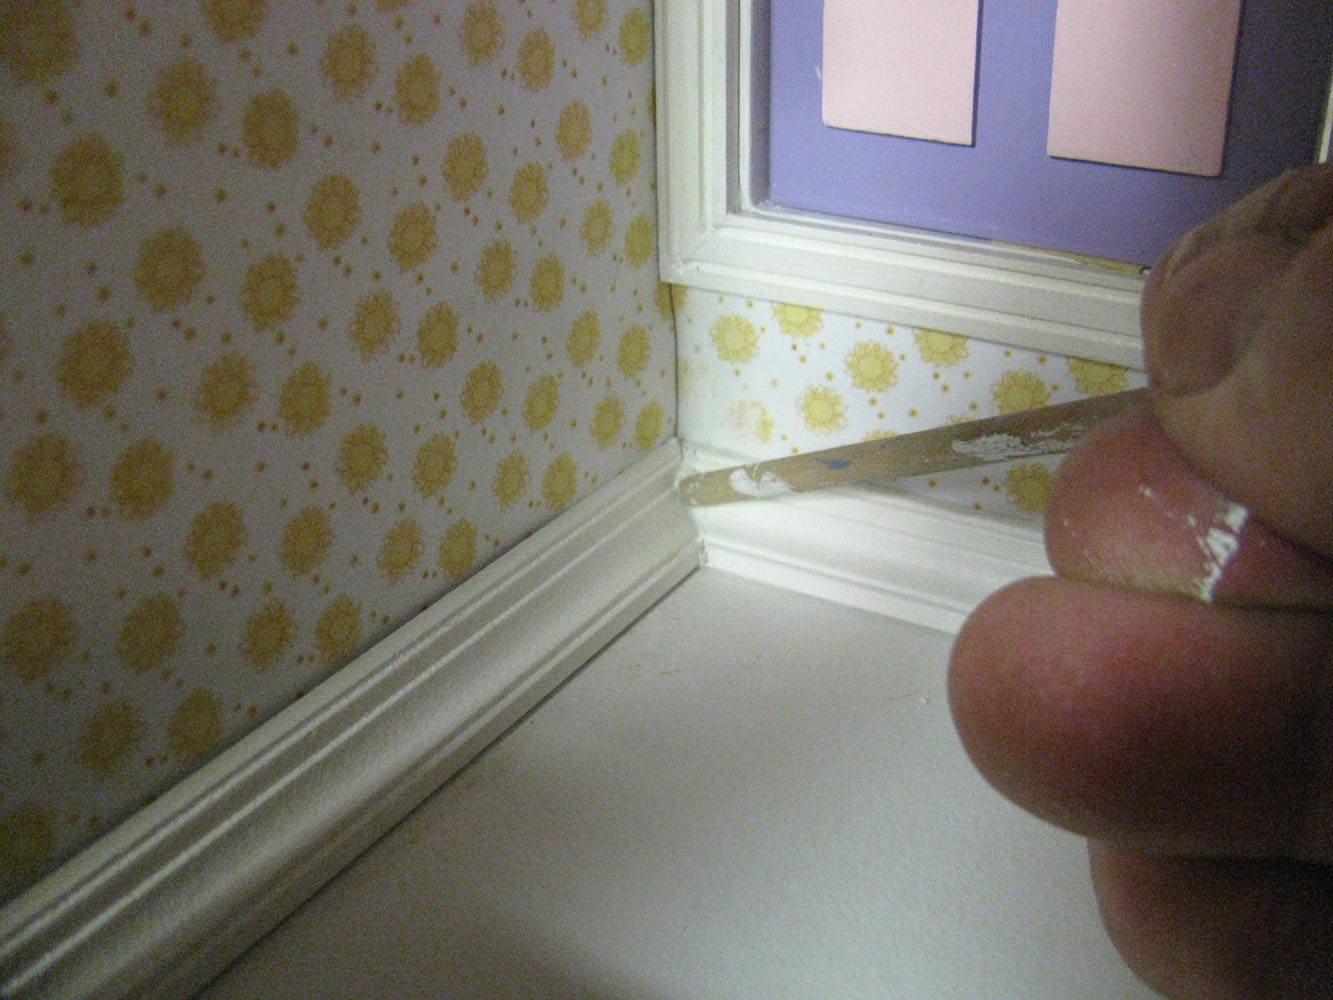
 Dress the spackle squeezings with the heal of the paintbrush
BaseboardCrown/BaseboardCrown221_lg.jpg
Dress the spackle squeezings with the heal of the paintbrush
BaseboardCrown/BaseboardCrown221_lg.jpg
Dress the spackle squeezings with the heal of the paintbrush
BaseboardCrown/BaseboardCrown221_lg.jpg
DHTMLGoodies.com
 ... and clean the top and bottom with the brissles
BaseboardCrown/BaseboardCrown222_lg.jpg
... and clean the top and bottom with the brissles
BaseboardCrown/BaseboardCrown222_lg.jpg
... and clean the top and bottom with the brissles
BaseboardCrown/BaseboardCrown222_lg.jpg
DHTMLGoodies.com
 Weight and clothes pin to hold the joints tight
BaseboardCrown/BaseboardCrown223_lg.jpg
Weight and clothes pin to hold the joints tight
BaseboardCrown/BaseboardCrown223_lg.jpg
Weight and clothes pin to hold the joints tight
BaseboardCrown/BaseboardCrown223_lg.jpg

DHTMLGoodies.com
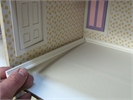
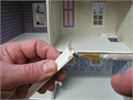
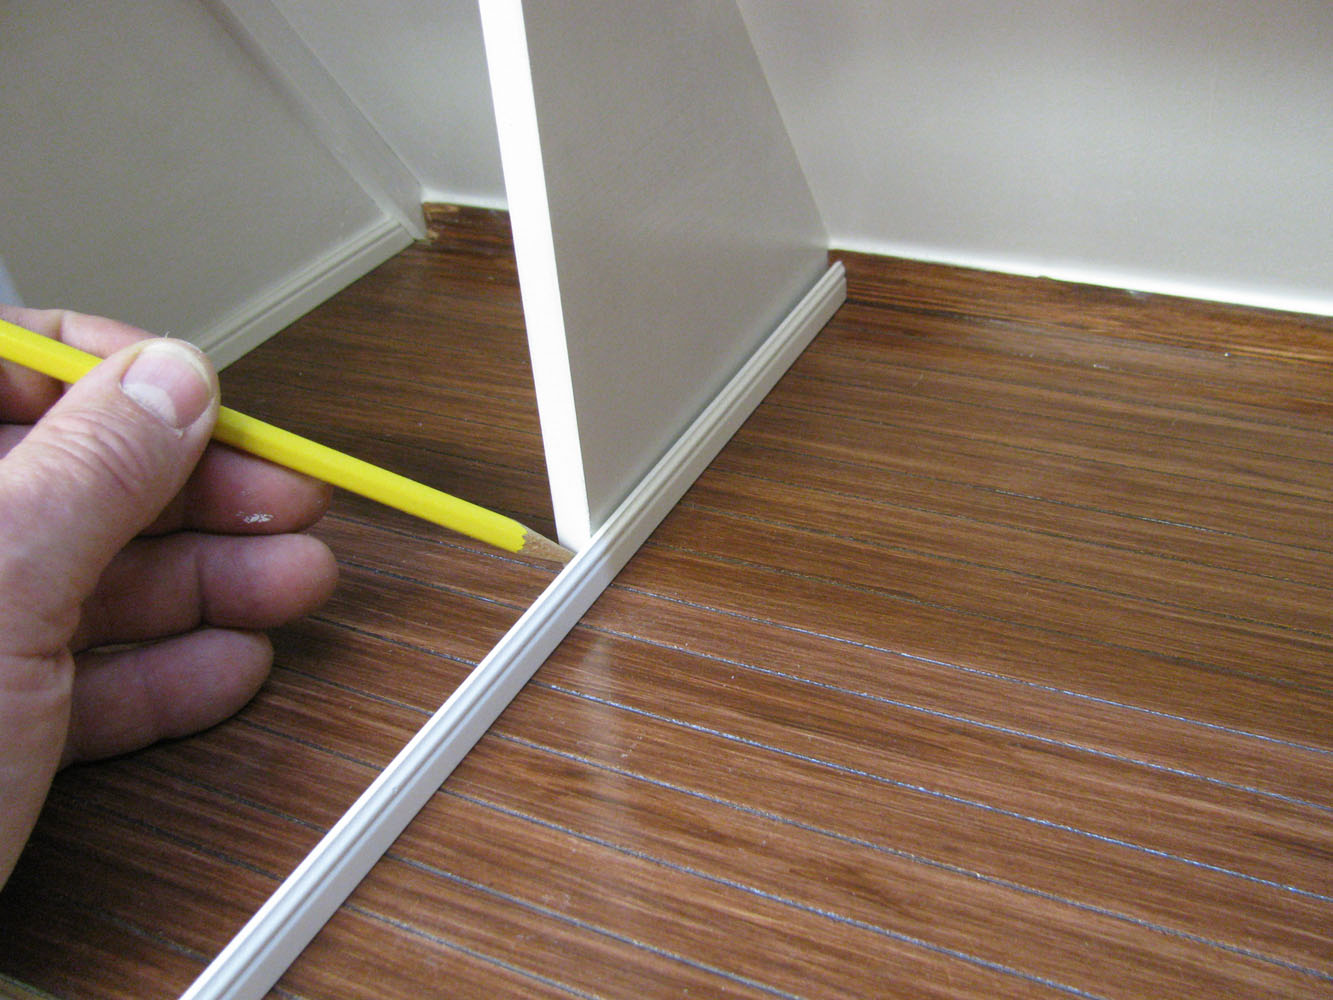
 Line up the outside edge of the kerf (the material the saw removes) with the mark
BaseboardCrown/BaseboardCrown231_lg.jpg
Line up the outside edge of the kerf (the material the saw removes) with the mark
BaseboardCrown/BaseboardCrown231_lg.jpg
Line up the outside edge of the kerf (the material the saw removes) with the mark
BaseboardCrown/BaseboardCrown231_lg.jpg

DHTMLGoodies.com
 Be careful with the angle and don't take off too much
BaseboardCrown/BaseboardCrown234_lg.jpg
Be careful with the angle and don't take off too much
BaseboardCrown/BaseboardCrown234_lg.jpg
Be careful with the angle and don't take off too much
BaseboardCrown/BaseboardCrown234_lg.jpg
DHTMLGoodies.com
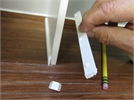
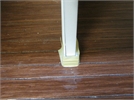
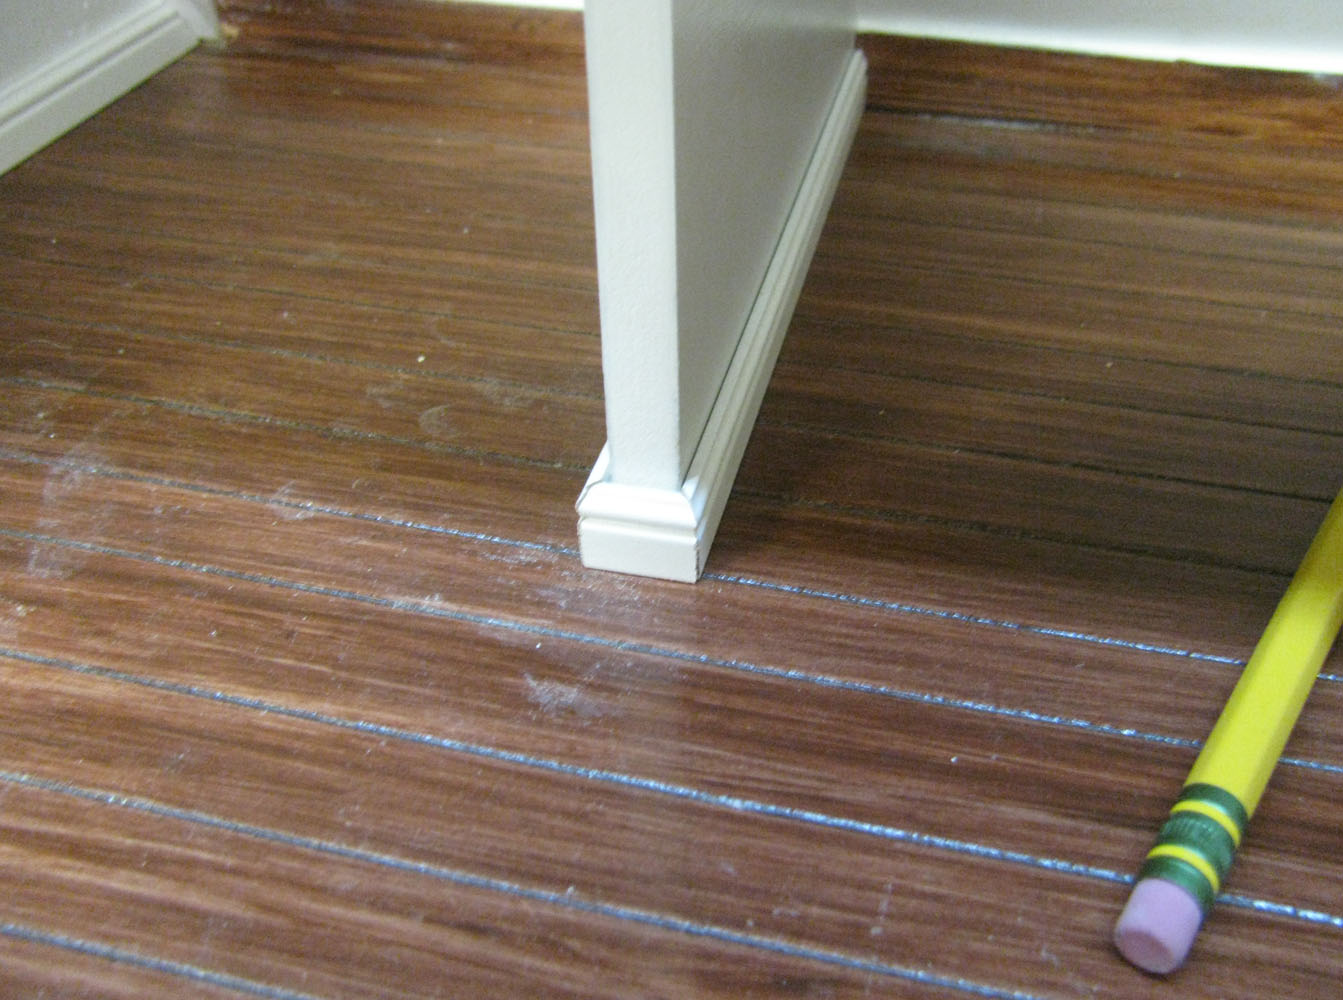
 Make one for the other side of the Attic Partition
BaseboardCrown/BaseboardCrown236_lg.jpg
Make one for the other side of the Attic Partition
BaseboardCrown/BaseboardCrown236_lg.jpg
Make one for the other side of the Attic Partition
BaseboardCrown/BaseboardCrown236_lg.jpg


DHTMLGoodies.com
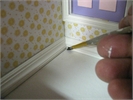
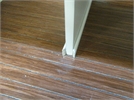
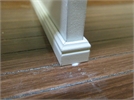
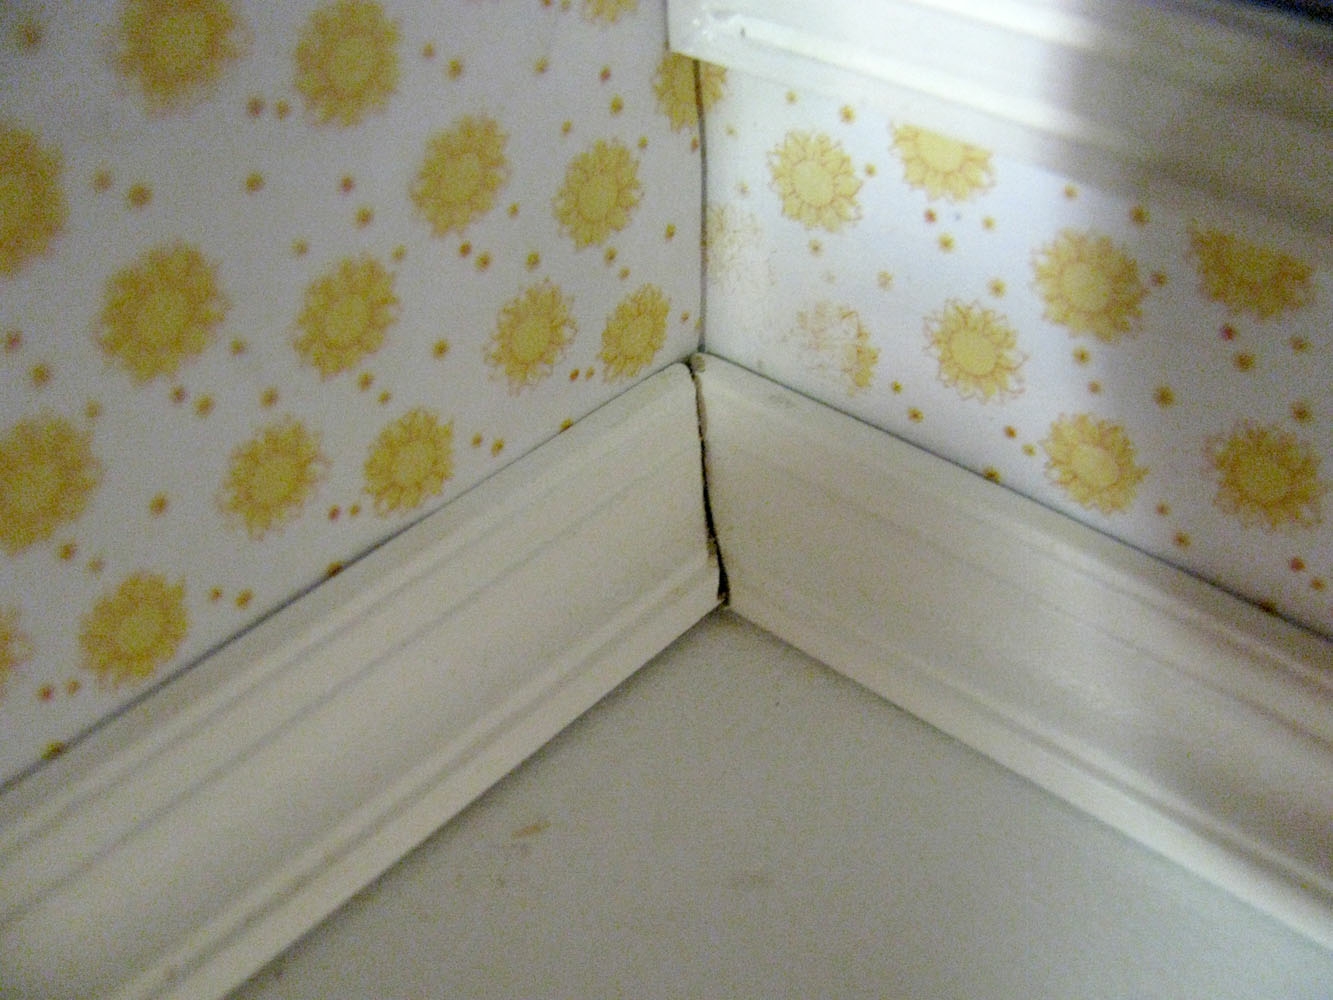
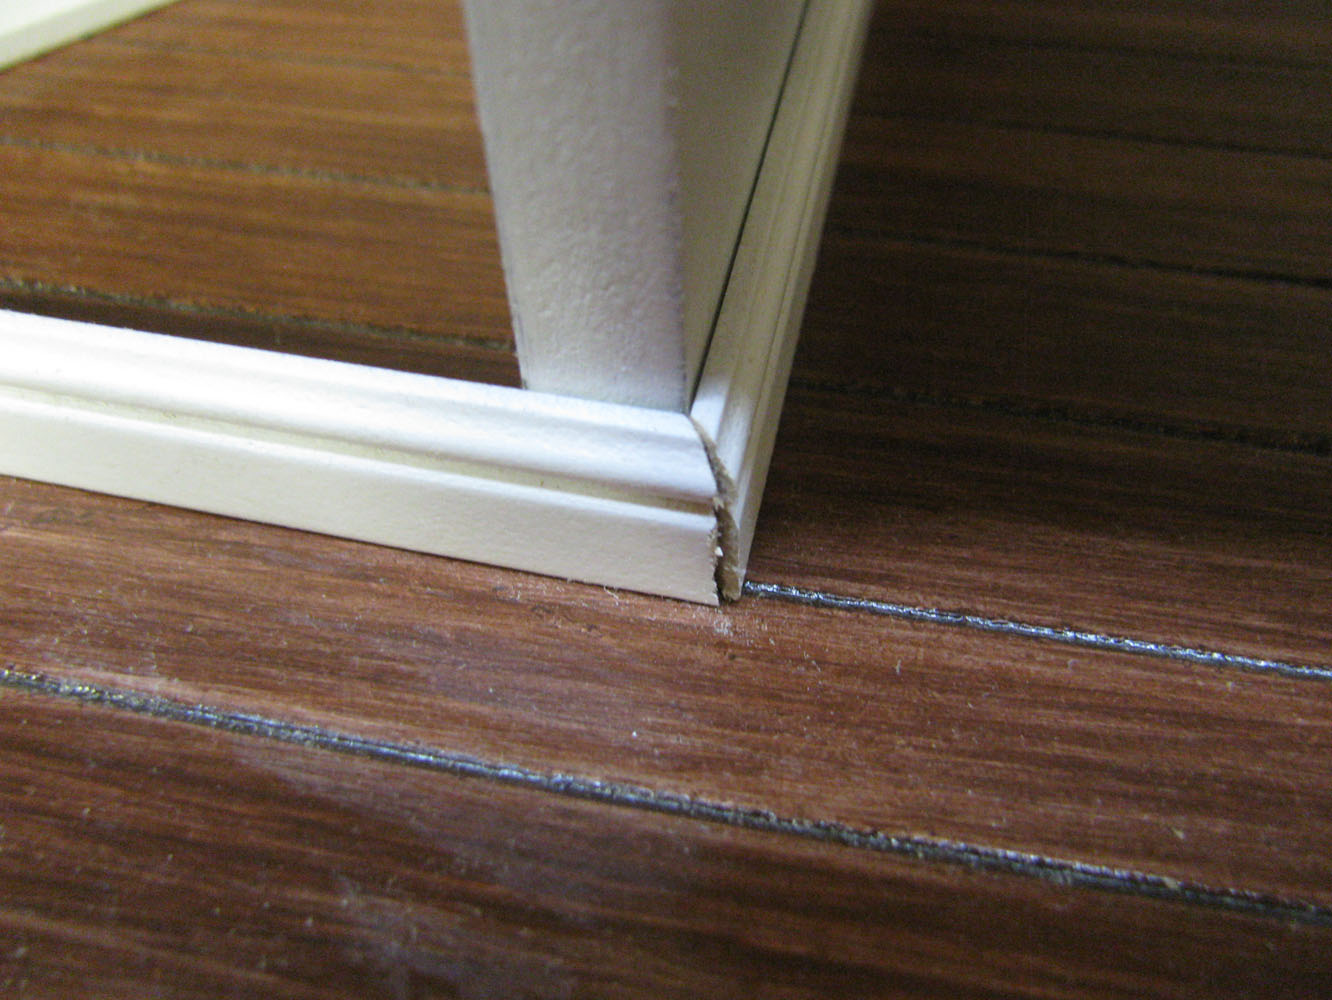
 That's a good fit - marking for the second miter
BaseboardCrown/BaseboardCrown239_lg.jpg
That's a good fit - marking for the second miter
BaseboardCrown/BaseboardCrown239_lg.jpg
That's a good fit - marking for the second miter
BaseboardCrown/BaseboardCrown239_lg.jpg

DHTMLGoodies.com
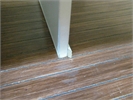
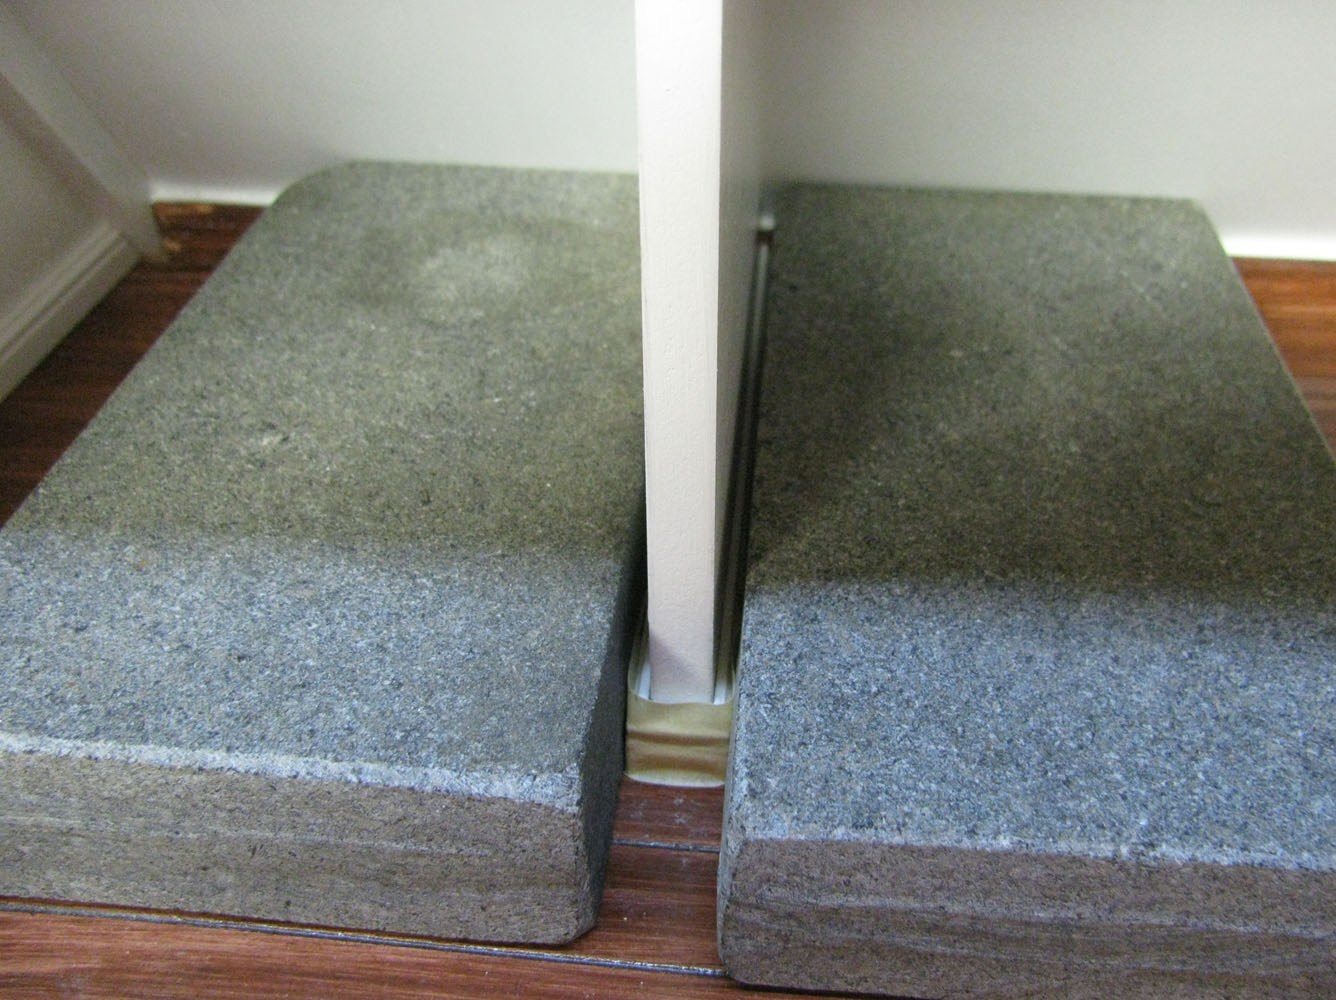
 Weight keeps the Baseboard tight while the glue dries
BaseboardCrown/BaseboardCrown245_lg.jpg
Weight keeps the Baseboard tight while the glue dries
BaseboardCrown/BaseboardCrown245_lg.jpg
Weight keeps the Baseboard tight while the glue dries
BaseboardCrown/BaseboardCrown245_lg.jpg
