![]()
![]()
![]()
![]()
![]()
![]()
![]()
![]()
![]()
![]()
![]()
Baseboard and Crown Molding using the
#J-FK-P set
 |
| Craft Saw & Miter Box |
 |
| EZ Cutter & Sandpaper |
 |
| Hacksaw & Craft Knife |
DHTMLGoodies.com
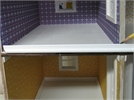
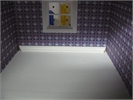
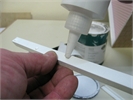
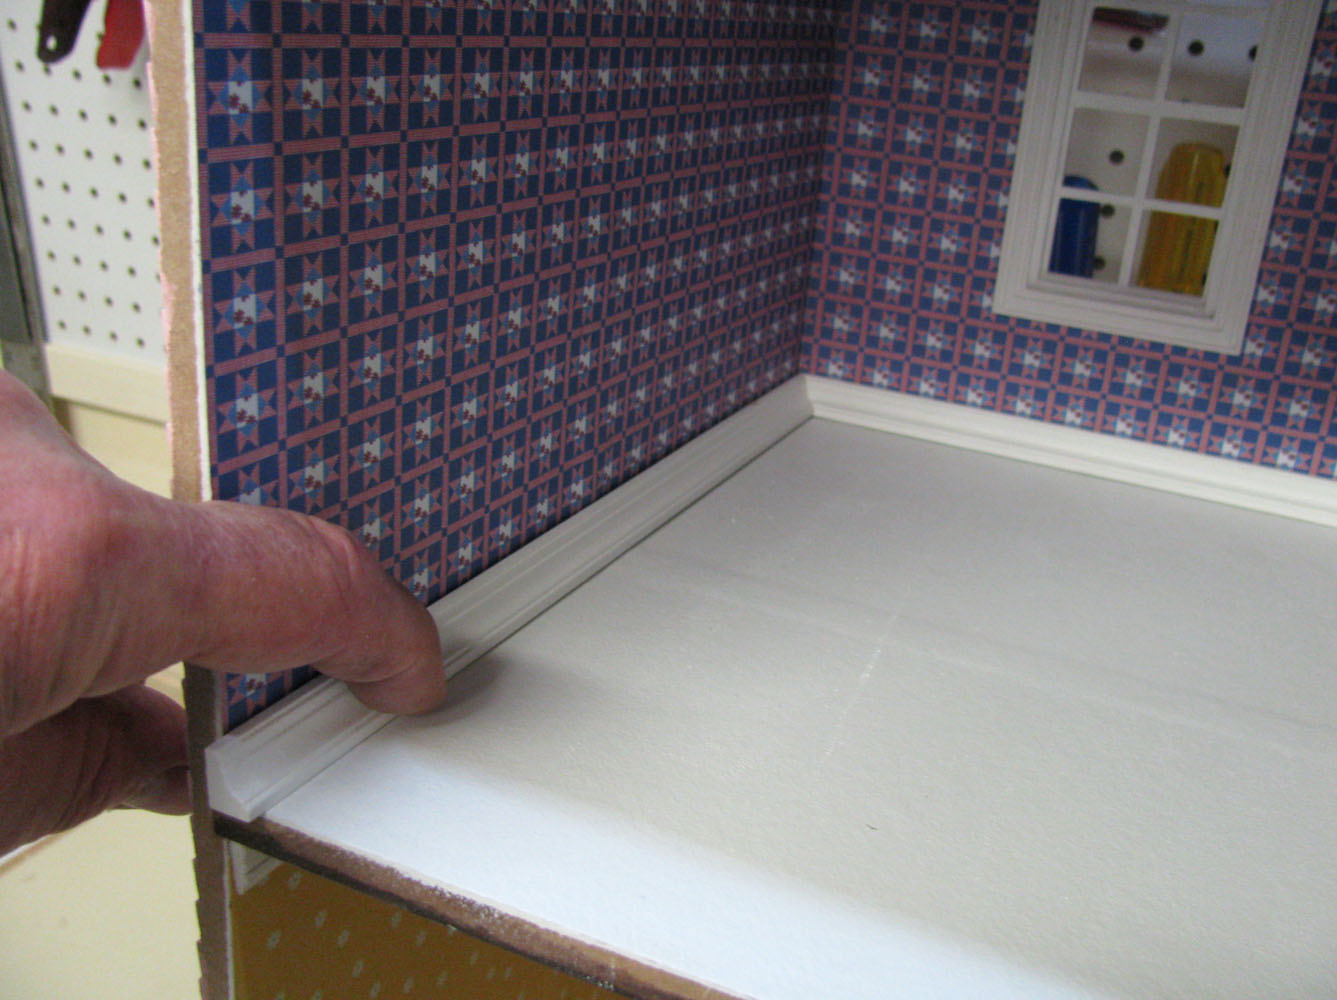
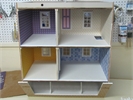 The house is up-side-down for installing Crown
BaseboardCrown/BaseboardCrown60_lg.jpg
The house is up-side-down for installing Crown
BaseboardCrown/BaseboardCrown60_lg.jpg
The house is up-side-down for installing Crown
BaseboardCrown/BaseboardCrown60_lg.jpg

DHTMLGoodies.com
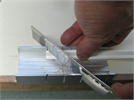
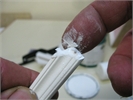
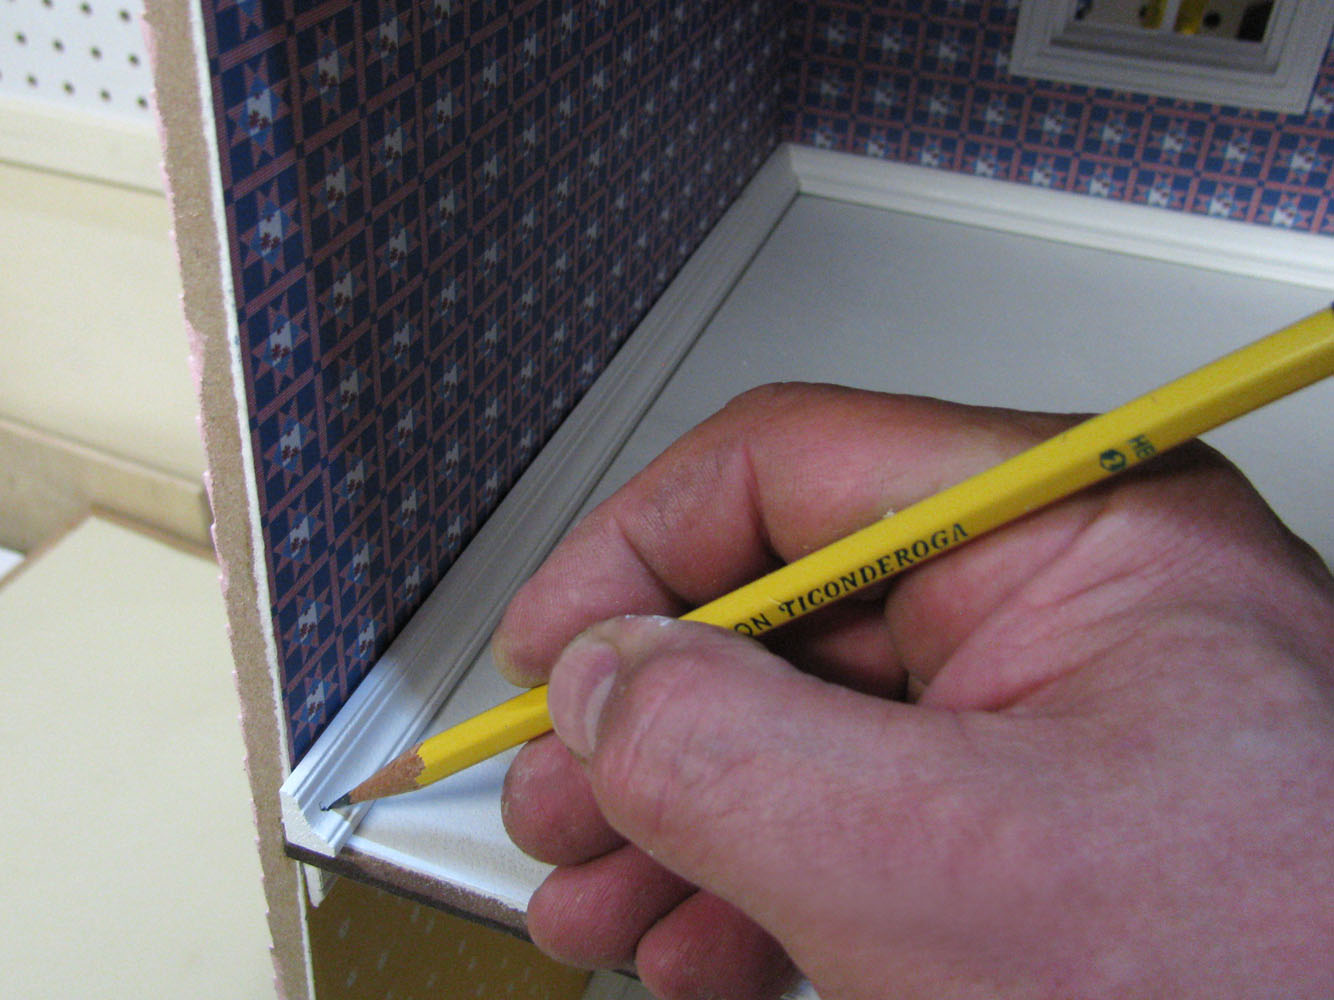
 Keep the back up-and-down as you cut the Crown
BaseboardCrown/BaseboardCrown62_lg.jpg
Keep the back up-and-down as you cut the Crown
BaseboardCrown/BaseboardCrown62_lg.jpg
Keep the back up-and-down as you cut the Crown
BaseboardCrown/BaseboardCrown62_lg.jpg
DHTMLGoodies.com
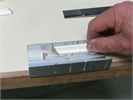
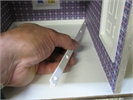
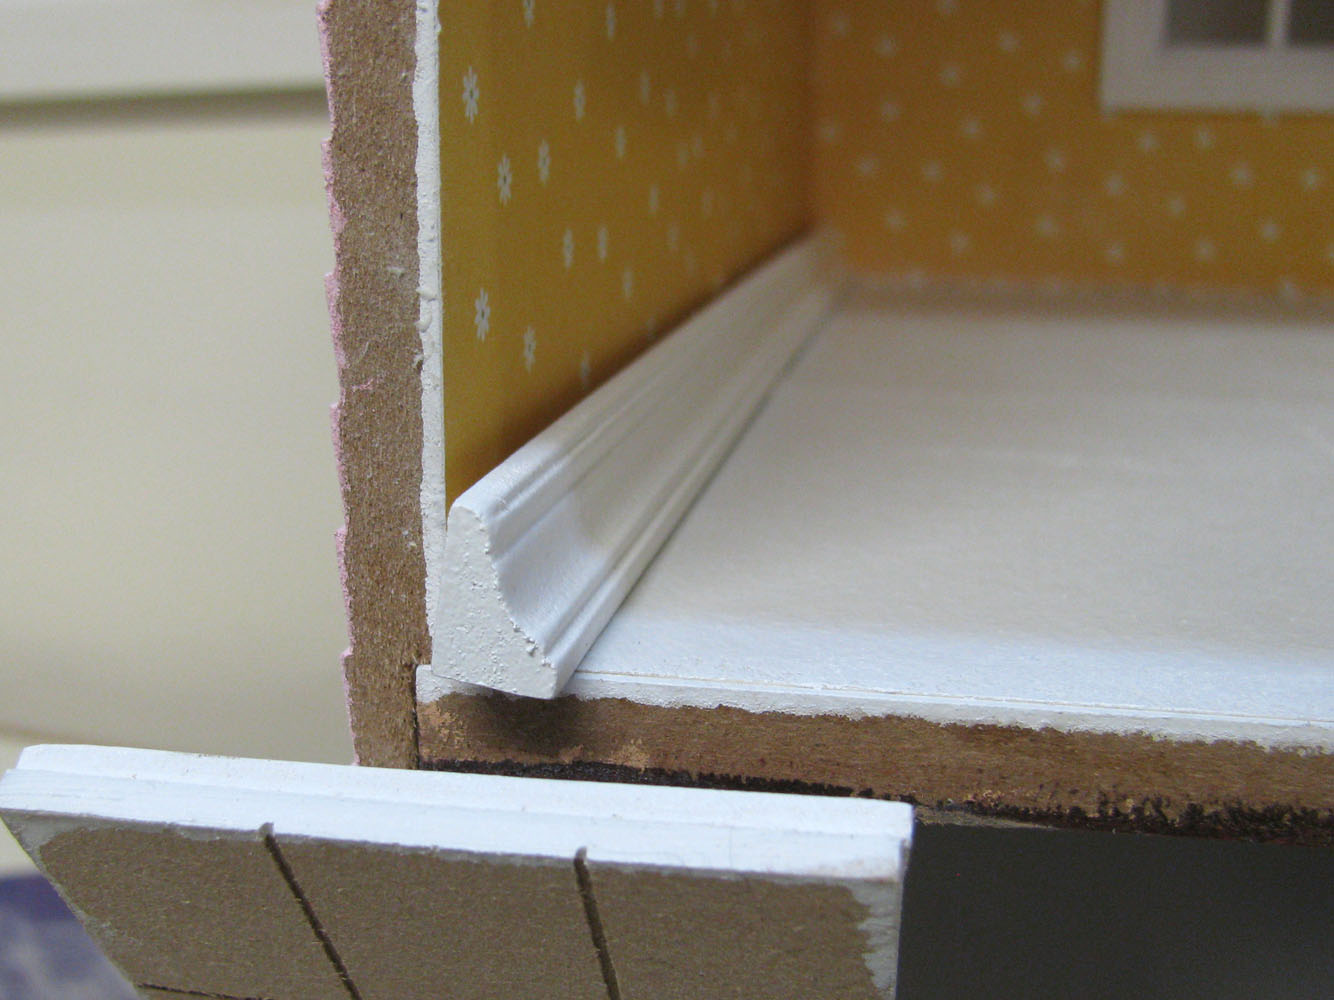
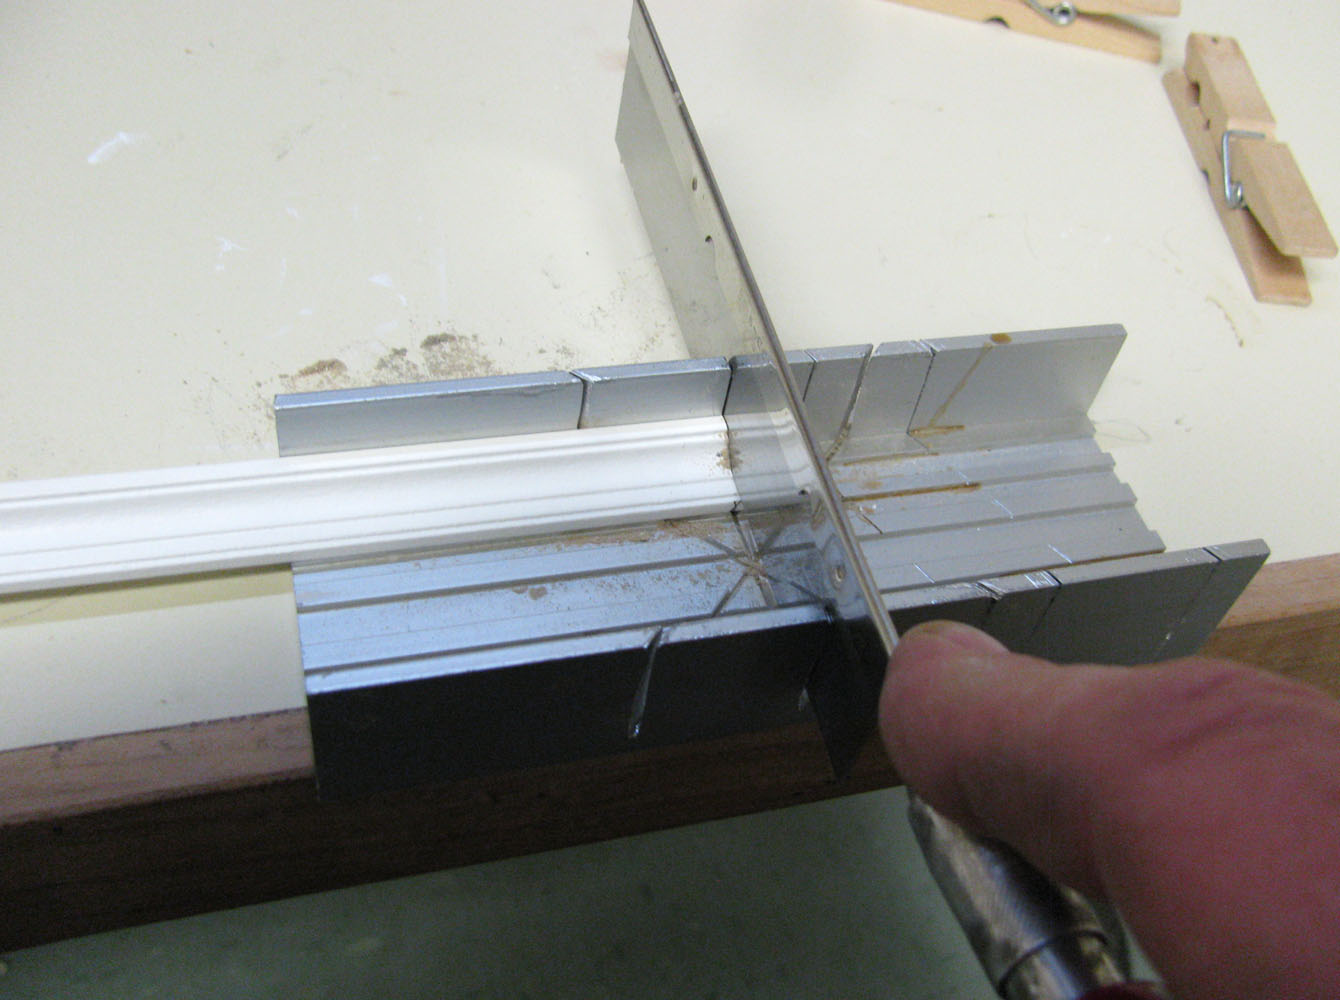
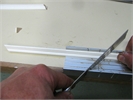 The original orientation but cut this direction gives a right miter
BaseboardCrown/BaseboardCrown104_lg.jpg
The original orientation but cut this direction gives a right miter
BaseboardCrown/BaseboardCrown104_lg.jpg
The original orientation but cut this direction gives a right miter
BaseboardCrown/BaseboardCrown104_lg.jpg
DHTMLGoodies.com
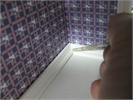
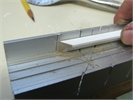 Turning the molding up-side-down will also give a right miter
BaseboardCrown/BaseboardCrown107_lg.jpg
Turning the molding up-side-down will also give a right miter
BaseboardCrown/BaseboardCrown107_lg.jpg
Turning the molding up-side-down will also give a right miter
BaseboardCrown/BaseboardCrown107_lg.jpg
DHTMLGoodies.com
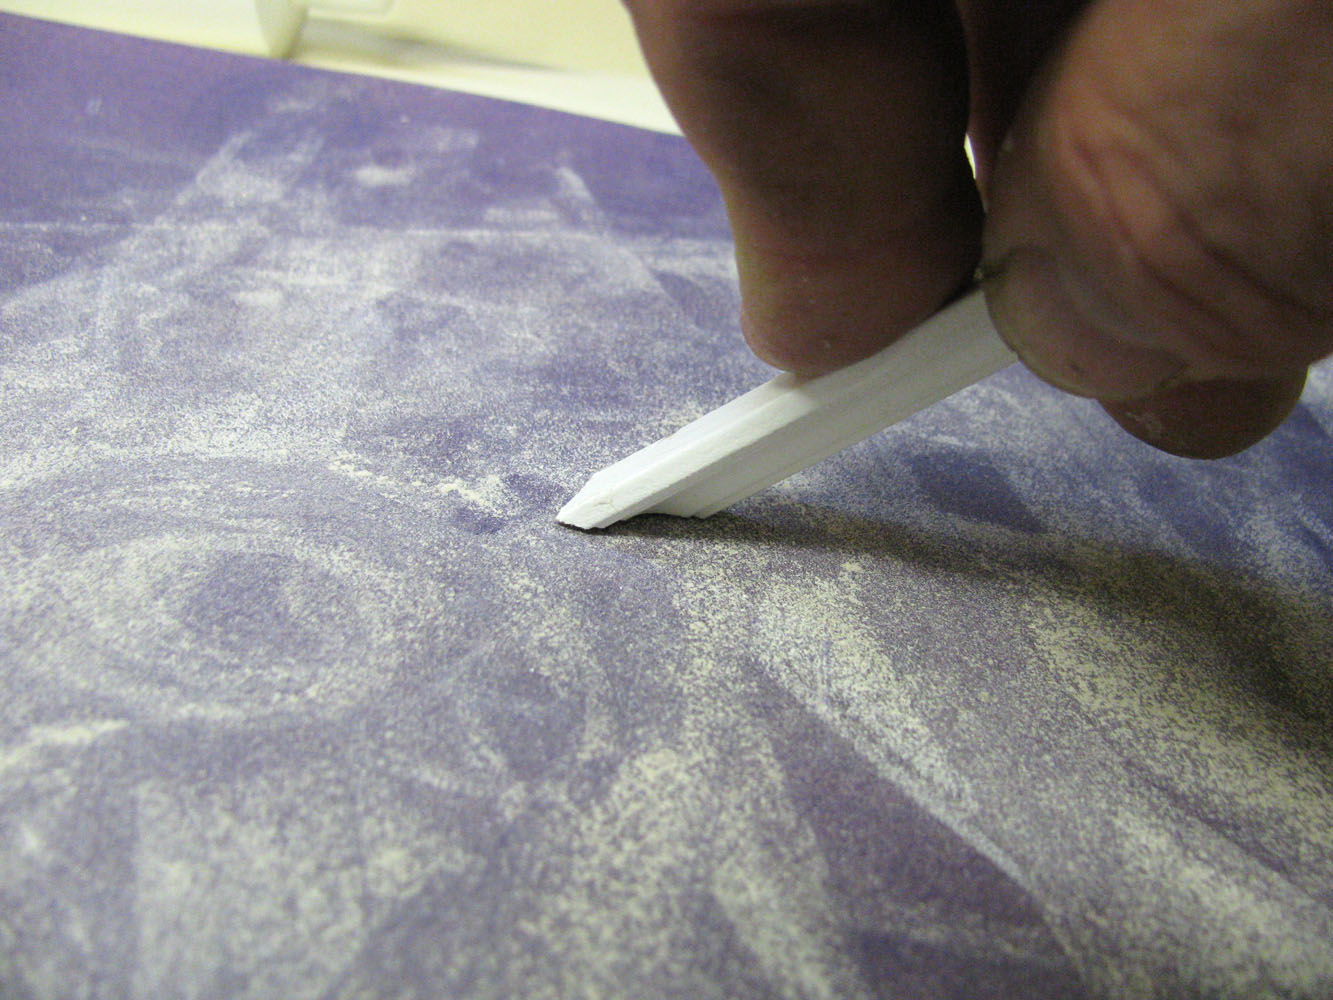
 Tiny adjustments can be made by sanding or carving
BaseboardCrown/BaseboardCrown105_lg.jpg
Tiny adjustments can be made by sanding or carving
BaseboardCrown/BaseboardCrown105_lg.jpg
Tiny adjustments can be made by sanding or carving
BaseboardCrown/BaseboardCrown105_lg.jpg


DHTMLGoodies.com
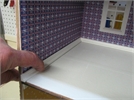
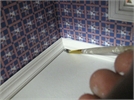
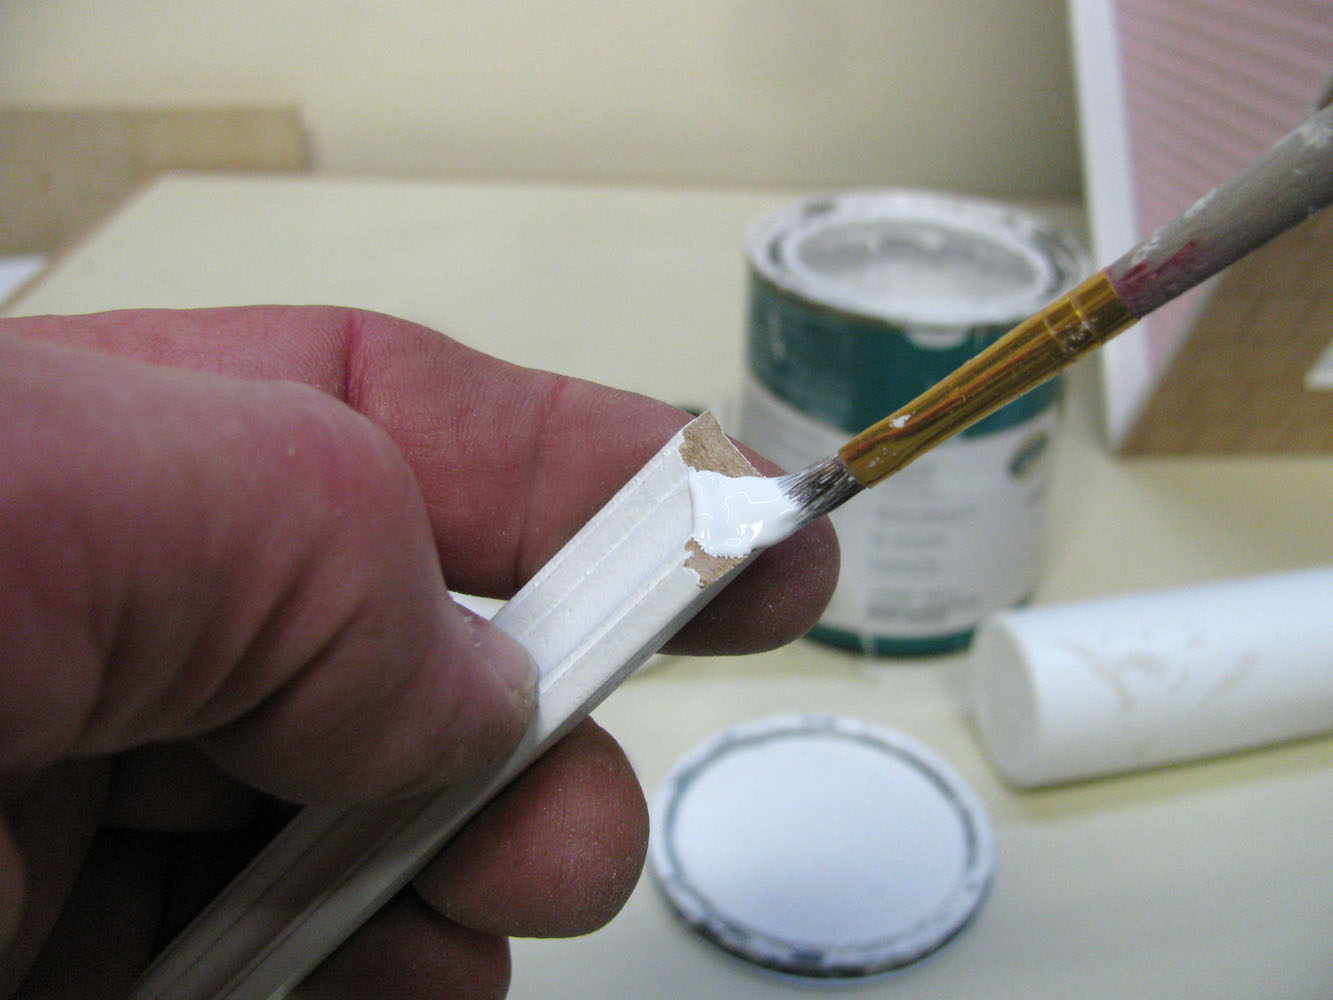
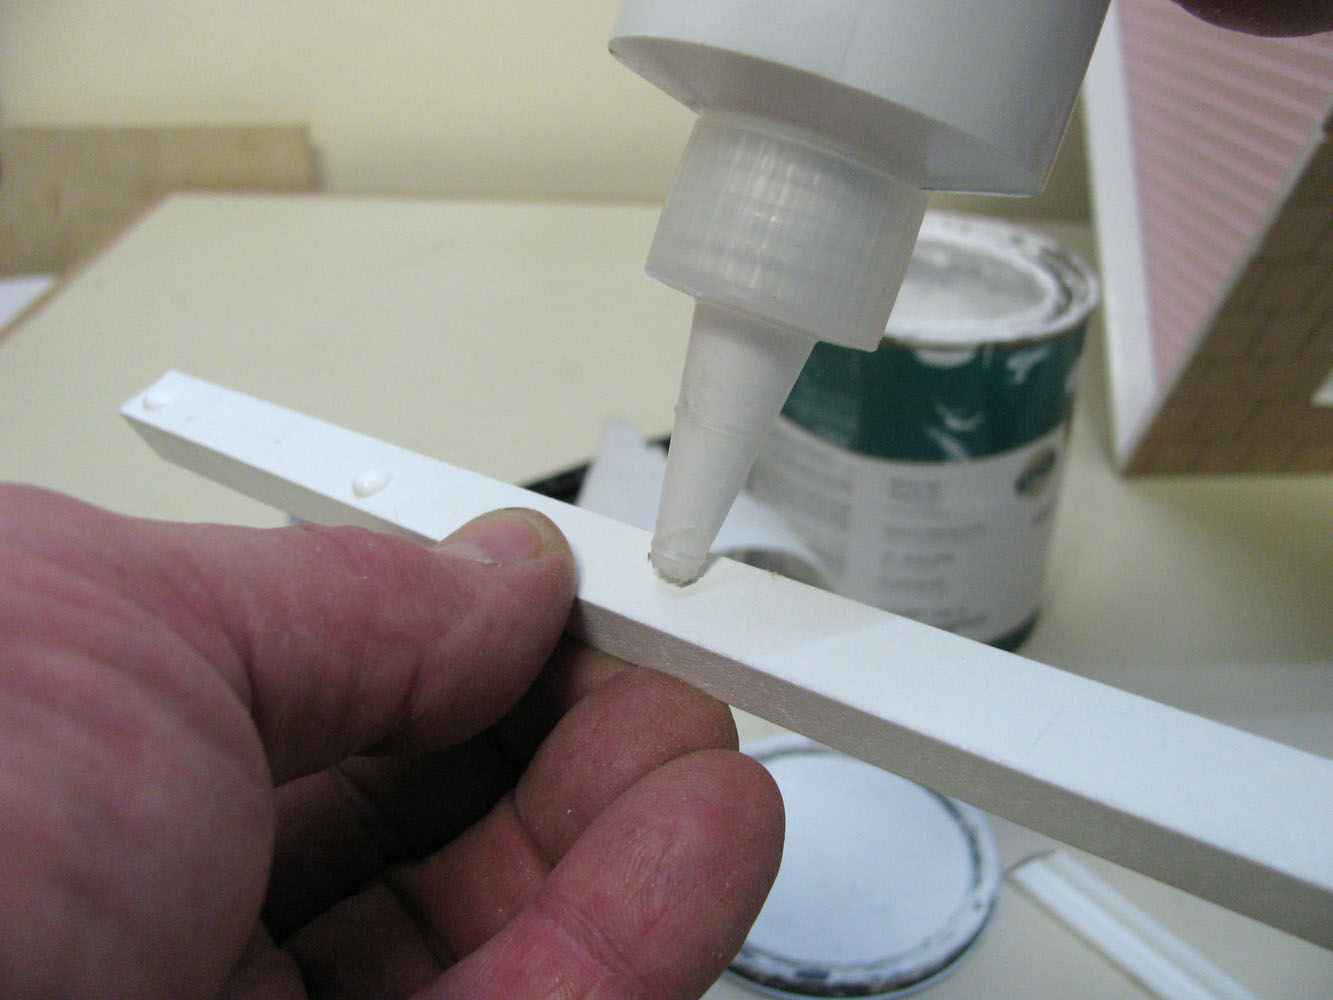
 Paint the ends of the Front Molding to minimize the appearance of the joint
BaseboardCrown/BaseboardCrown111_lg.jpg
Paint the ends of the Front Molding to minimize the appearance of the joint
BaseboardCrown/BaseboardCrown111_lg.jpg
Paint the ends of the Front Molding to minimize the appearance of the joint
BaseboardCrown/BaseboardCrown111_lg.jpg

DHTMLGoodies.com
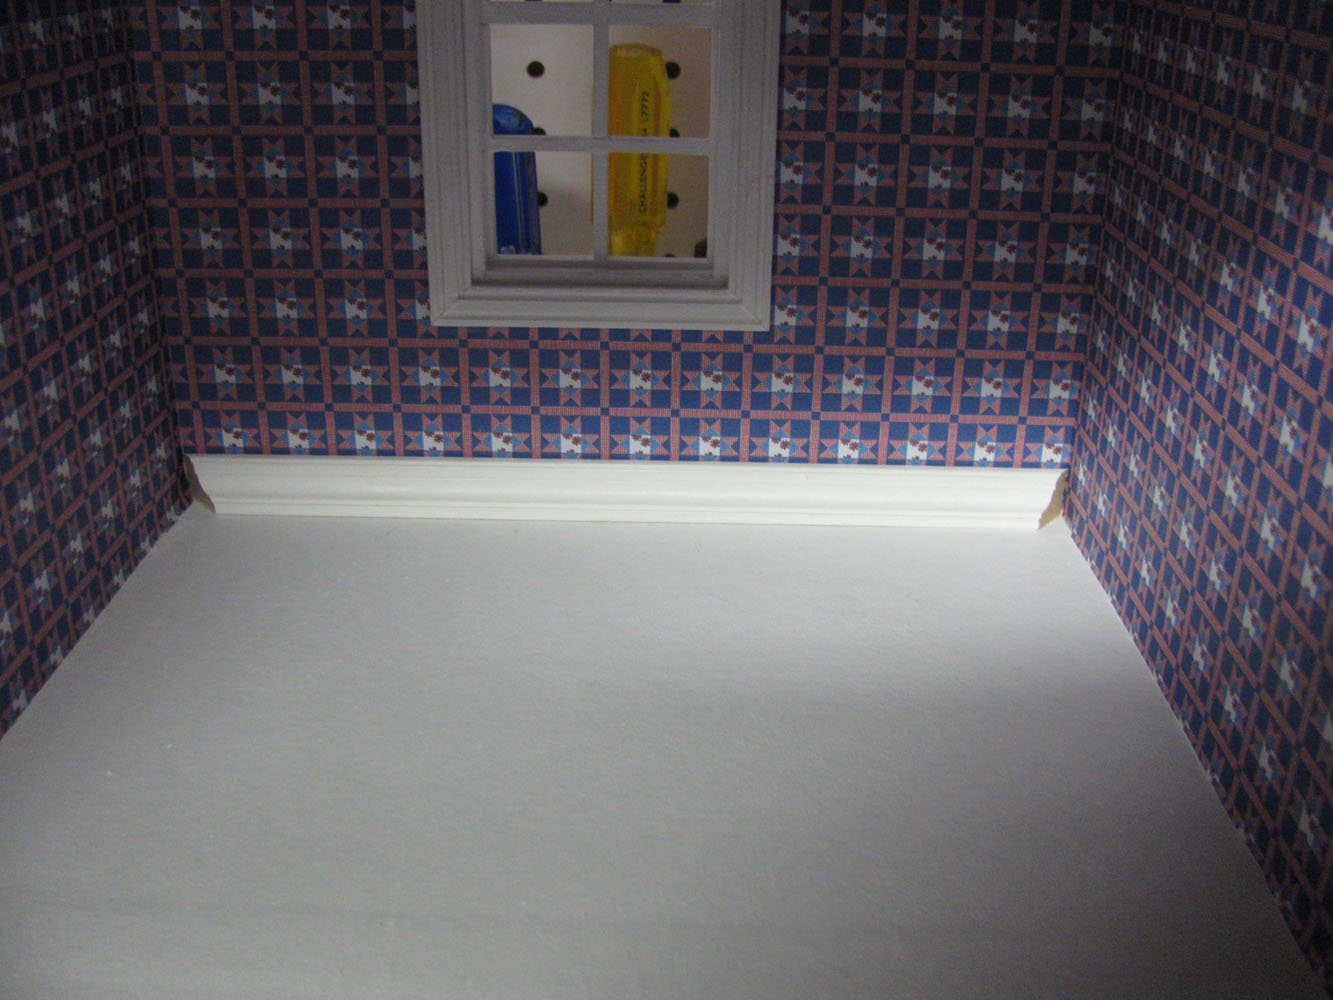
 Spackle the miters to make the fit invisible
BaseboardCrown/BaseboardCrown112_lg.jpg
Spackle the miters to make the fit invisible
BaseboardCrown/BaseboardCrown112_lg.jpg
Spackle the miters to make the fit invisible
BaseboardCrown/BaseboardCrown112_lg.jpg
DHTMLGoodies.com
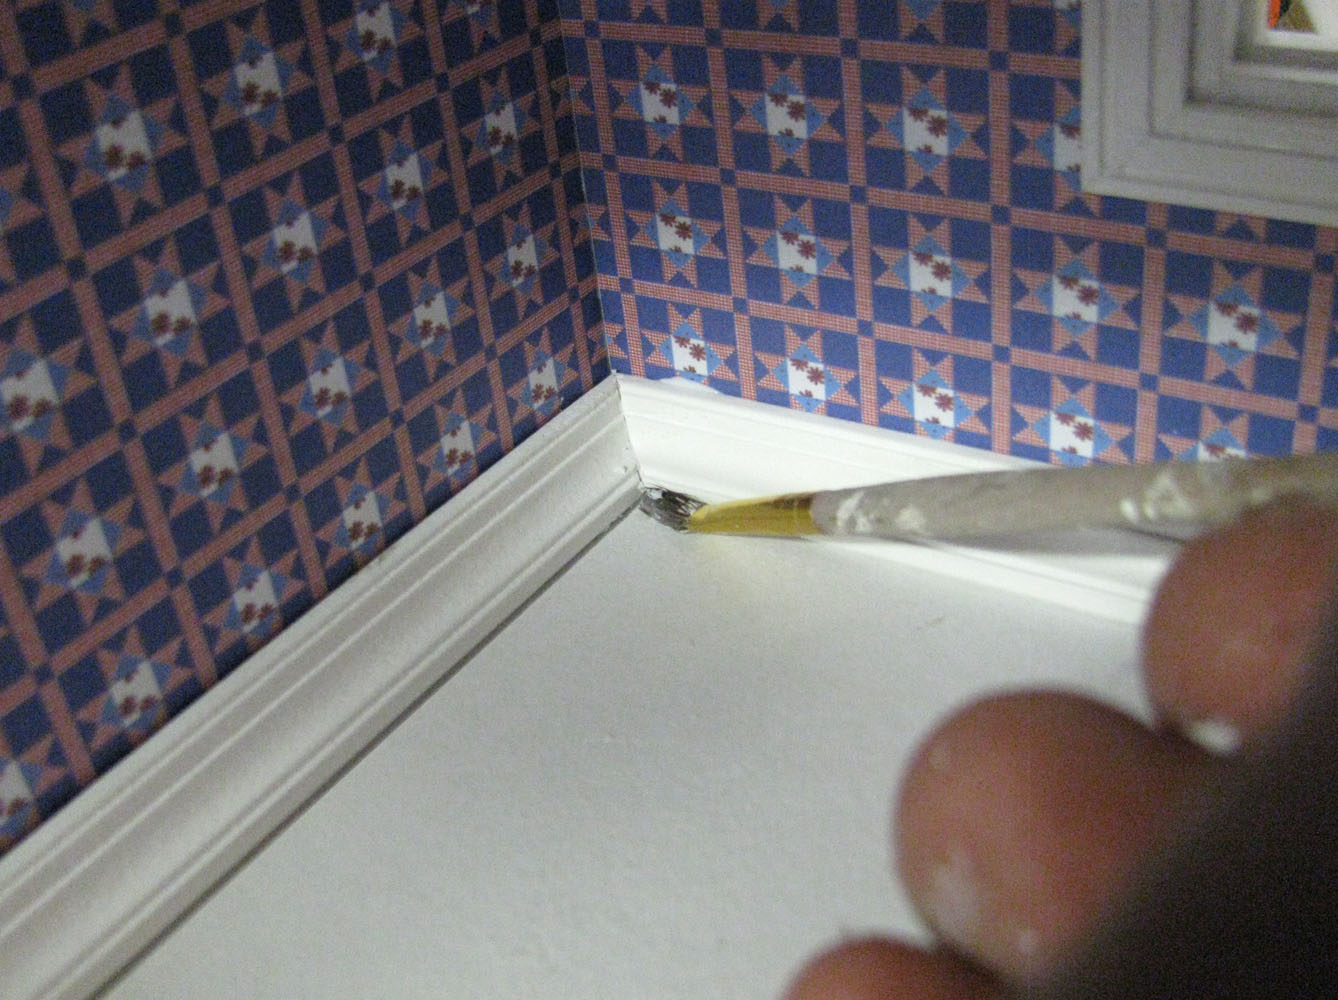
 The heal of the paintbrush dresses the joint
BaseboardCrown/BaseboardCrown116_lg.jpg
The heal of the paintbrush dresses the joint
BaseboardCrown/BaseboardCrown116_lg.jpg
The heal of the paintbrush dresses the joint
BaseboardCrown/BaseboardCrown116_lg.jpg
DHTMLGoodies.com
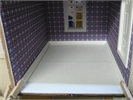 Clotherpins and weights (if necessary) to keep the moldings tight
BaseboardCrown/BaseboardCrown118_lg.jpg
Clotherpins and weights (if necessary) to keep the moldings tight
BaseboardCrown/BaseboardCrown118_lg.jpg
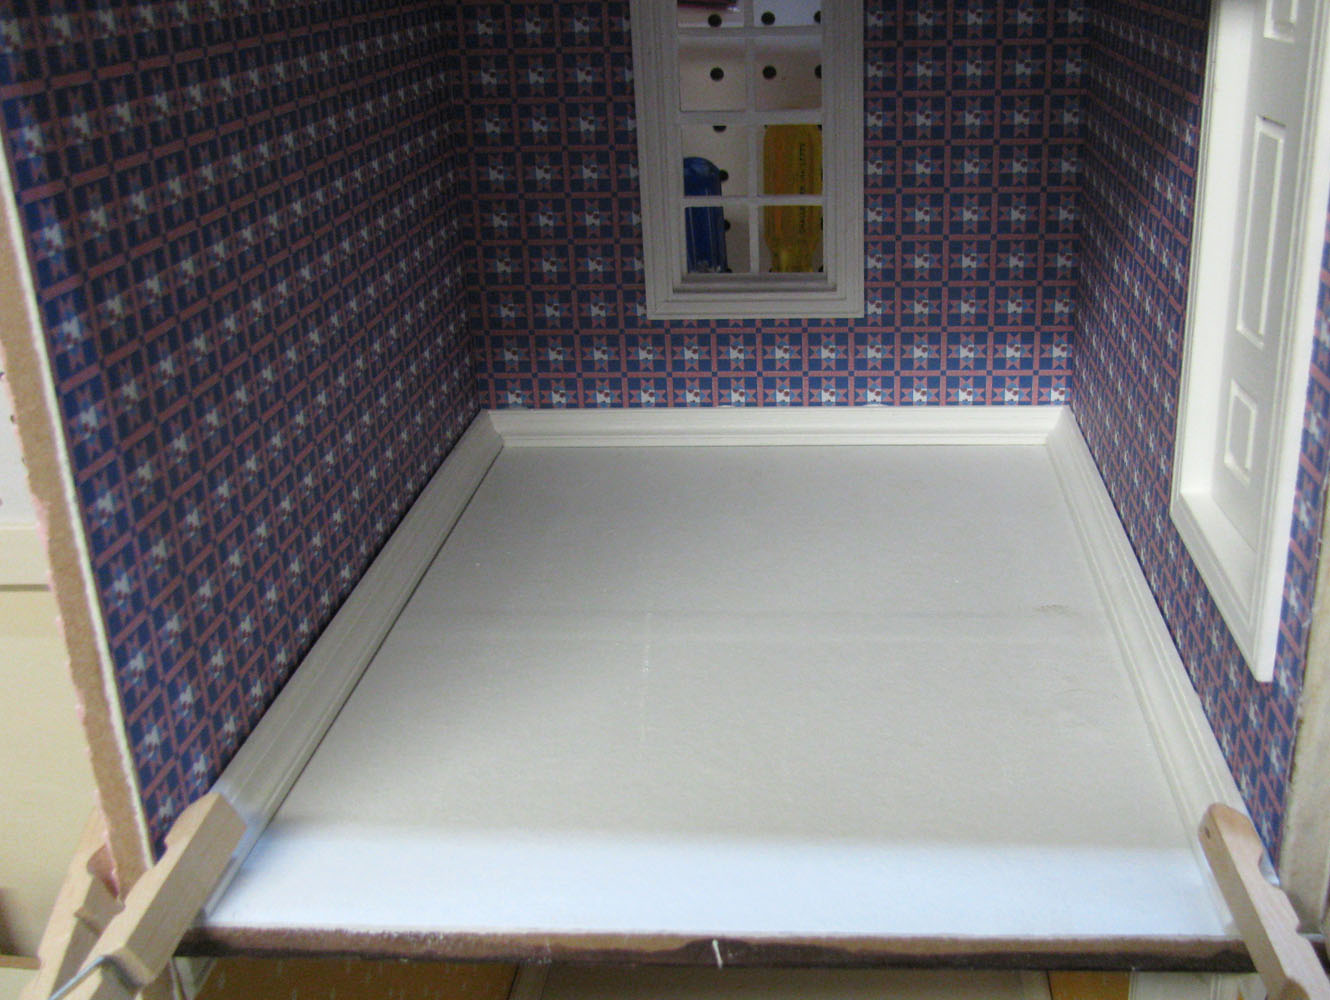 Clotherpins and weights (if necessary) to keep the moldings tight
BaseboardCrown/BaseboardCrown118_lg.jpg
Clotherpins and weights (if necessary) to keep the moldings tight
BaseboardCrown/BaseboardCrown118_lg.jpg
DHTMLGoodies.com
 ... special instructions for cutting miters with a saw and knife
../Buttons/Next.png
... special instructions for cutting miters with a saw and knife
../Buttons/Next.png
... special instructions for cutting miters with a saw and knife
../Buttons/Next.png