![]()
![]()
![]()
![]()
![]()
![]()
![]()
![]()
![]()
![]()
![]()
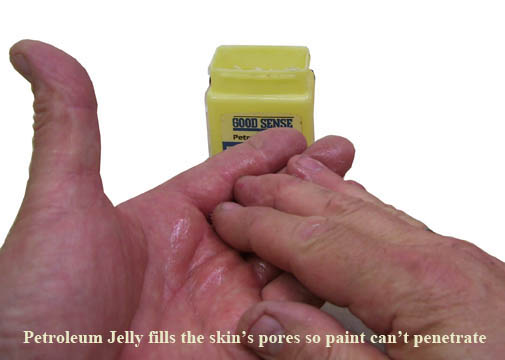

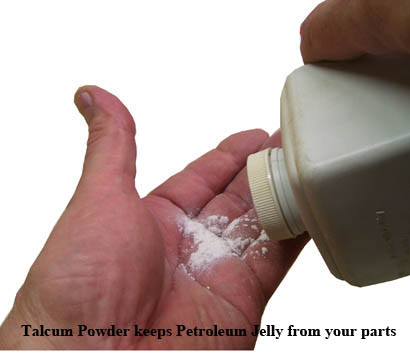
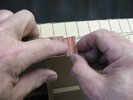
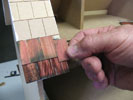
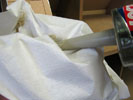
Protect your hands
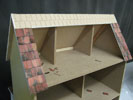
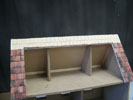
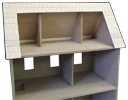
 Shingling over RoofTiles: the Rear Roof
../slideshow/images/ajax-loader.gif
Shingling over RoofTiles: the Rear Roof
../slideshow/images/ajax-loader.gif
DHTMLGoodies.com
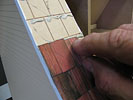
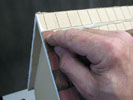
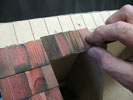
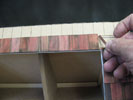
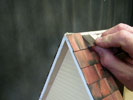
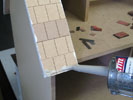
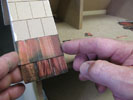
 Start the roof with cut shingles just as you did on the porch
Shingles/RearRoof03_lg.jpg
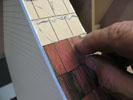
Start the roof with cut shingles just as you did on the porch
Shingles/RearRoof03_lg.jpg
Start the roof with cut shingles just as you did on the porch
Shingles/RearRoof03_lg.jpg


DHTMLGoodies.com
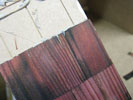
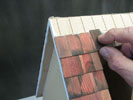
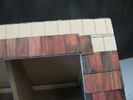
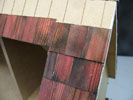
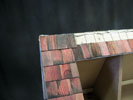
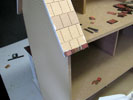
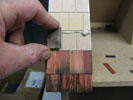 Full shingle, half shingle, full shingle, back-and-forth
Shingles/RearRoof16_lg.jpg
Full shingle, half shingle, full shingle, back-and-forth
Shingles/RearRoof16_lg.jpg
Full shingle, half shingle, full shingle, back-and-forth
Shingles/RearRoof16_lg.jpg