|


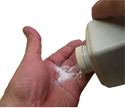
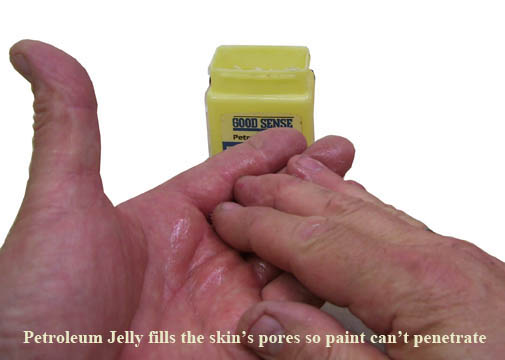
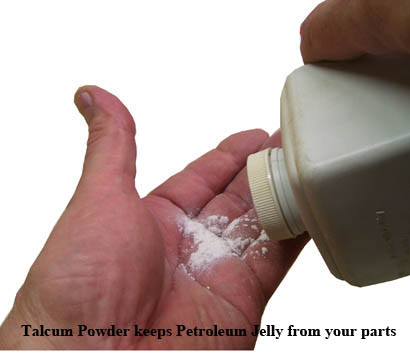
Protect your hands
|
 Shingle the Peak
../slideshow/images/ajax-loader.gif
Shingle the Peak
../slideshow/images/ajax-loader.gif
DHTMLGoodies.com
 Let the glue dry, then clean off excess lumps
Shingles/RearRoof42_lg.jpg
Let the glue dry, then clean off excess lumps
Shingles/RearRoof42_lg.jpg
DHTMLGoodies.com
 A good bead of glue from the edge to the middle
Shingles/RearRoof43_lg.jpg
A good bead of glue from the edge to the middle
Shingles/RearRoof43_lg.jpg
DHTMLGoodies.com
 A pair of shingles laid horizontally
Shingles/RearRoof45_lg.jpg
A pair of shingles laid horizontally
Shingles/RearRoof45_lg.jpg
DHTMLGoodies.com
 Each pair overlaps the previous pair
Shingles/RearRoof48_lg.jpg
Each pair overlaps the previous pair
Shingles/RearRoof48_lg.jpg
DHTMLGoodies.com
 Start the first pair right at the edge
Shingles/RearRoof50_lg.jpg
Start the first pair right at the edge
Shingles/RearRoof50_lg.jpg
DHTMLGoodies.com
 I need fresh glue on the replacement shingle
Shingles/RearRoof52_lg.jpg
I need fresh glue on the replacement shingle
Shingles/RearRoof52_lg.jpg
DHTMLGoodies.com
 The rear shingle is behind the front shingle
Shingles/RearRoof53_lg.jpg
The rear shingle is behind the front shingle
Shingles/RearRoof53_lg.jpg
DHTMLGoodies.com
 The span in the middle will depend on how you did the overlaps
Shingles/RearRoof55_lg.jpg
The span in the middle will depend on how you did the overlaps
Shingles/RearRoof55_lg.jpg
|