![]()
![]()
![]()
![]()
![]()
![]()
![]()
![]()
![]()
![]()
![]()

DHTMLGoodies.com
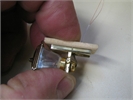
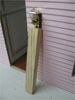
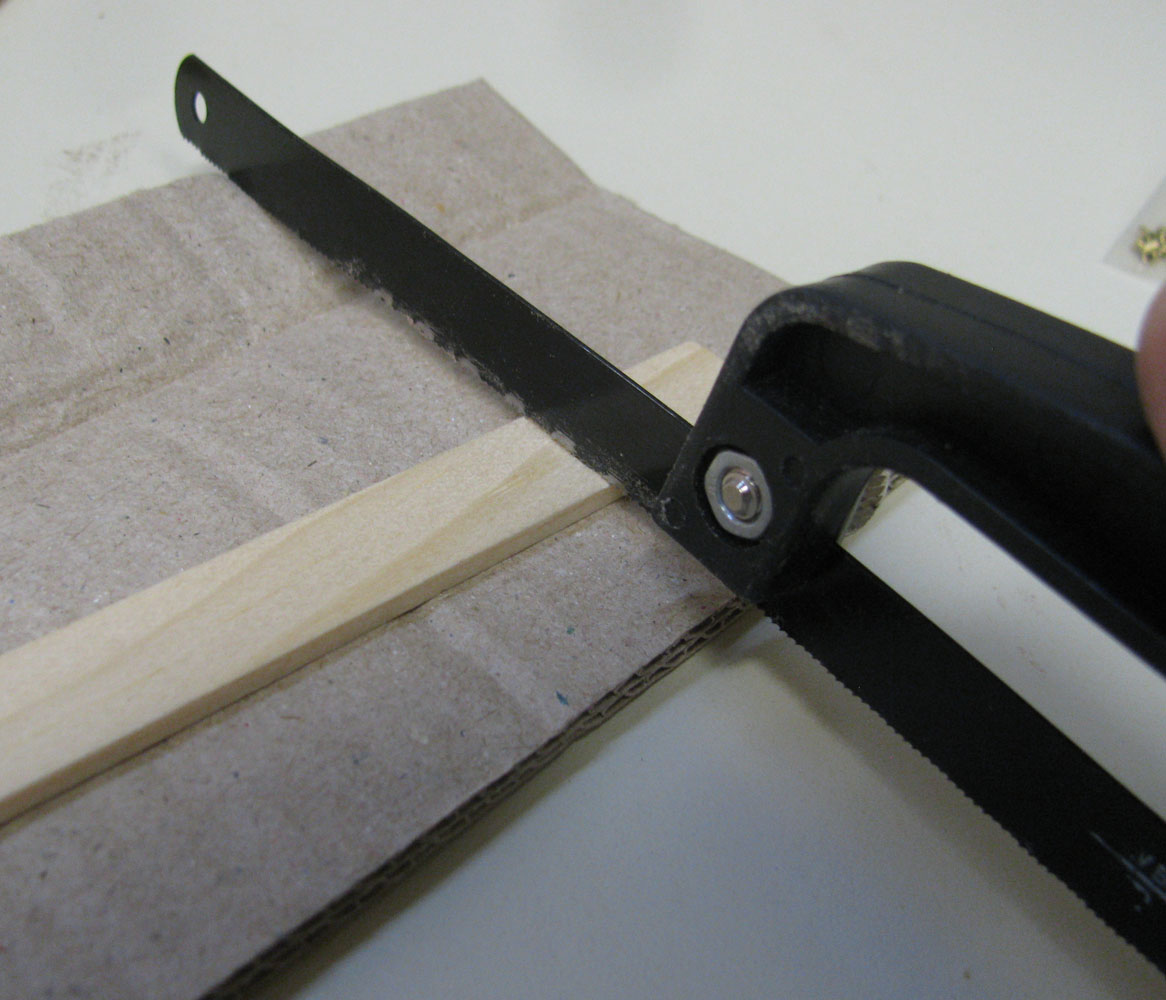
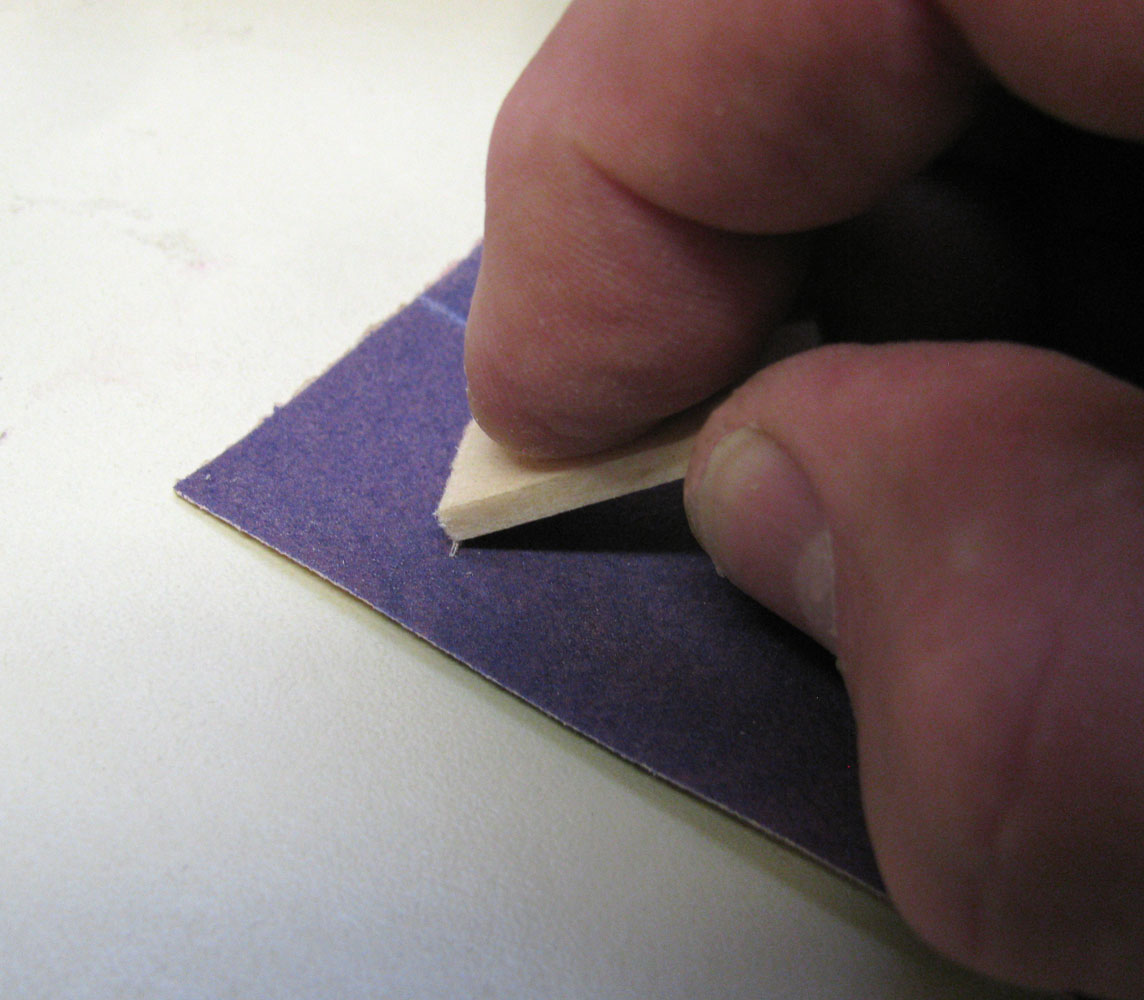
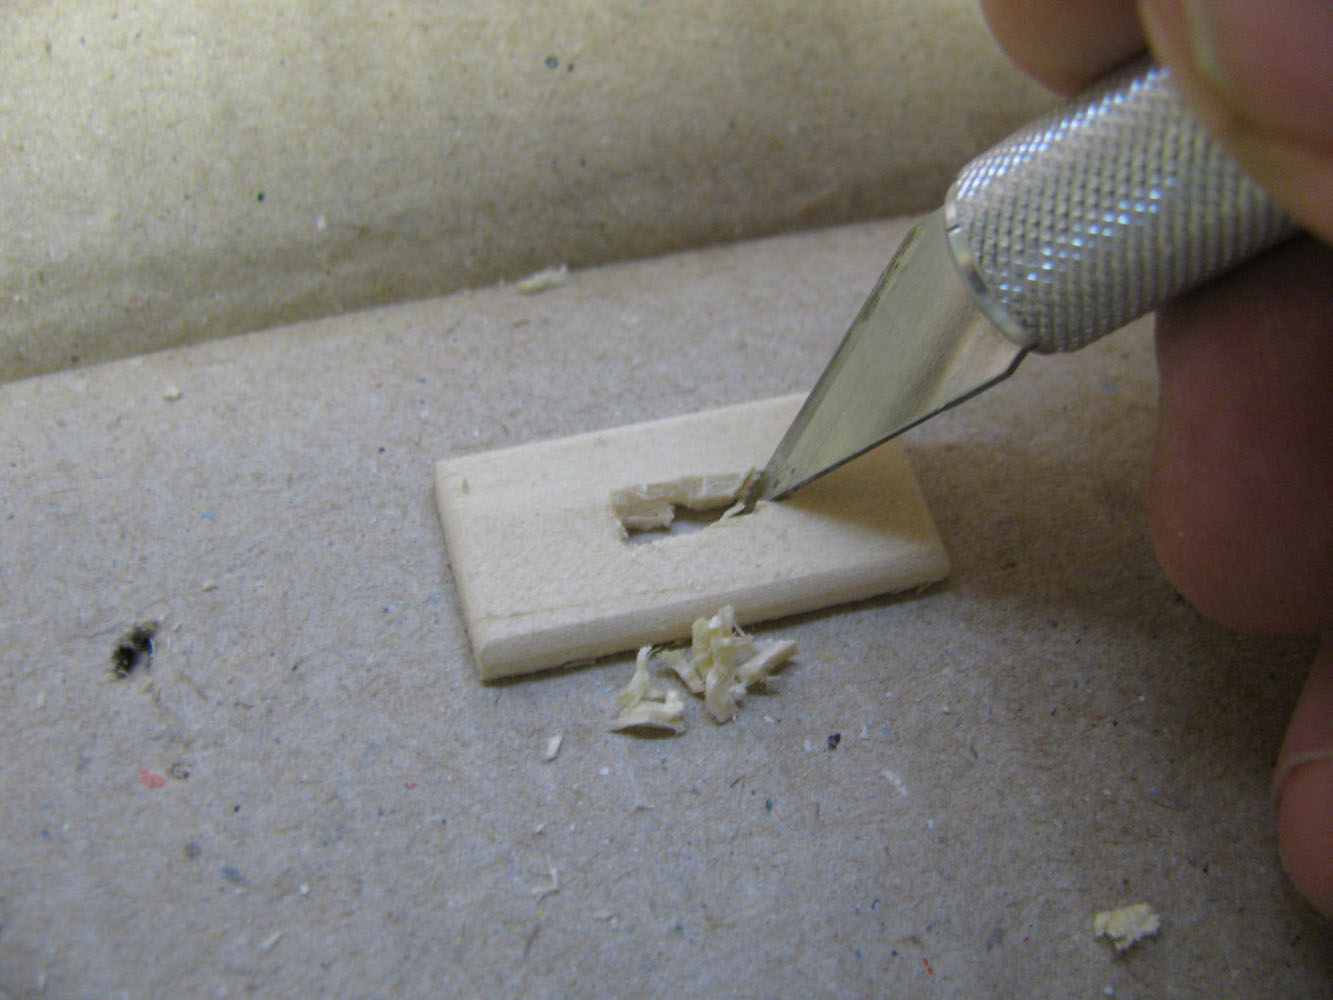
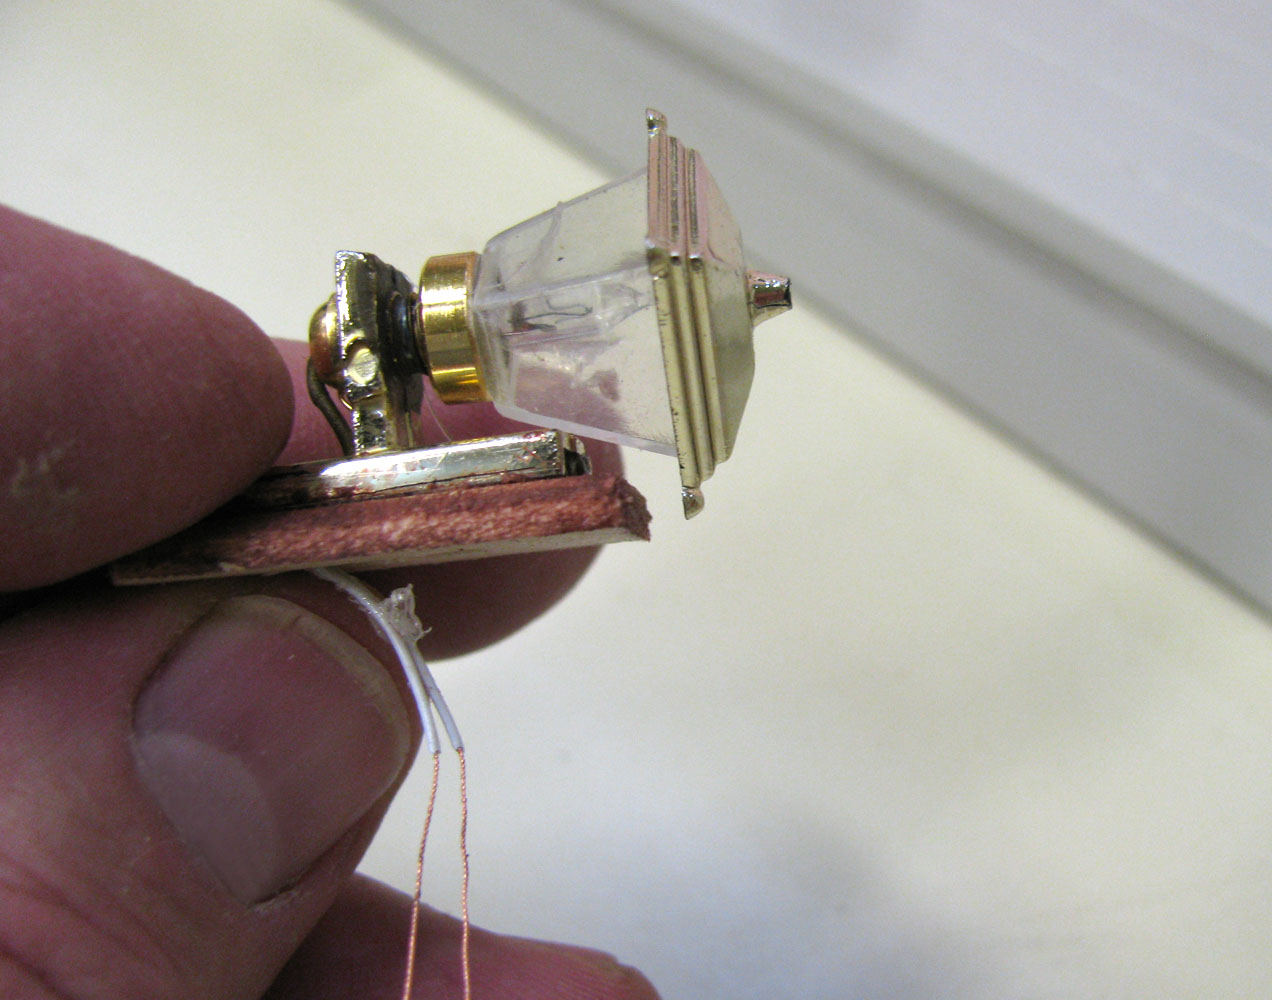
 A backer makes wiring and mounting easier
WiringAssets/coachLamp/CoachLamp_20_lg.jpg
A backer makes wiring and mounting easier
WiringAssets/coachLamp/CoachLamp_20_lg.jpg
A backer makes wiring and mounting easier
WiringAssets/coachLamp/CoachLamp_20_lg.jpg
DHTMLGoodies.com
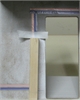
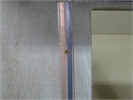
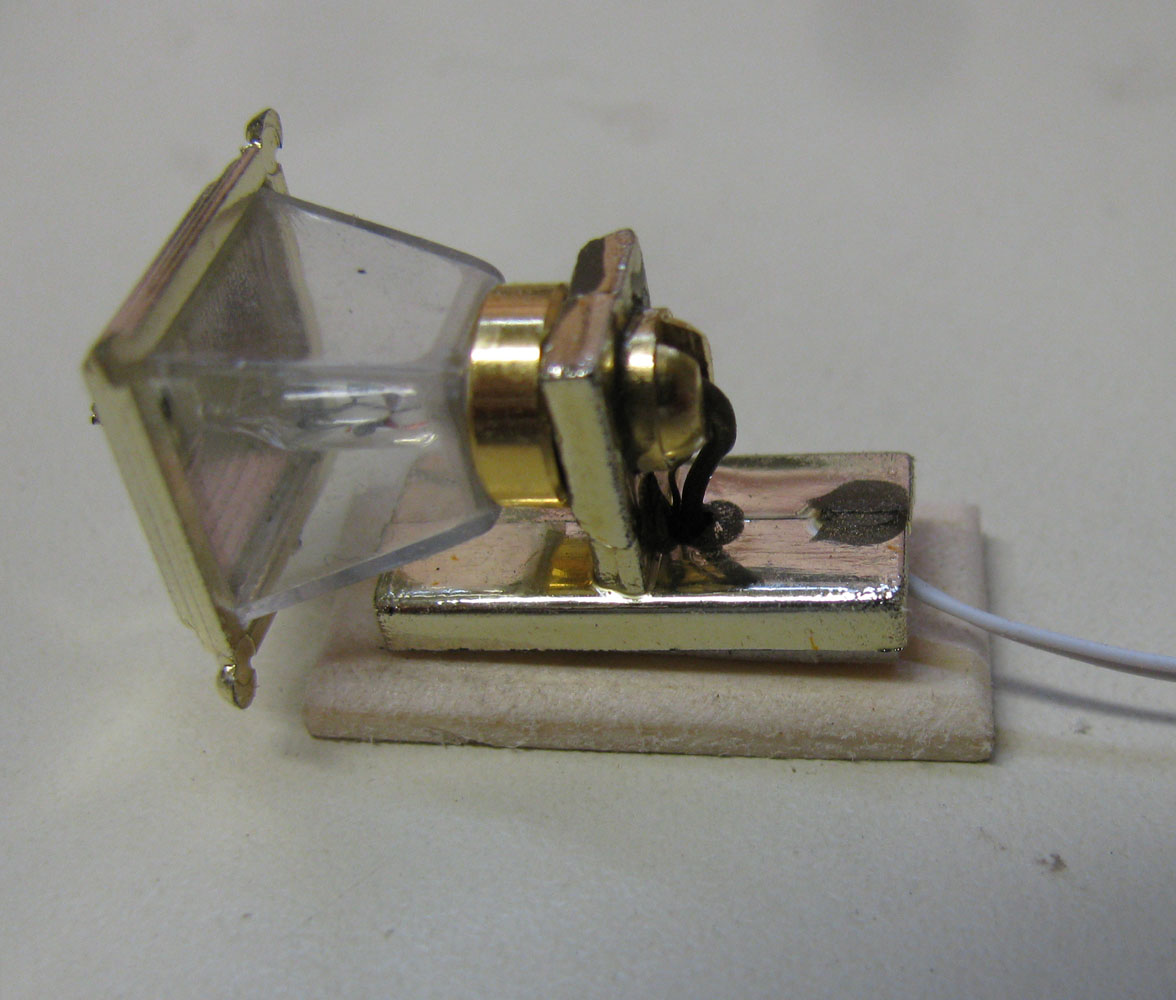
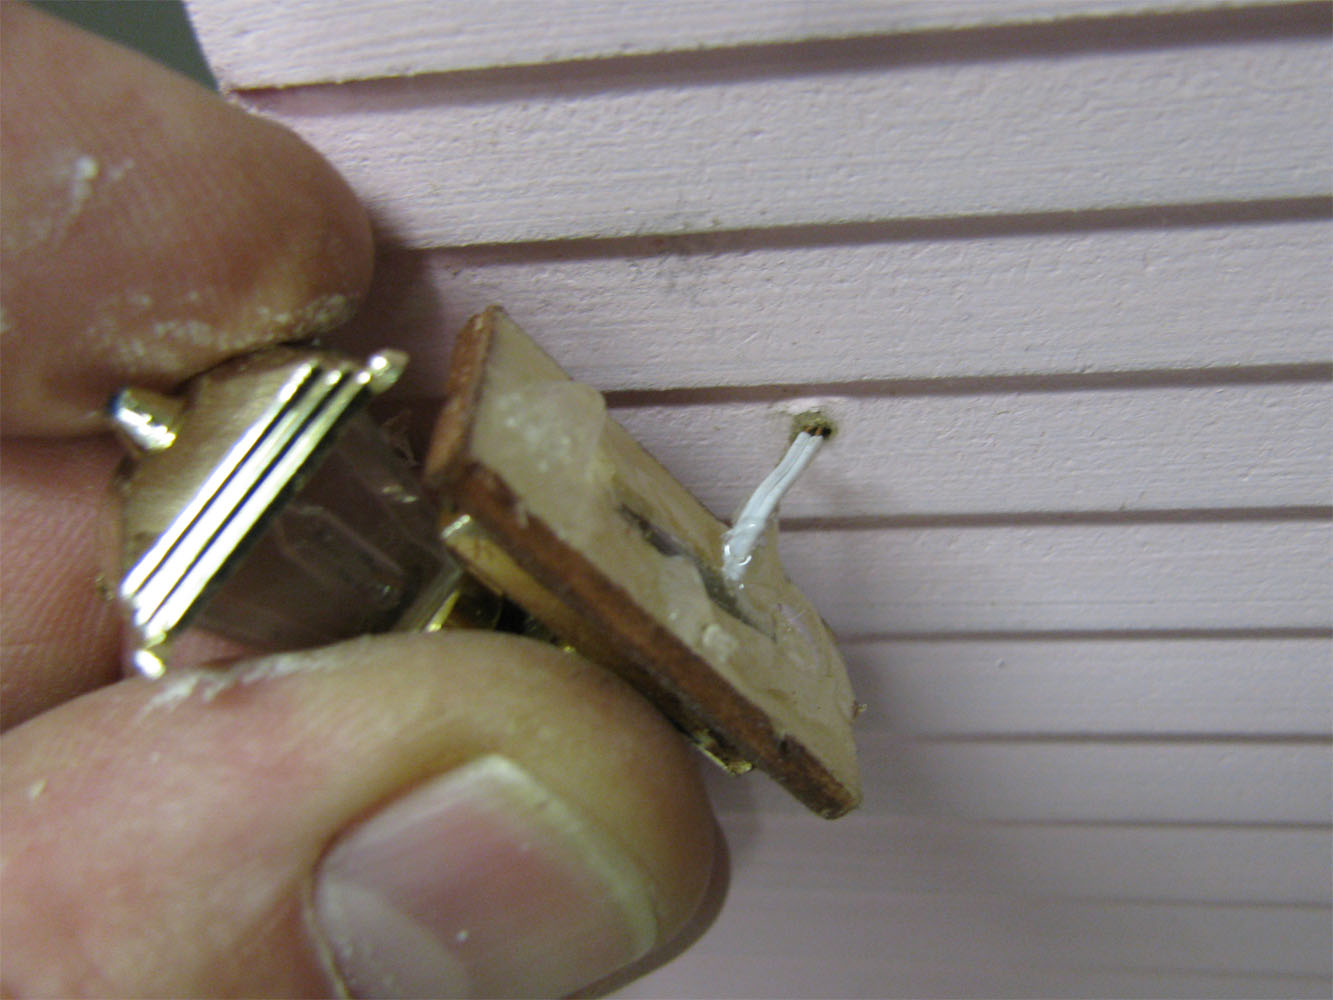
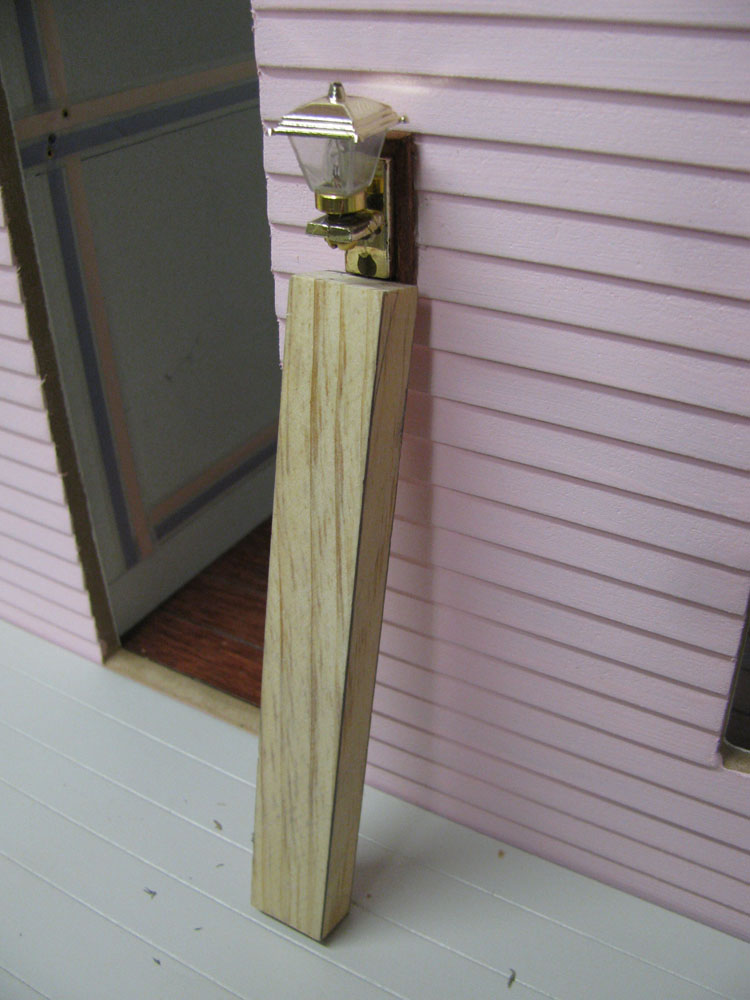
 The top of the backer is lower than the wide part of the lamp cap
WiringAssets/coachLamp/CoachLamp_23_lg.jpg
The top of the backer is lower than the wide part of the lamp cap
WiringAssets/coachLamp/CoachLamp_23_lg.jpg
The top of the backer is lower than the wide part of the lamp cap
WiringAssets/coachLamp/CoachLamp_23_lg.jpg
DHTMLGoodies.com
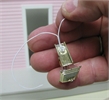
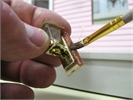
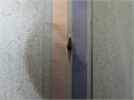
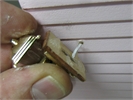
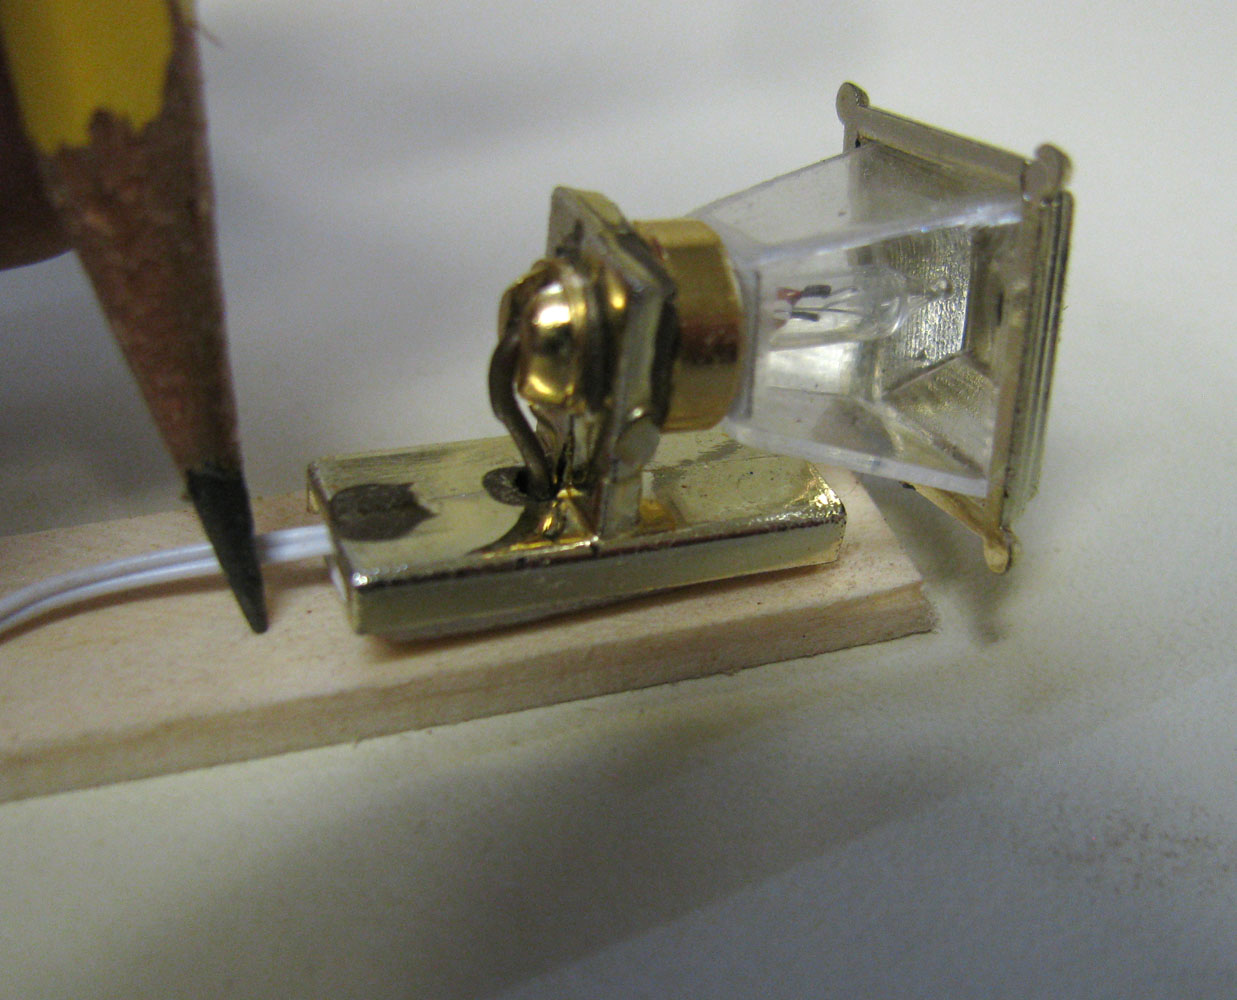
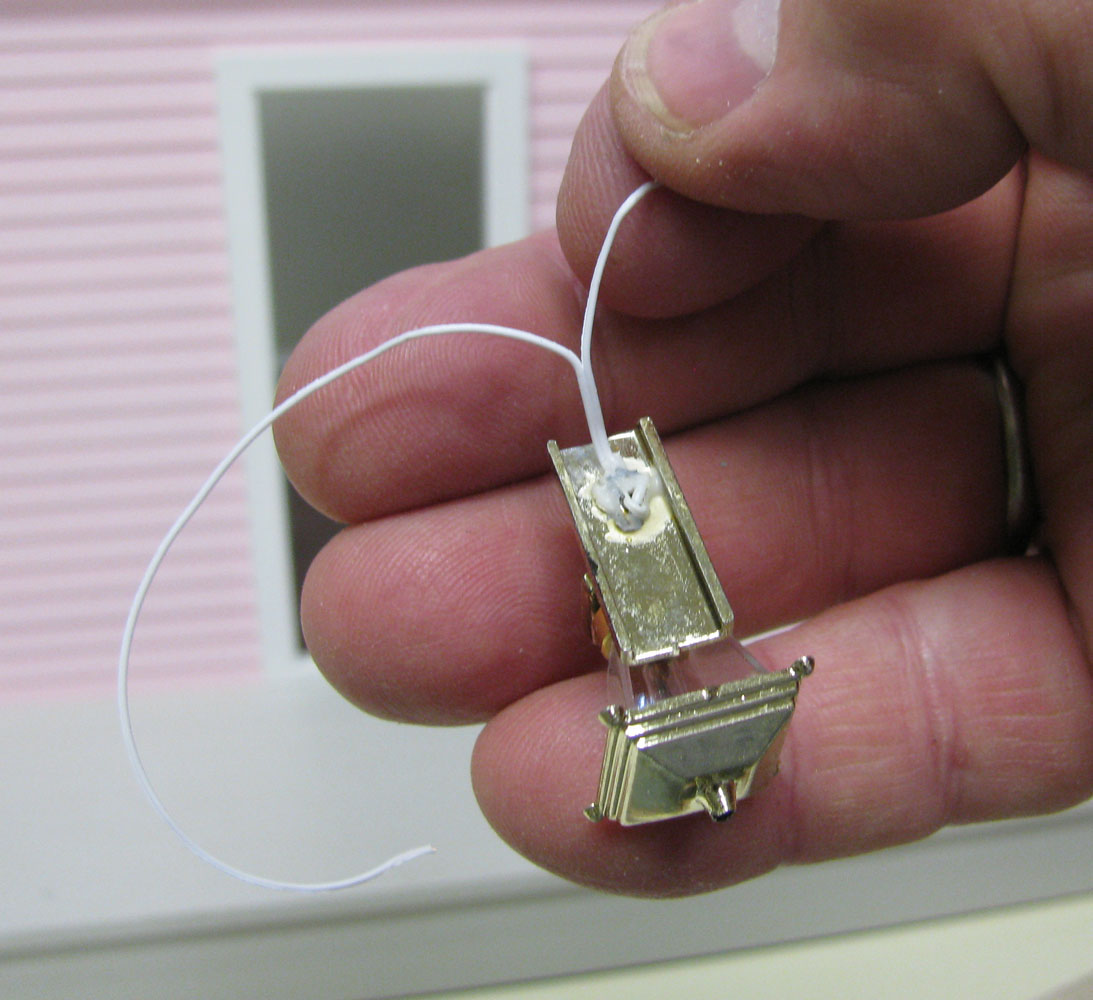
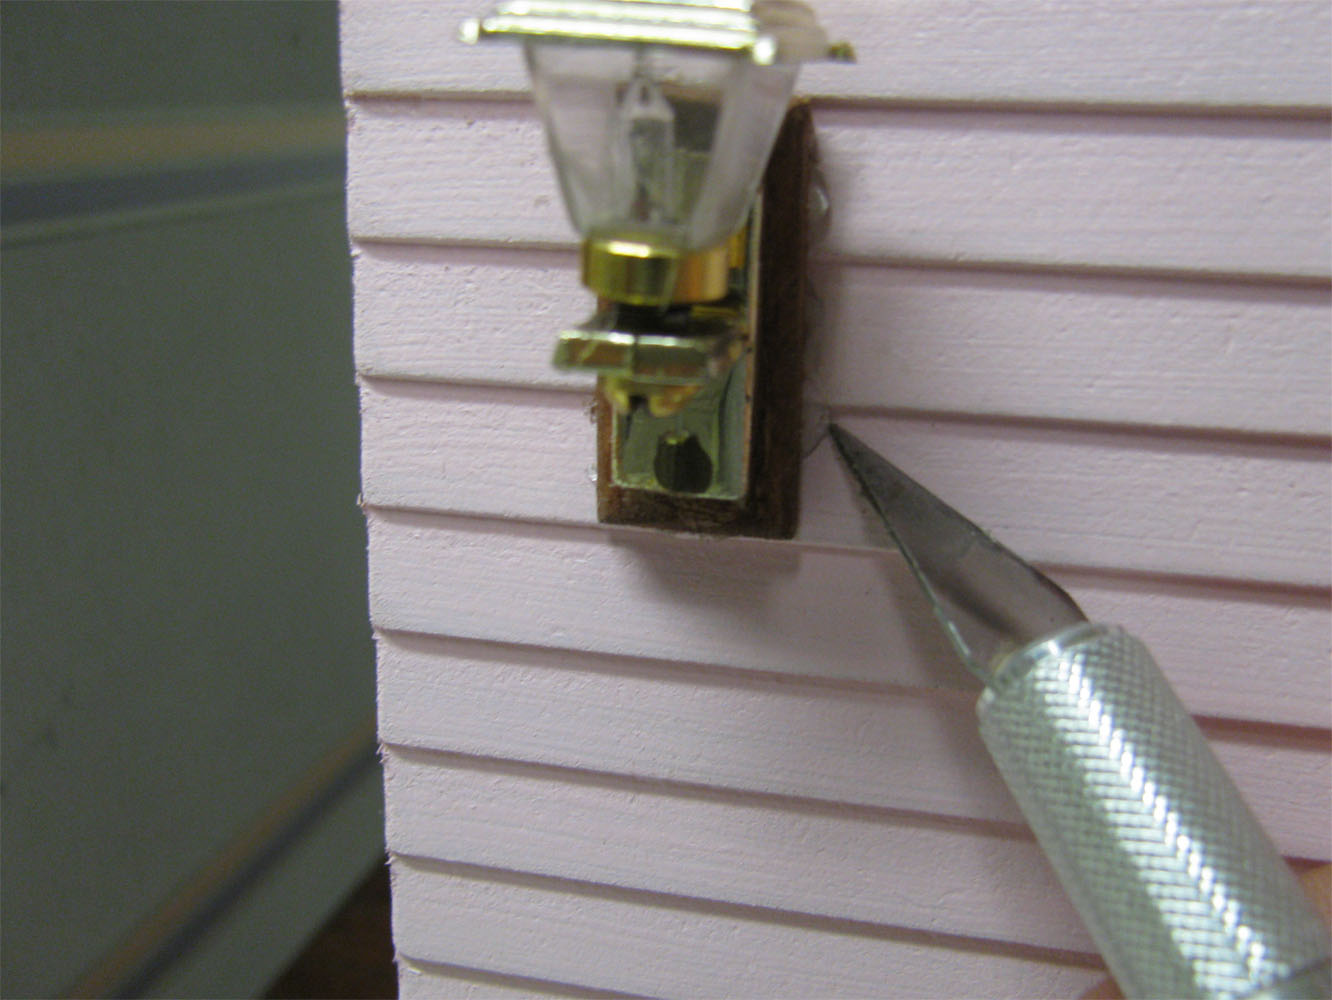
 This lamp has adhesive backing which I will remove
WiringAssets/coachLamp/CoachLamp_24_lg.jpg
This lamp has adhesive backing which I will remove
WiringAssets/coachLamp/CoachLamp_24_lg.jpg
This lamp has adhesive backing which I will remove
WiringAssets/coachLamp/CoachLamp_24_lg.jpg
DHTMLGoodies.com
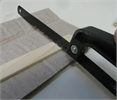
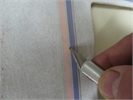
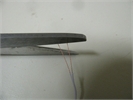
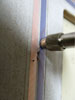
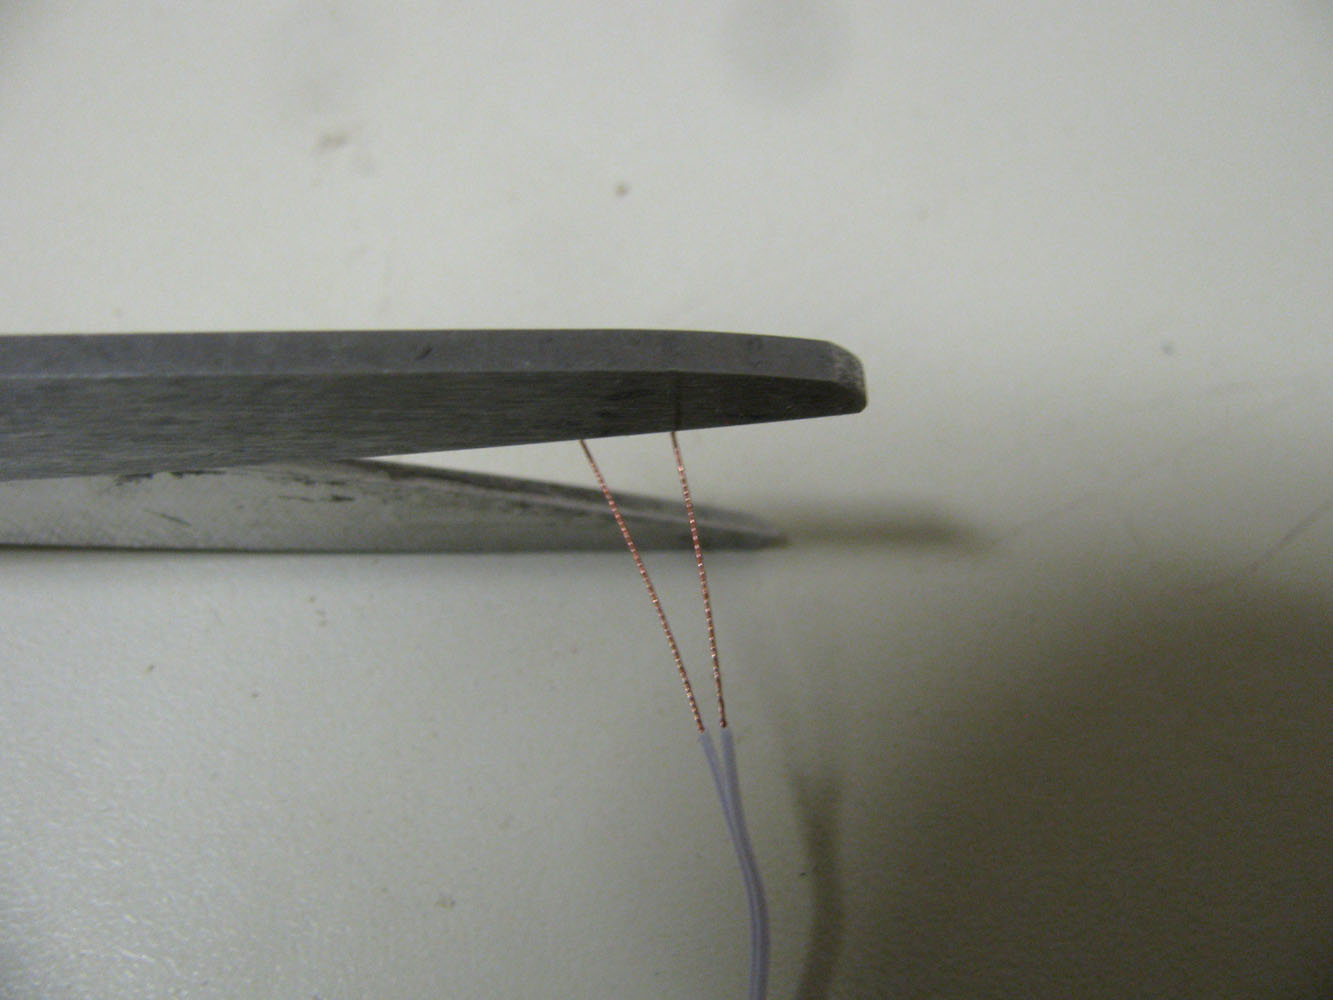
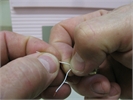 Pinch off the insulation. Hold the wire so you don't pull if off the fixture!!!!!
WiringAssets/coachLamp/CoachLamp_26_lg.jpg
Pinch off the insulation. Hold the wire so you don't pull if off the fixture!!!!!
WiringAssets/coachLamp/CoachLamp_26_lg.jpg
Pinch off the insulation. Hold the wire so you don't pull if off the fixture!!!!!
WiringAssets/coachLamp/CoachLamp_26_lg.jpg
DHTMLGoodies.com
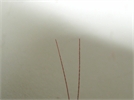
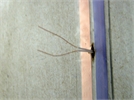
 Spin the insulation as you pull it off to twist the wires
WiringAssets/coachLamp/CoachLamp_27_lg.jpg
Spin the insulation as you pull it off to twist the wires
WiringAssets/coachLamp/CoachLamp_27_lg.jpg
Spin the insulation as you pull it off to twist the wires
WiringAssets/coachLamp/CoachLamp_27_lg.jpg
DHTMLGoodies.com
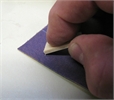
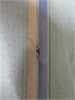
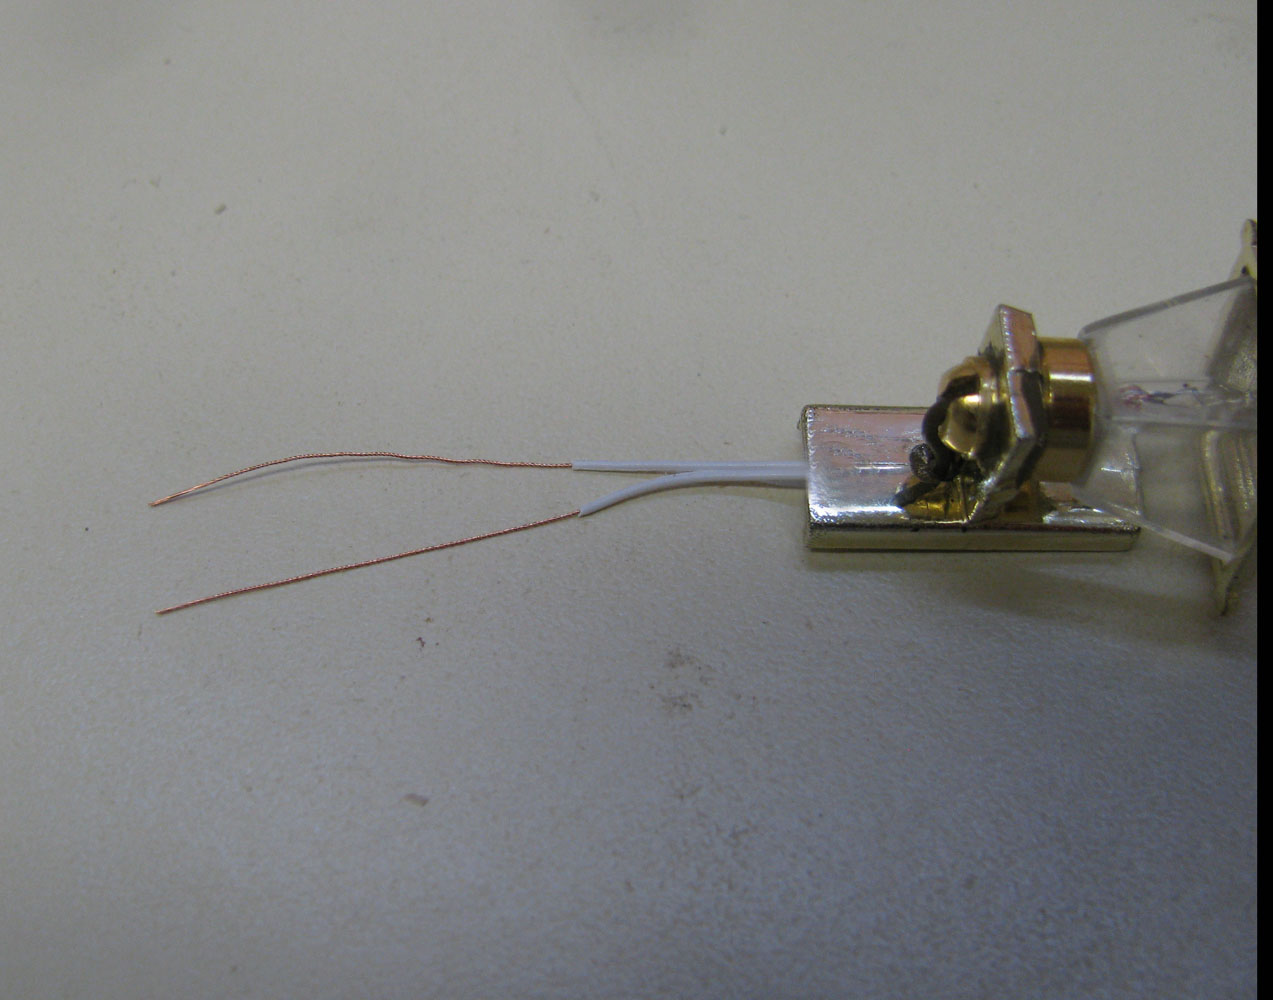
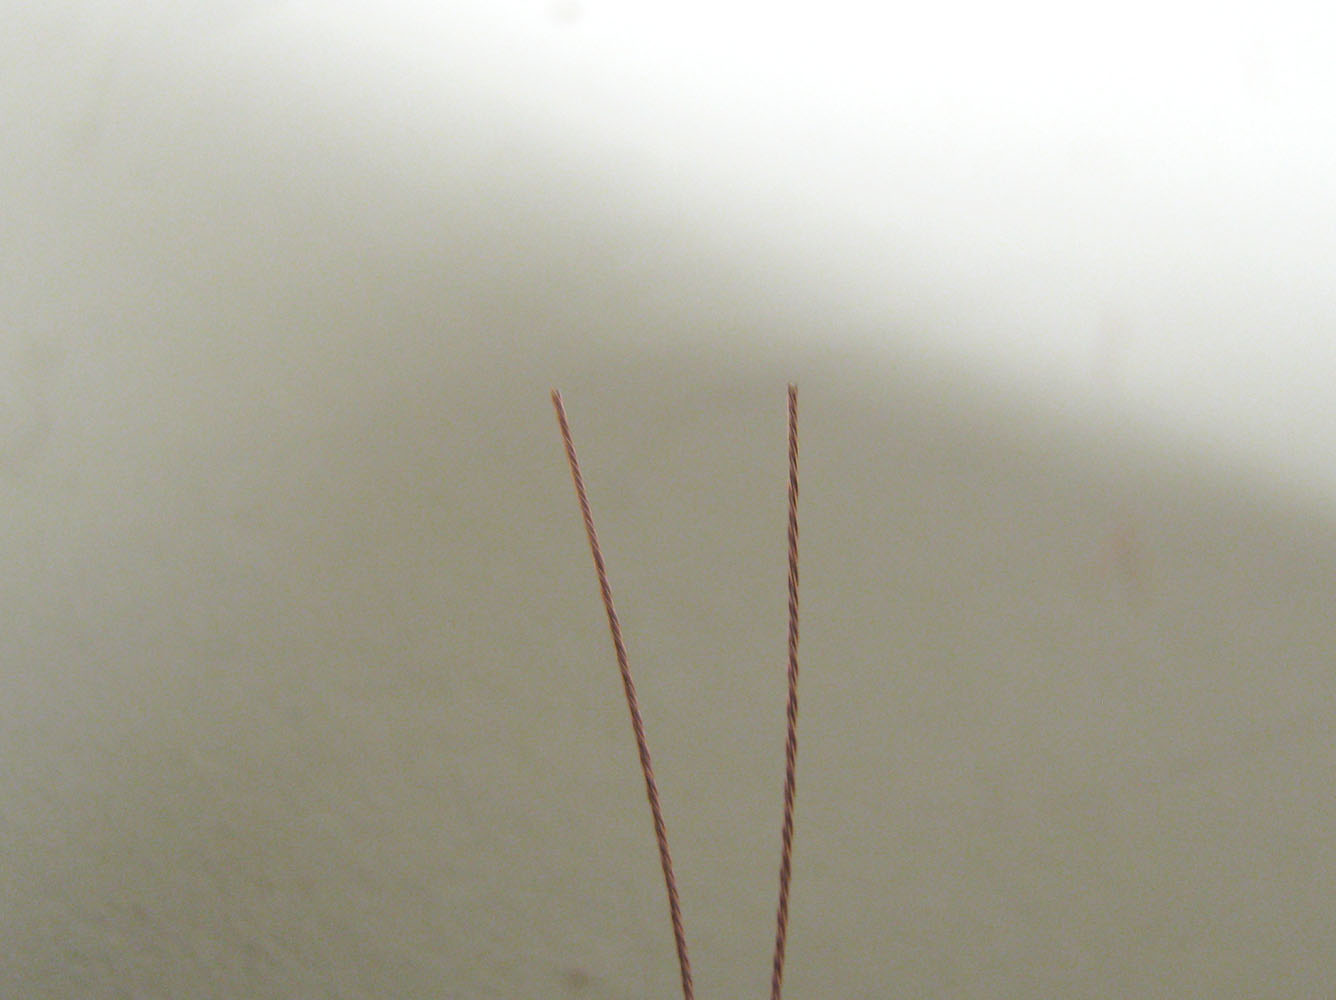
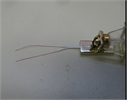 Leave about 3/4" of insulation on the wires
WiringAssets/coachLamp/CoachLamp_28_lg.jpg
Leave about 3/4" of insulation on the wires
WiringAssets/coachLamp/CoachLamp_28_lg.jpg
Leave about 3/4" of insulation on the wires
WiringAssets/coachLamp/CoachLamp_28_lg.jpg

DHTMLGoodies.com
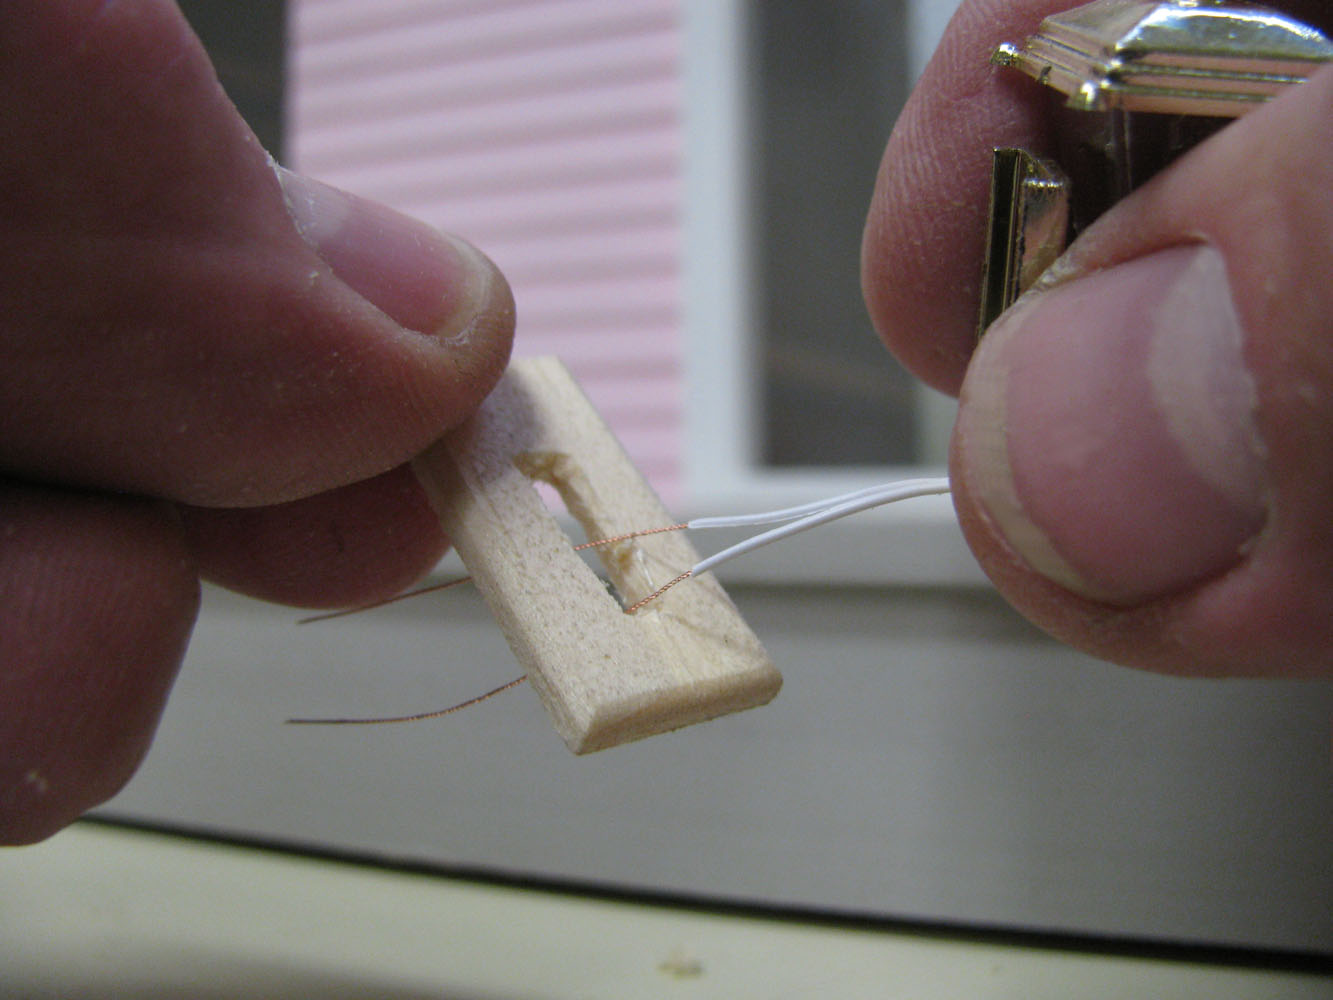
 The carved-out backer will hold excess wire
WiringAssets/coachLamp/CoachLamp_30_lg.jpg
The carved-out backer will hold excess wire
WiringAssets/coachLamp/CoachLamp_30_lg.jpg
The carved-out backer will hold excess wire
WiringAssets/coachLamp/CoachLamp_30_lg.jpg
DHTMLGoodies.com
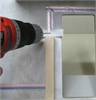
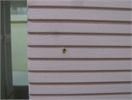
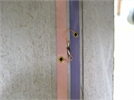
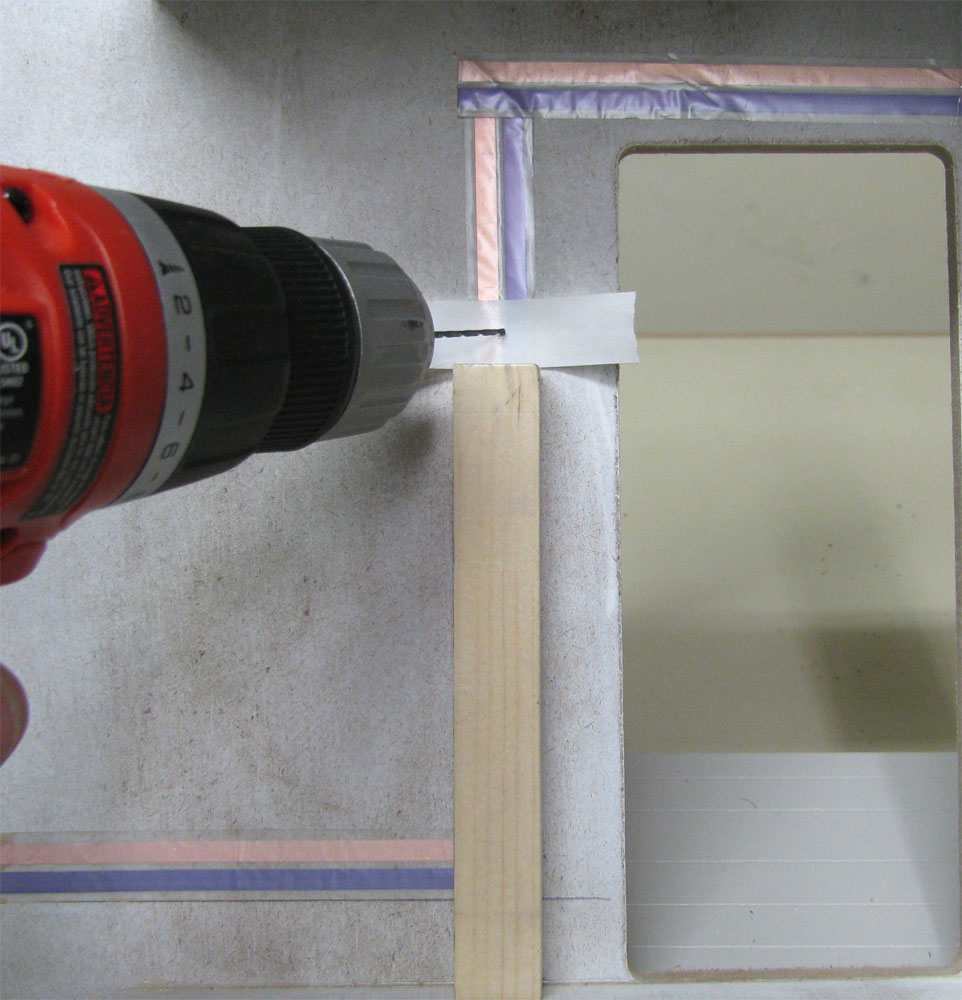
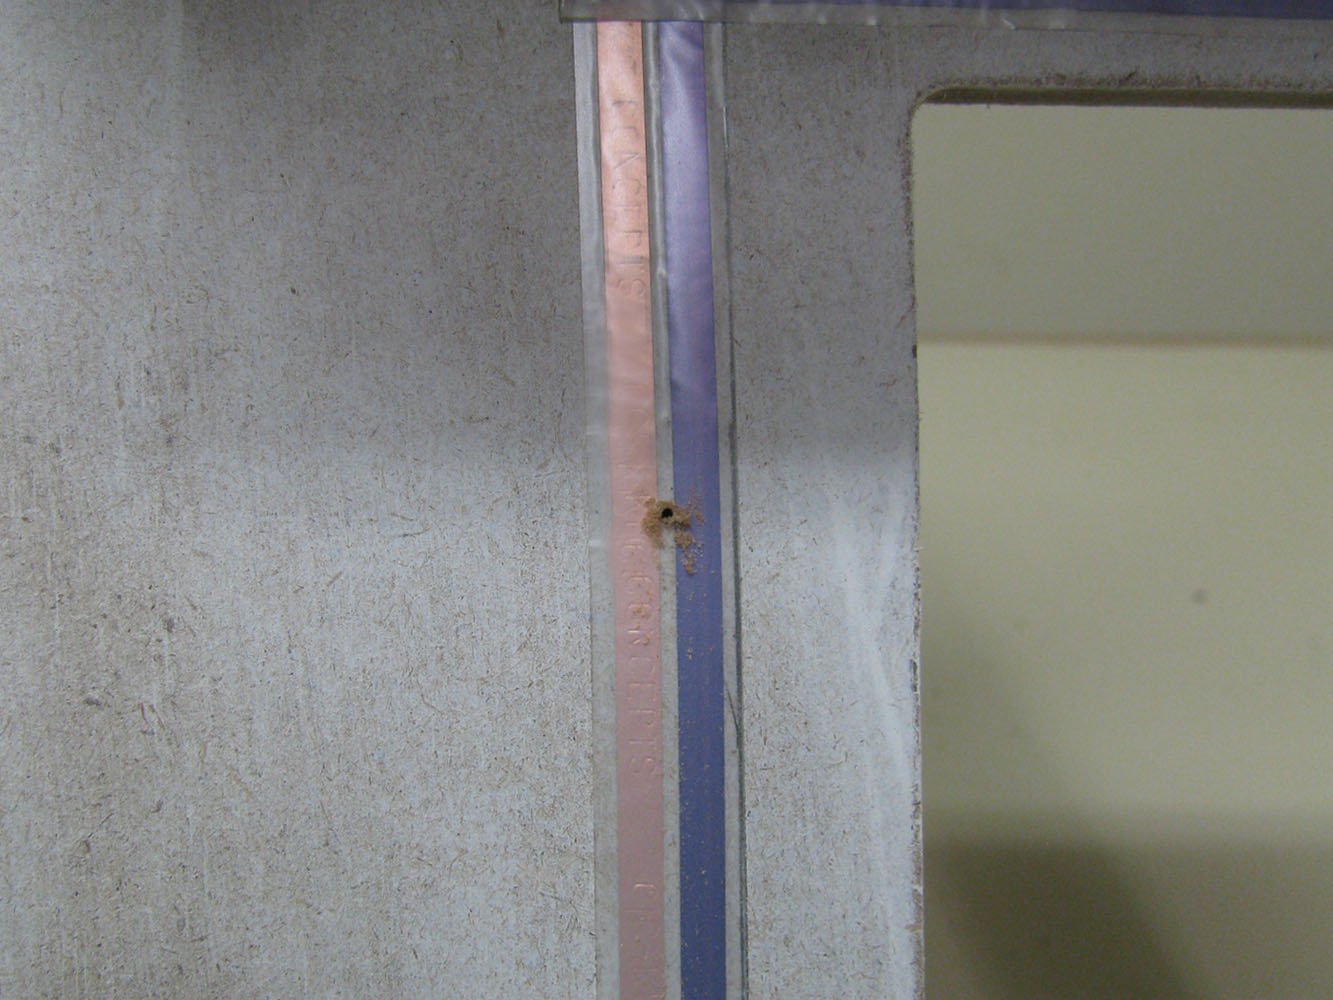
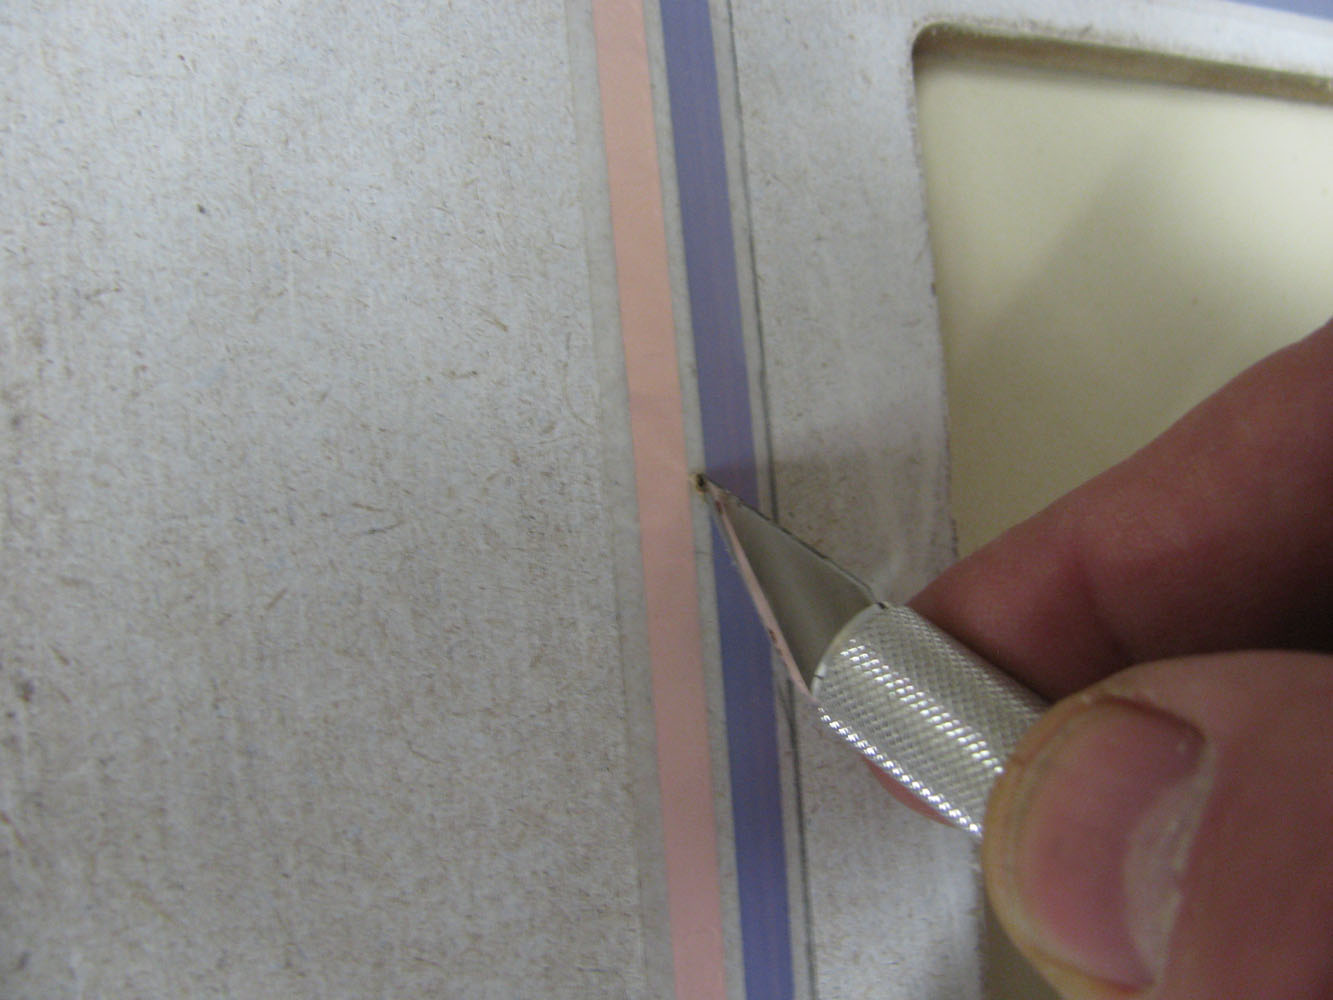
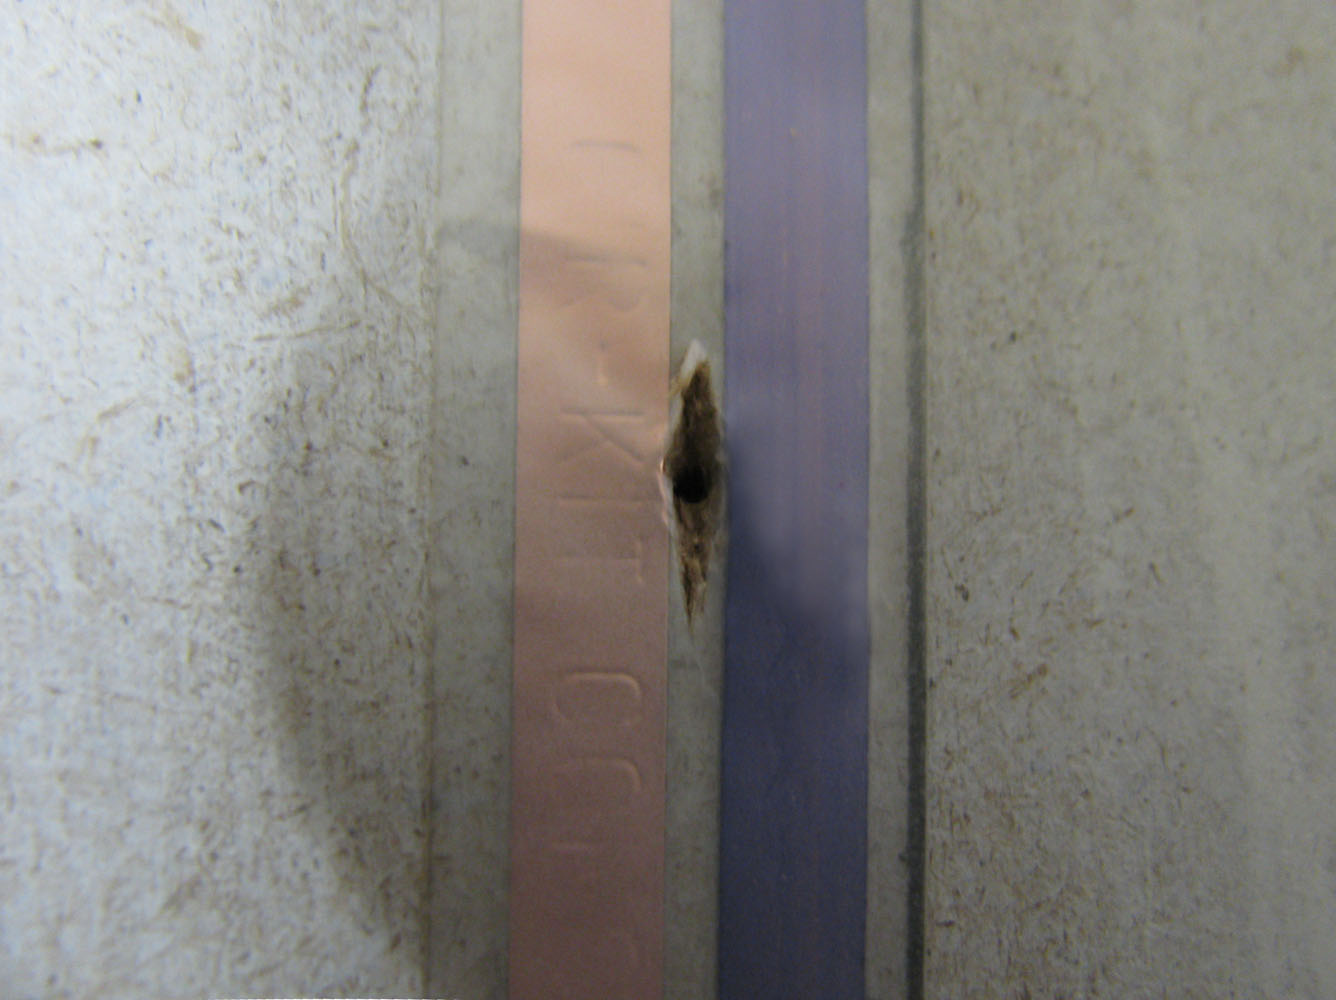
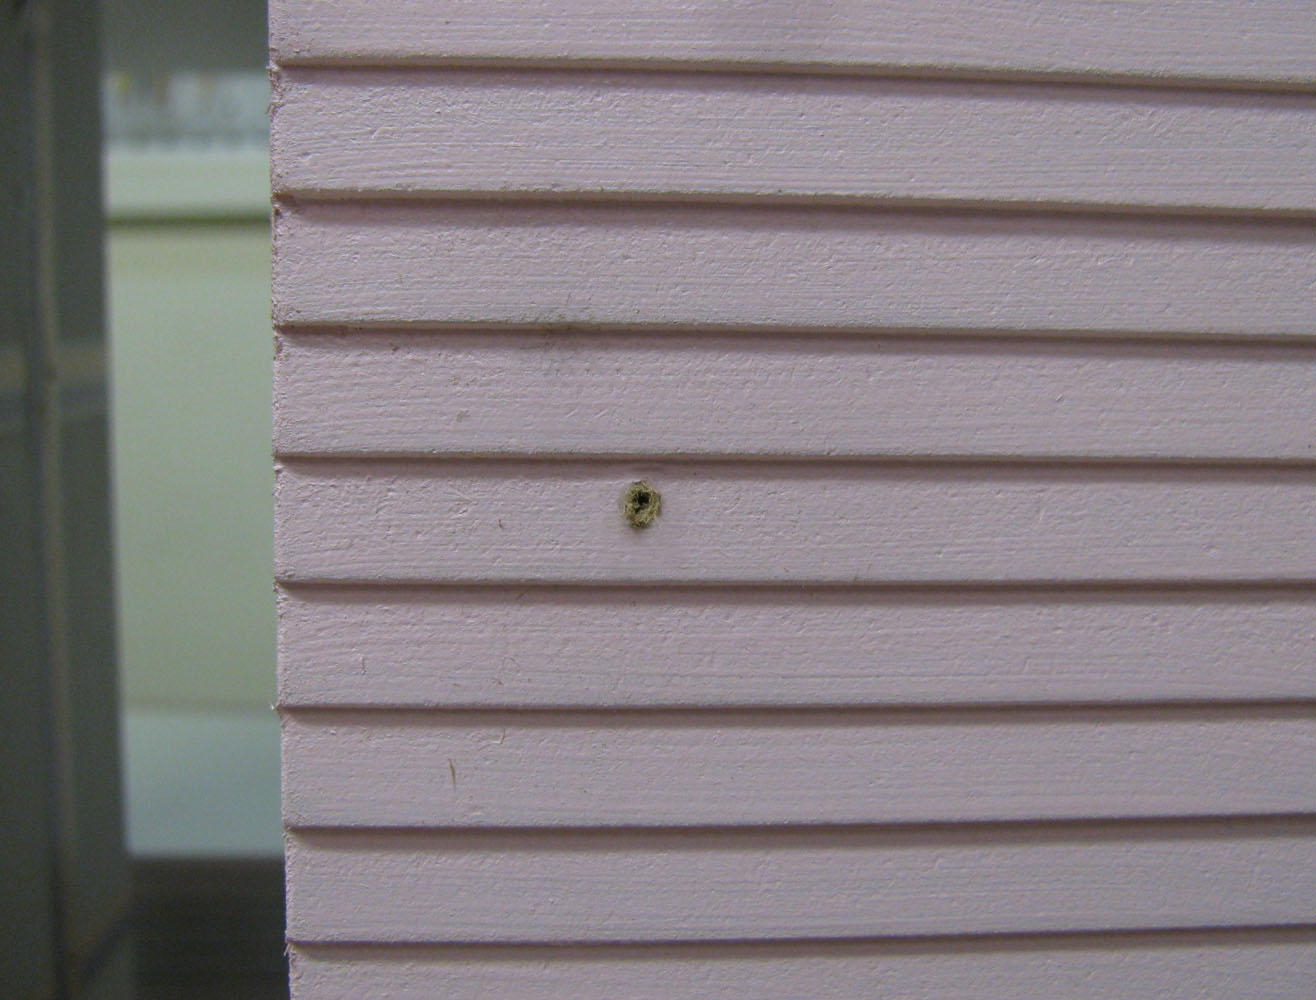
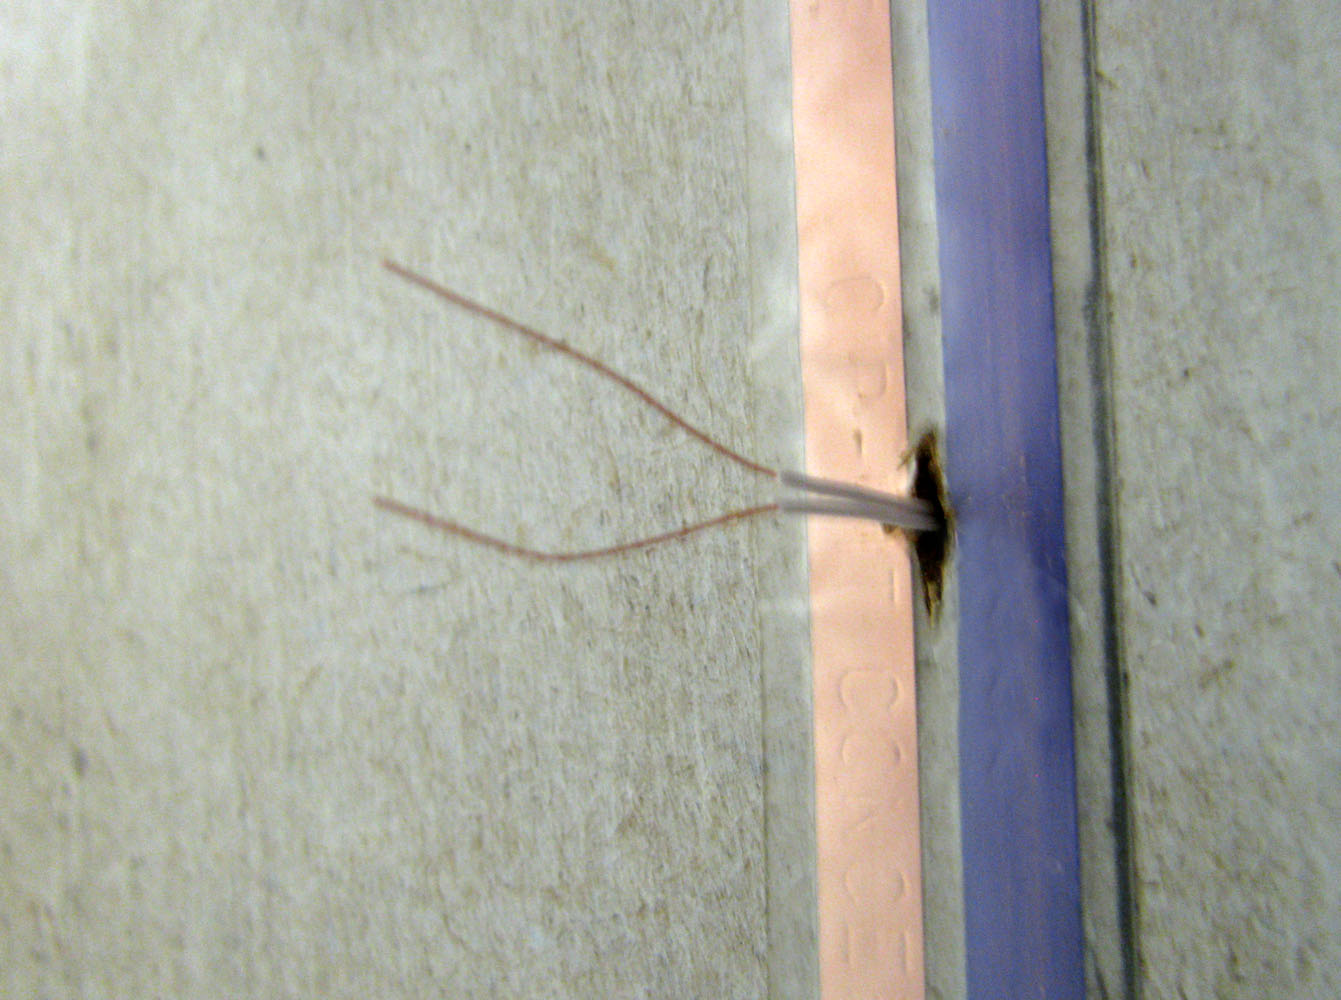
 The hole will go in the center at sconce level
WiringAssets/coachLamp/CoachLamp_40_lg.jpg
The hole will go in the center at sconce level
WiringAssets/coachLamp/CoachLamp_40_lg.jpg
The hole will go in the center at sconce level
WiringAssets/coachLamp/CoachLamp_40_lg.jpg
DHTMLGoodies.com
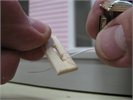
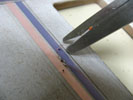
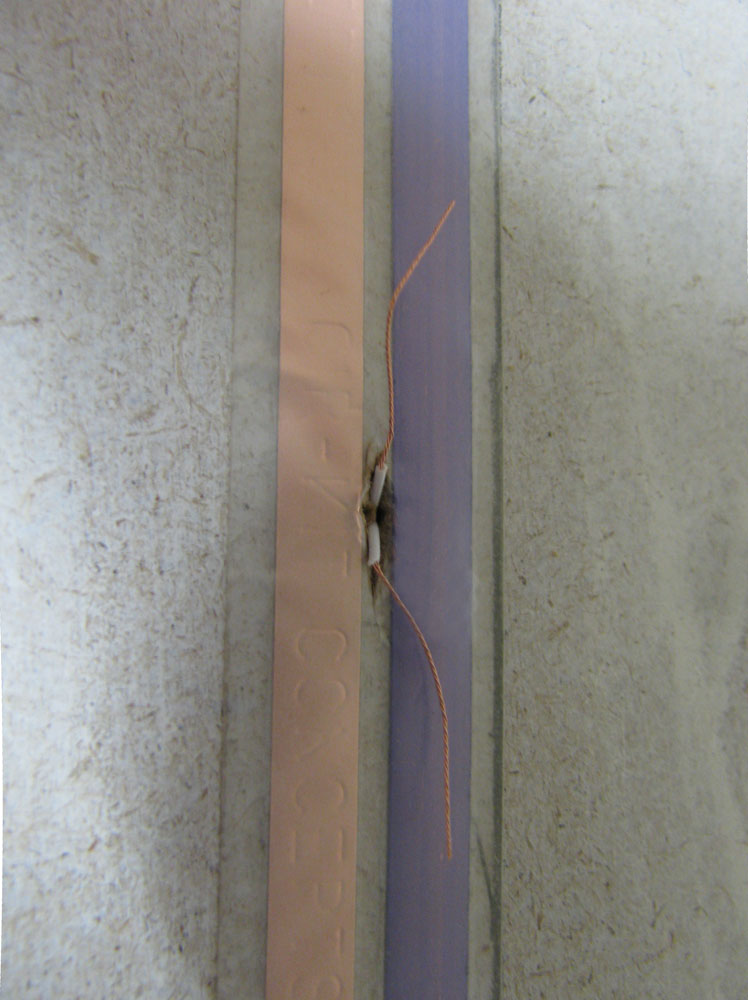
 Trim irregularities off the ends of the wires
WiringAssets/coachLamp/CoachLamp_36_lg.jpg
Trim irregularities off the ends of the wires
WiringAssets/coachLamp/CoachLamp_36_lg.jpg
Trim irregularities off the ends of the wires
WiringAssets/coachLamp/CoachLamp_36_lg.jpg
DHTMLGoodies.com
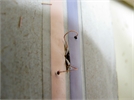
 Nice clean ends go through the hole better
WiringAssets/coachLamp/CoachLamp_37_lg.jpg
Nice clean ends go through the hole better
WiringAssets/coachLamp/CoachLamp_37_lg.jpg
Nice clean ends go through the hole better
WiringAssets/coachLamp/CoachLamp_37_lg.jpg

DHTMLGoodies.com
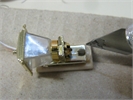
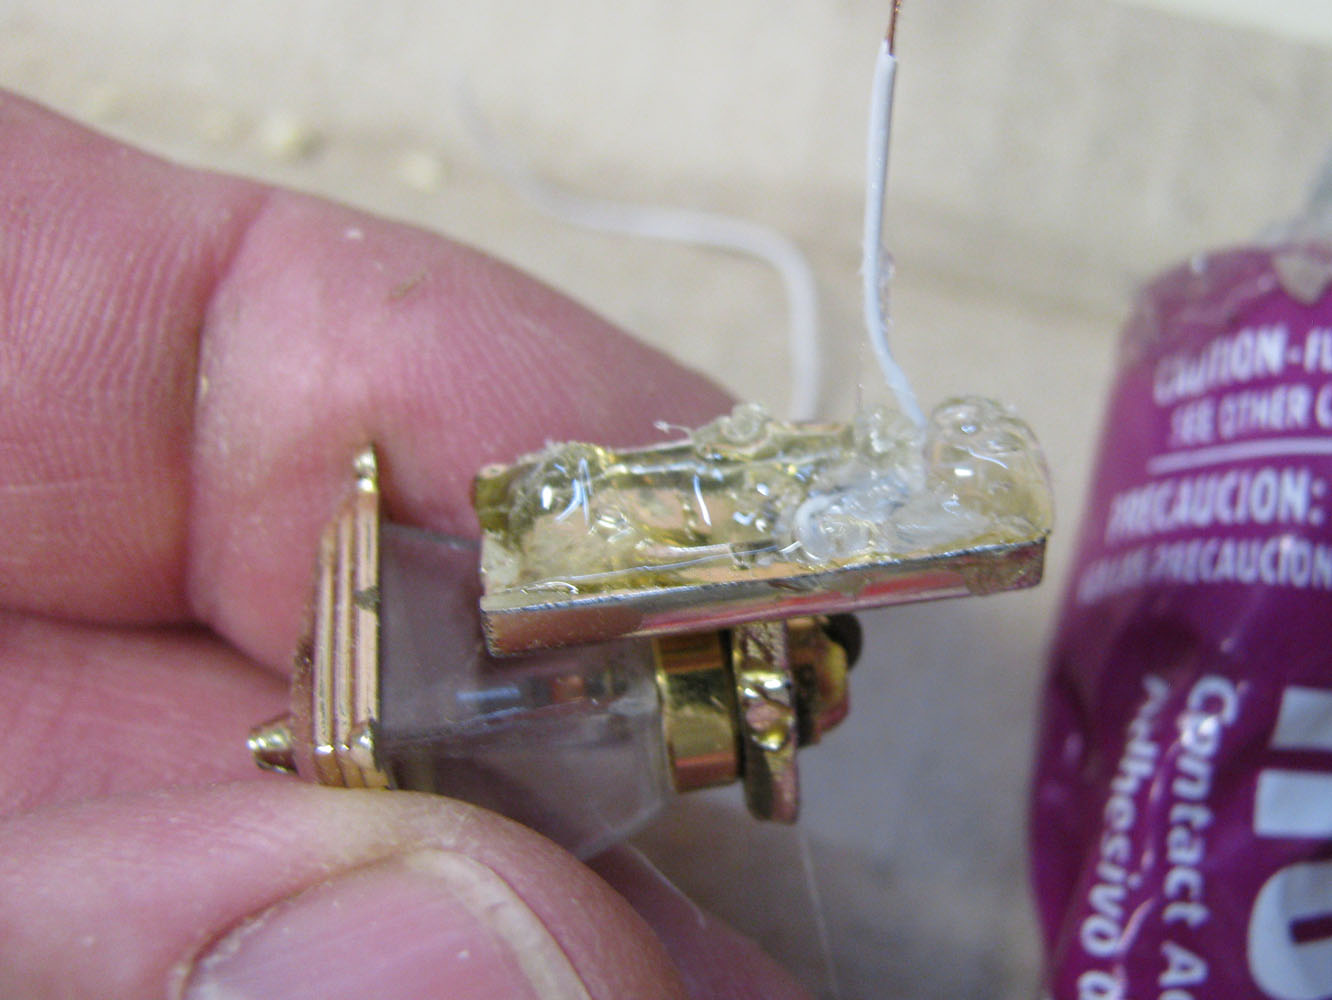
 Silicon Glue - Slide the wire through the hole
WiringAssets/coachLamp/CoachLamp_51_lg.jpg
Silicon Glue - Slide the wire through the hole
WiringAssets/coachLamp/CoachLamp_51_lg.jpg
Silicon Glue - Slide the wire through the hole
WiringAssets/coachLamp/CoachLamp_51_lg.jpg
DHTMLGoodies.com
 Push the wire back until the insulation is short
WiringAssets/coachLamp/CoachLamp_52_lg.jpg
Push the wire back until the insulation is short
WiringAssets/coachLamp/CoachLamp_52_lg.jpg
Push the wire back until the insulation is short
WiringAssets/coachLamp/CoachLamp_52_lg.jpg
DHTMLGoodies.com
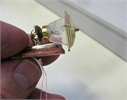
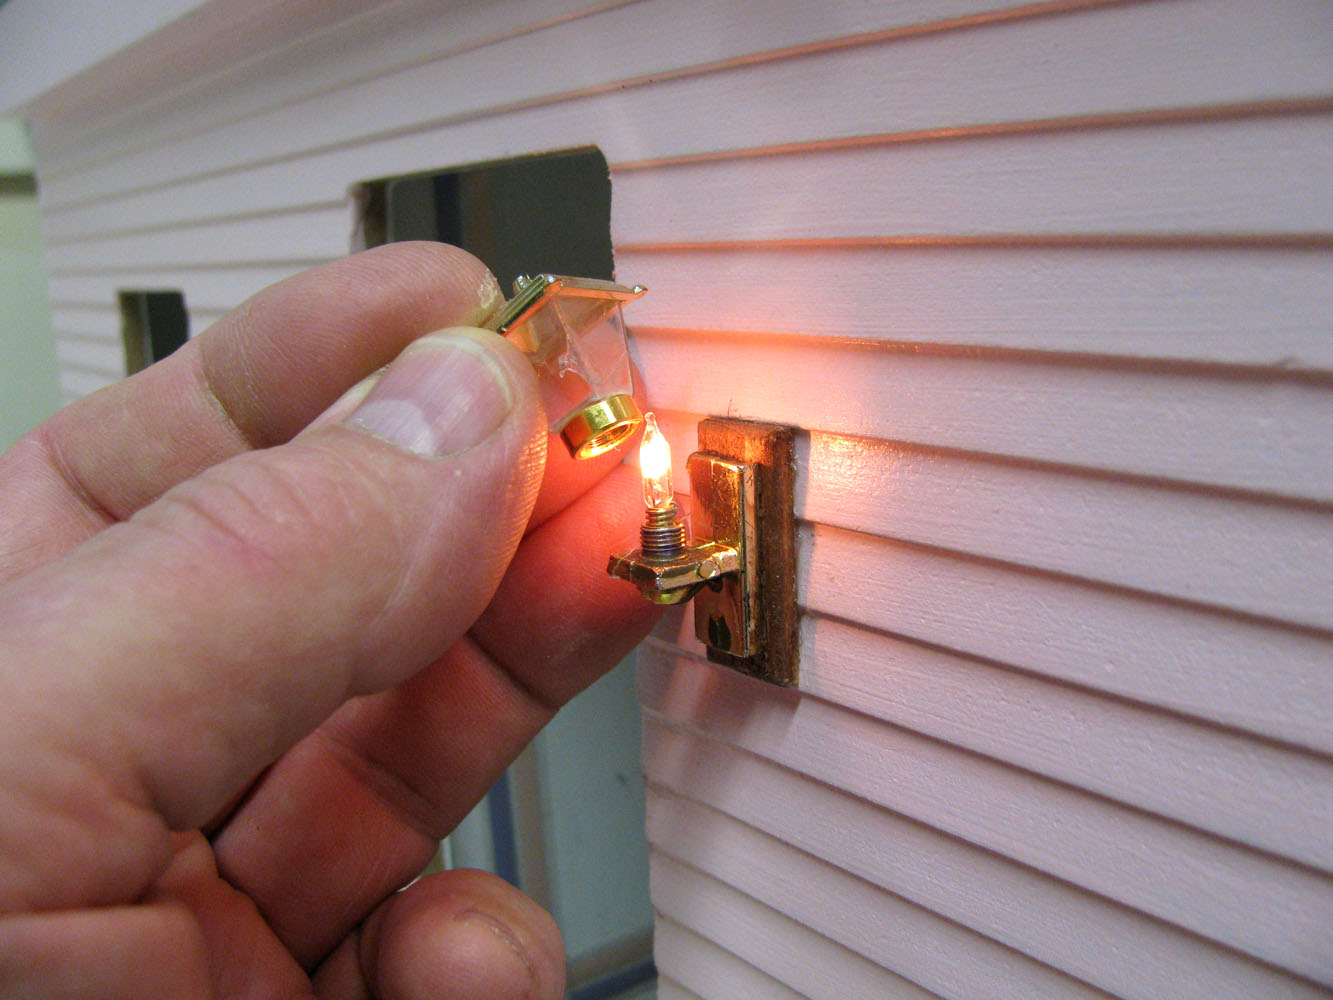
 Support the coach light while the glue dries
WiringAssets/coachLamp/CoachLamp_55_lg.jpg
Support the coach light while the glue dries
WiringAssets/coachLamp/CoachLamp_55_lg.jpg
Support the coach light while the glue dries
WiringAssets/coachLamp/CoachLamp_55_lg.jpg
DHTMLGoodies.com
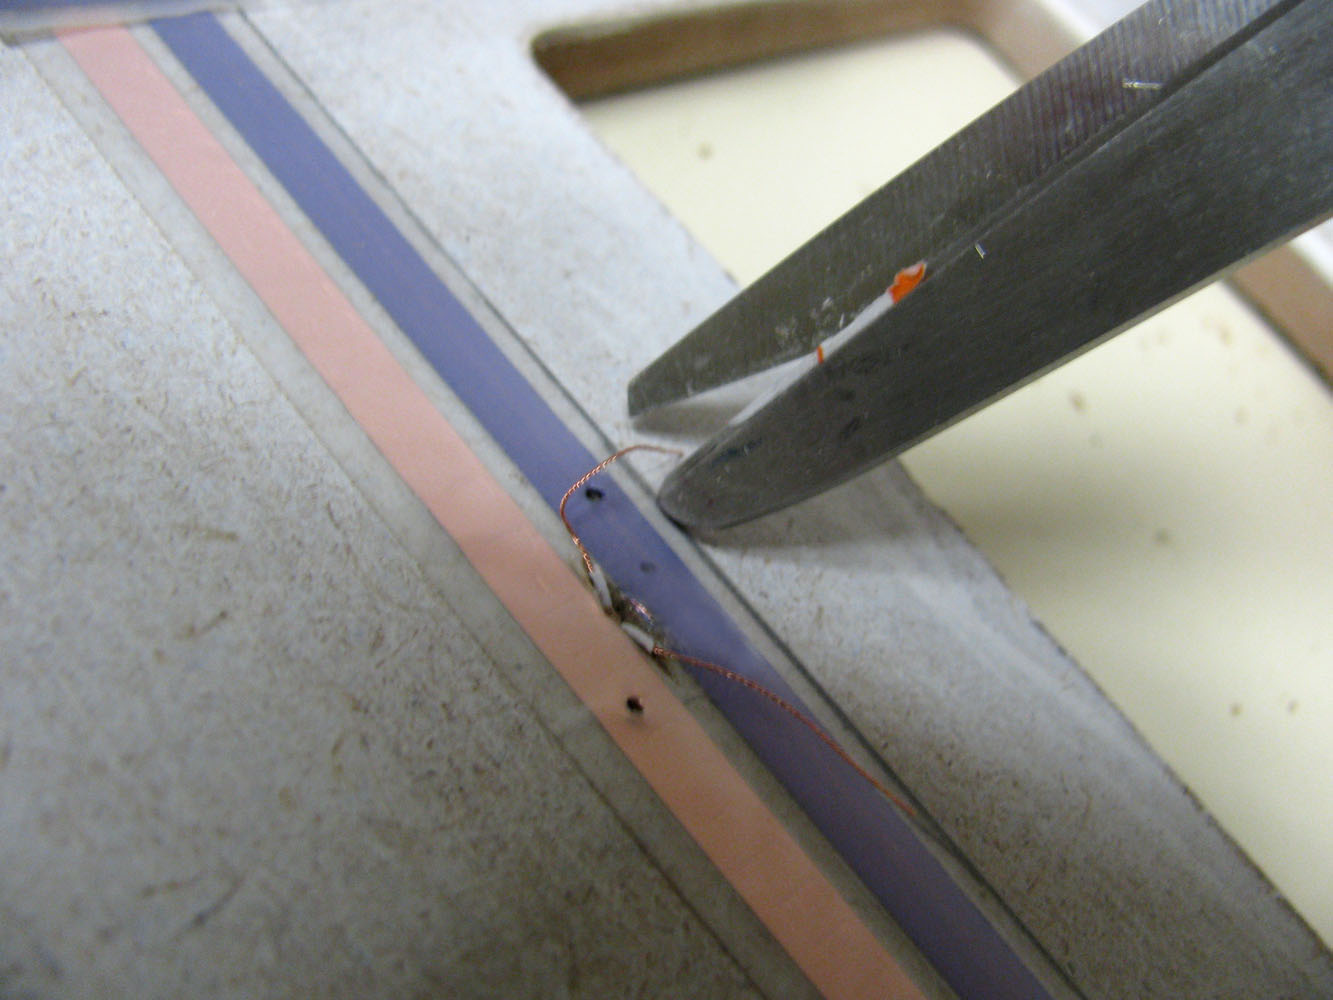
 Trim the wires to reach the holes with a loop plus 1/4" to go into the hole
WiringAssets/coachLamp/CoachLamp_57_lg.jpg
Trim the wires to reach the holes with a loop plus 1/4" to go into the hole
WiringAssets/coachLamp/CoachLamp_57_lg.jpg
Trim the wires to reach the holes with a loop plus 1/4" to go into the hole
WiringAssets/coachLamp/CoachLamp_57_lg.jpg
DHTMLGoodies.com
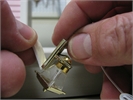
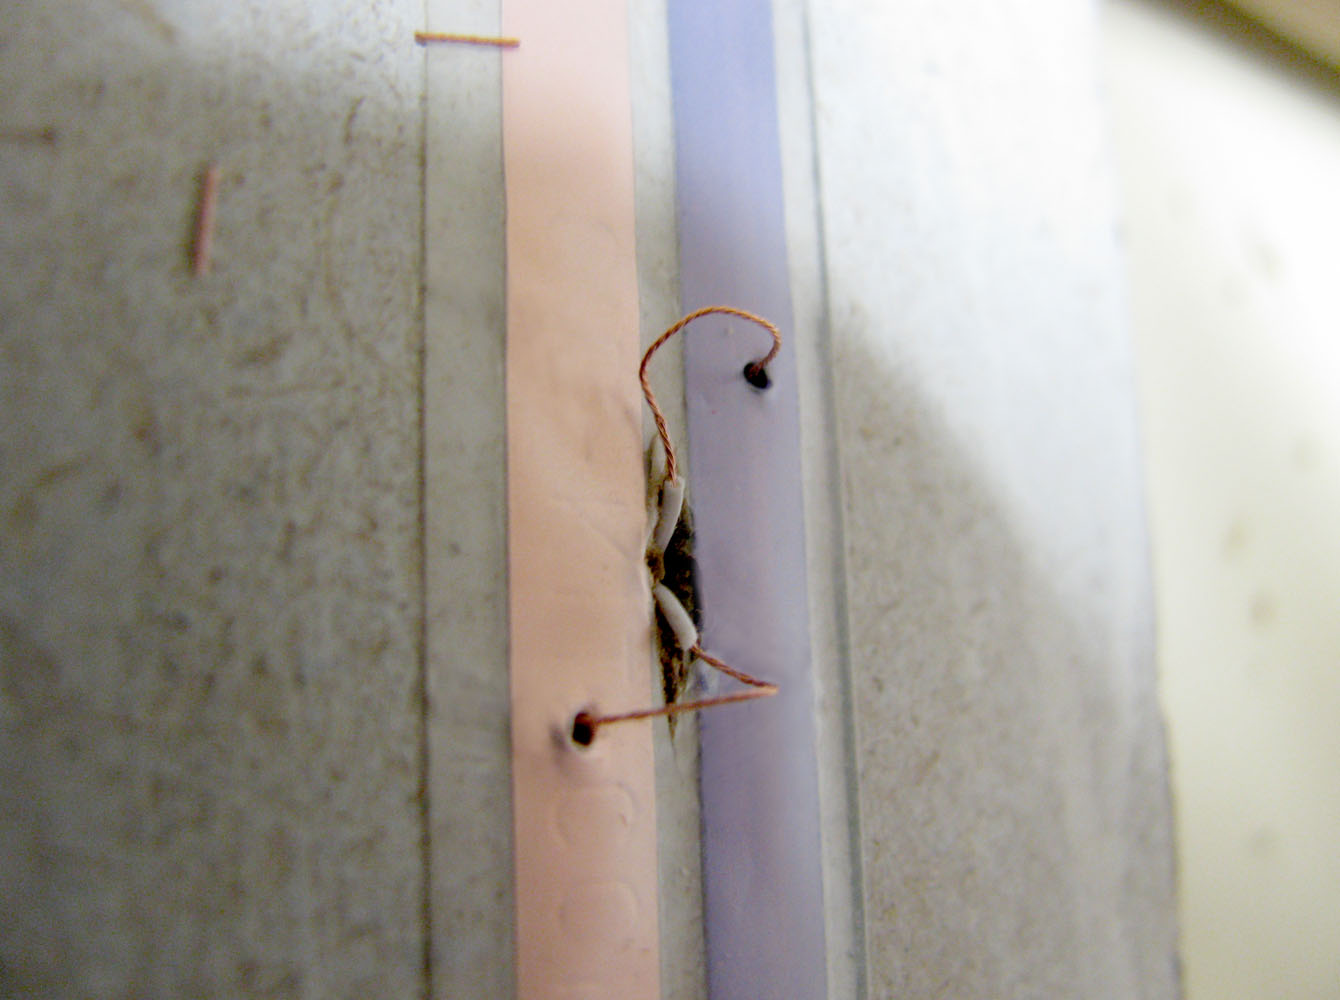
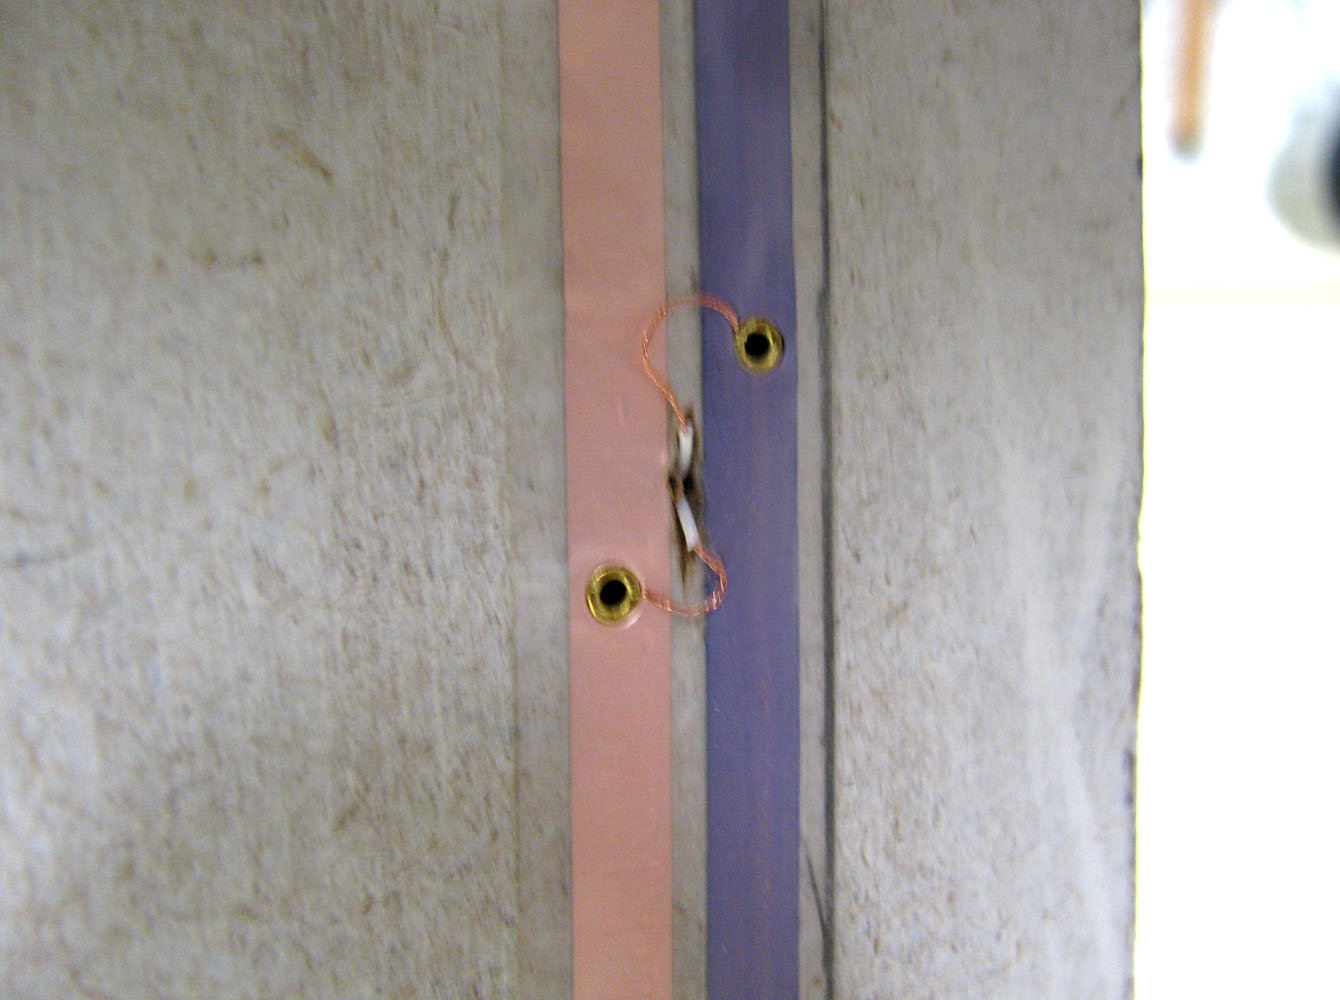
 Eyelet the wires into the holes (small eyelets)
WiringAssets/coachLamp/CoachLamp_59_lg.jpg
Eyelet the wires into the holes (small eyelets)
WiringAssets/coachLamp/CoachLamp_59_lg.jpg
Eyelet the wires into the holes (small eyelets)
WiringAssets/coachLamp/CoachLamp_59_lg.jpg
DHTMLGoodies.com
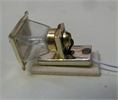
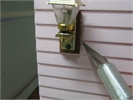
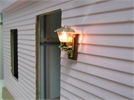
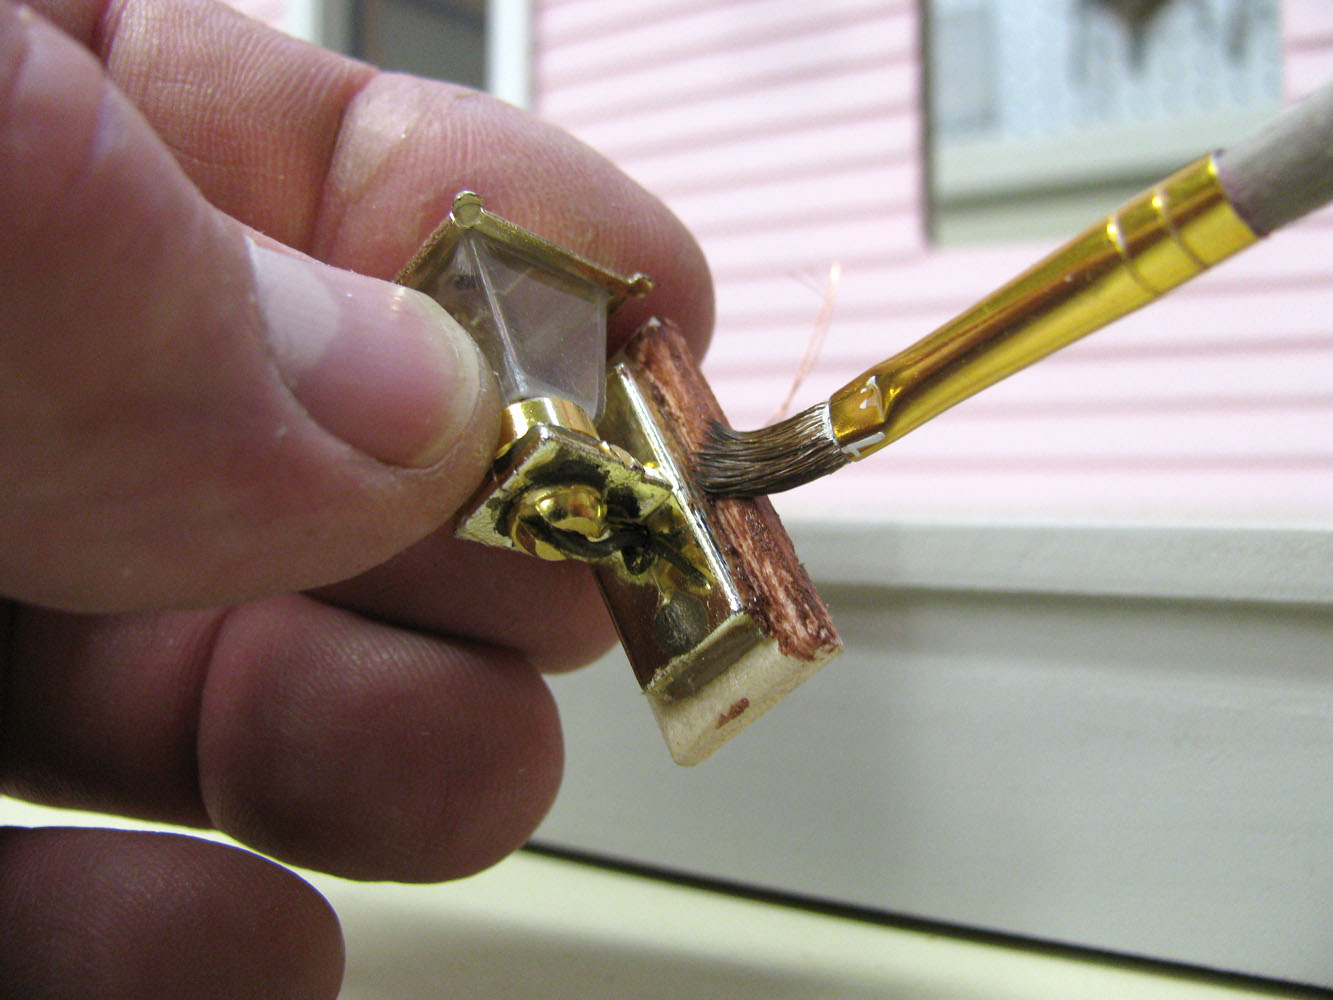
 Some Coach Lights need the backer in order to take off the cover
WiringAssets/coachLamp/CoachLamp_61_lg.jpg
Some Coach Lights need the backer in order to take off the cover
WiringAssets/coachLamp/CoachLamp_61_lg.jpg
Some Coach Lights need the backer in order to take off the cover
WiringAssets/coachLamp/CoachLamp_61_lg.jpg
