![]()
![]()
![]()
![]()
![]()
![]()
![]()
![]()
![]()
![]()
![]()
Wiring after
the house is built
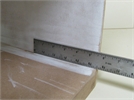
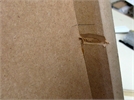
 Wiring, starting with an assembled Imagination Dollhouse.
Wiring assets/000_lg.jpg
Wiring, starting with an assembled Imagination Dollhouse.
Wiring assets/000_lg.jpg


DHTMLGoodies.com
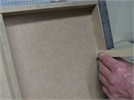
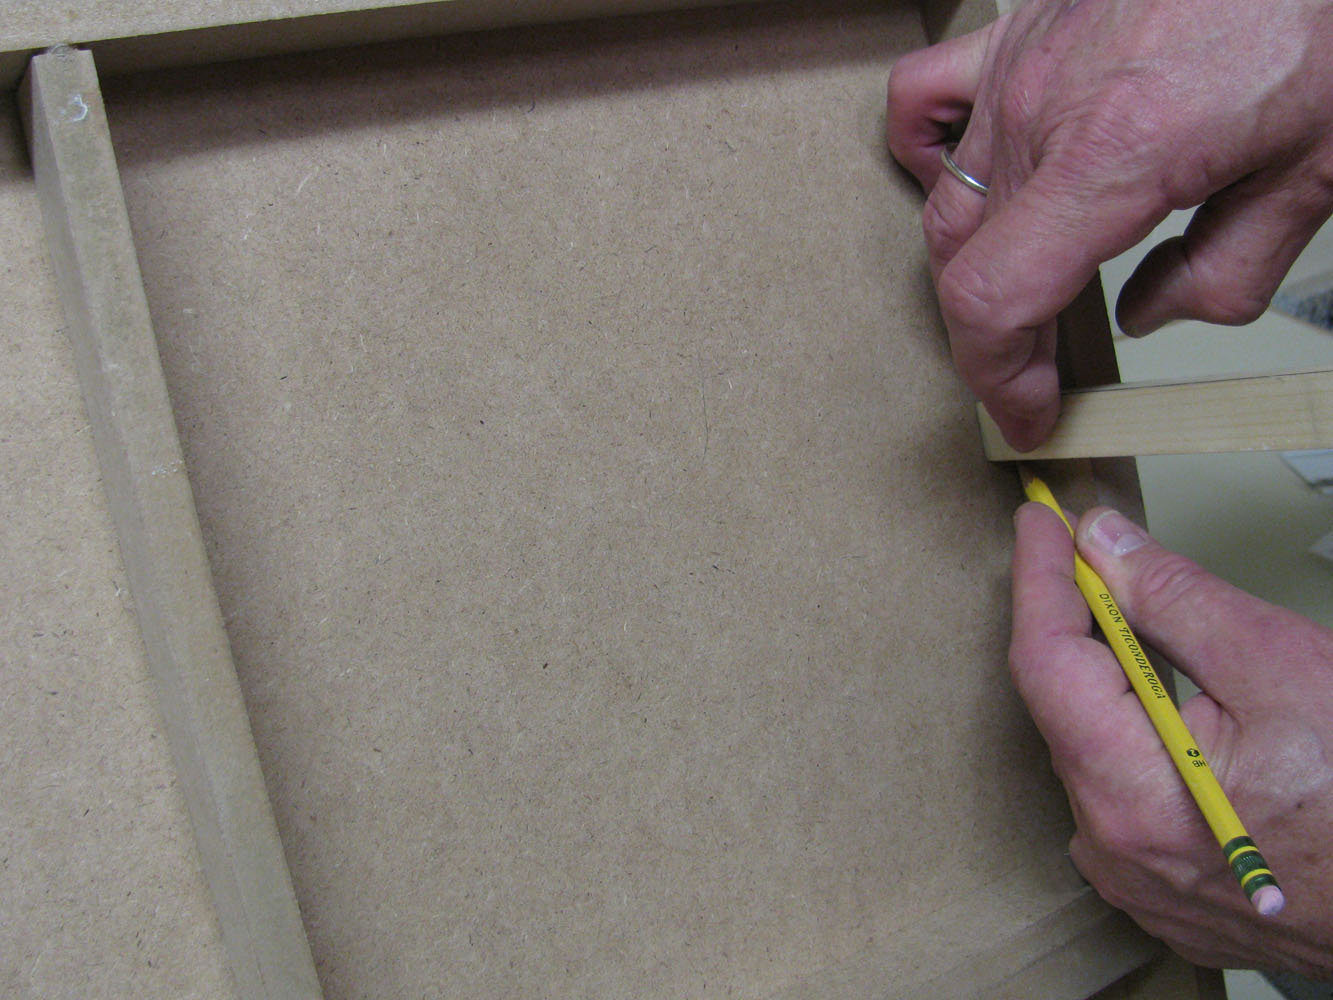
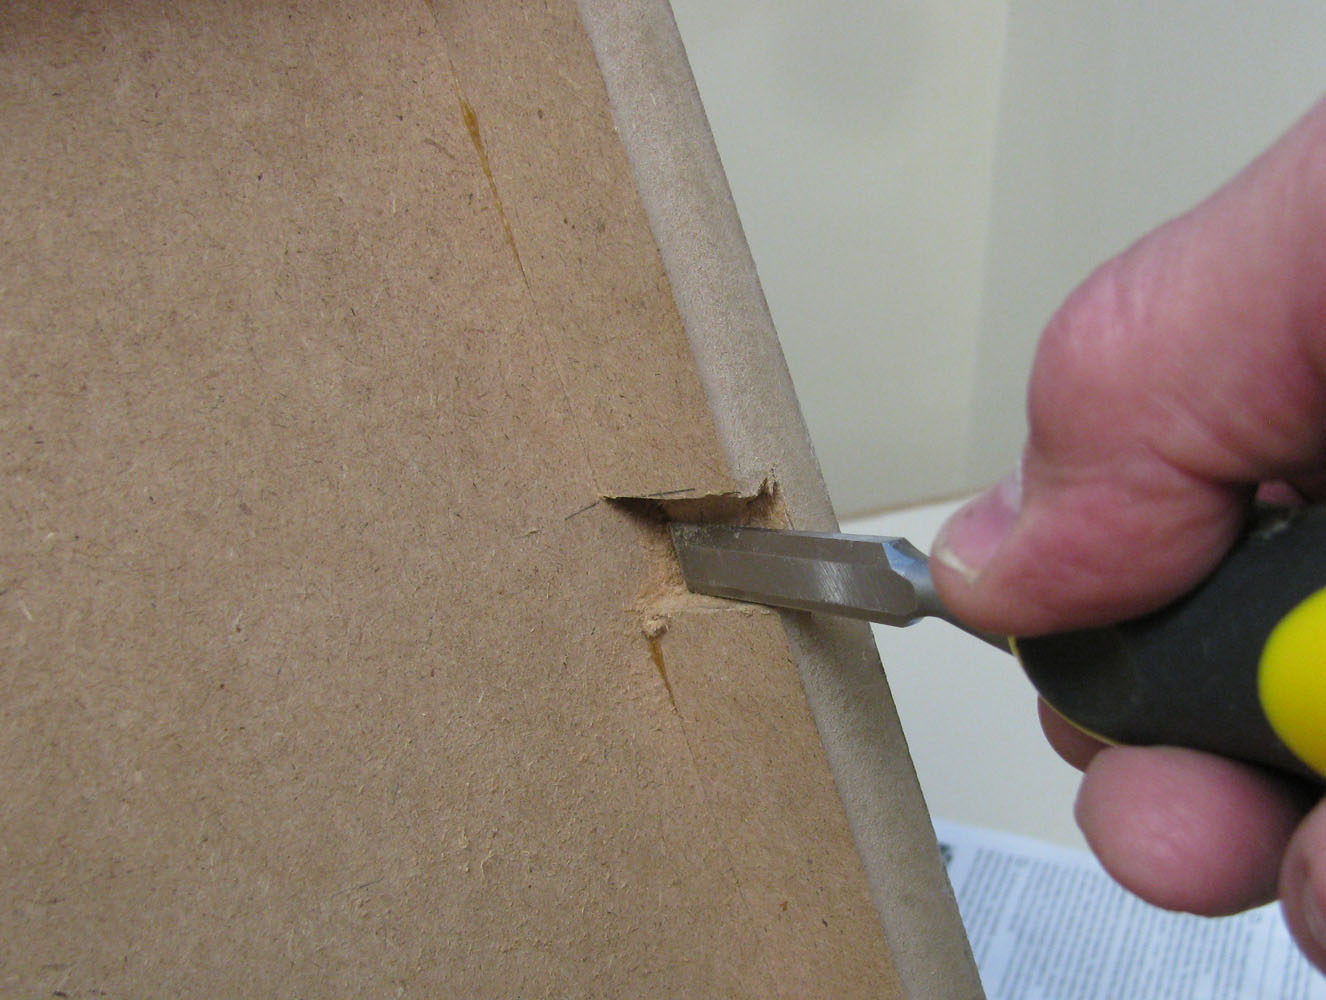
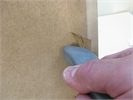 Straight cut, clearing cut,,, widen and deepen the slot with every chunk taken out
WiringAssets/209_lg.jpg
Straight cut, clearing cut,,, widen and deepen the slot with every chunk taken out
WiringAssets/209_lg.jpg
Straight cut, clearing cut,,, widen and deepen the slot with every chunk taken out
WiringAssets/209_lg.jpg
DHTMLGoodies.com
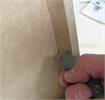
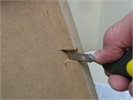
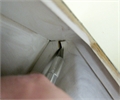
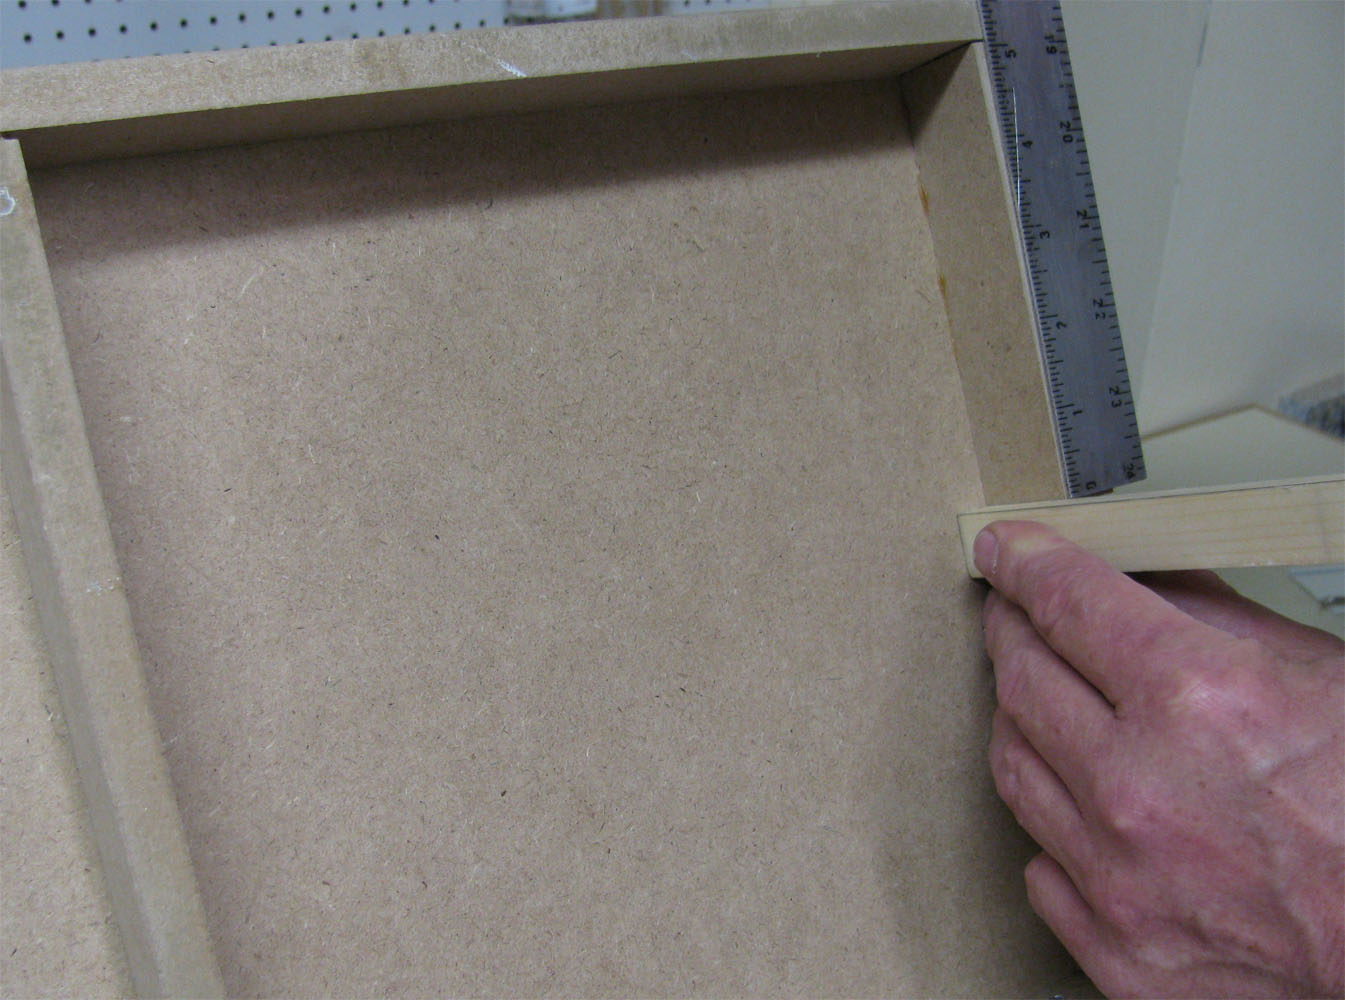
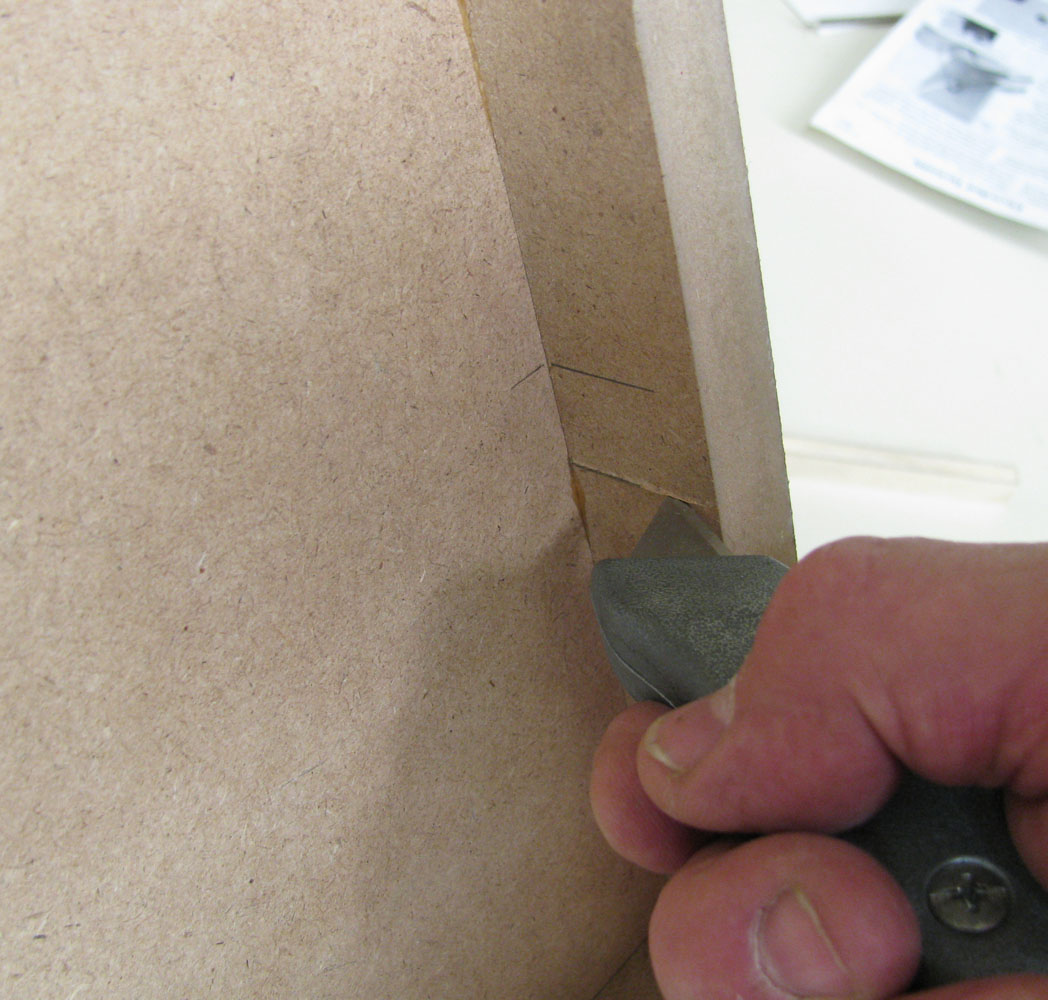
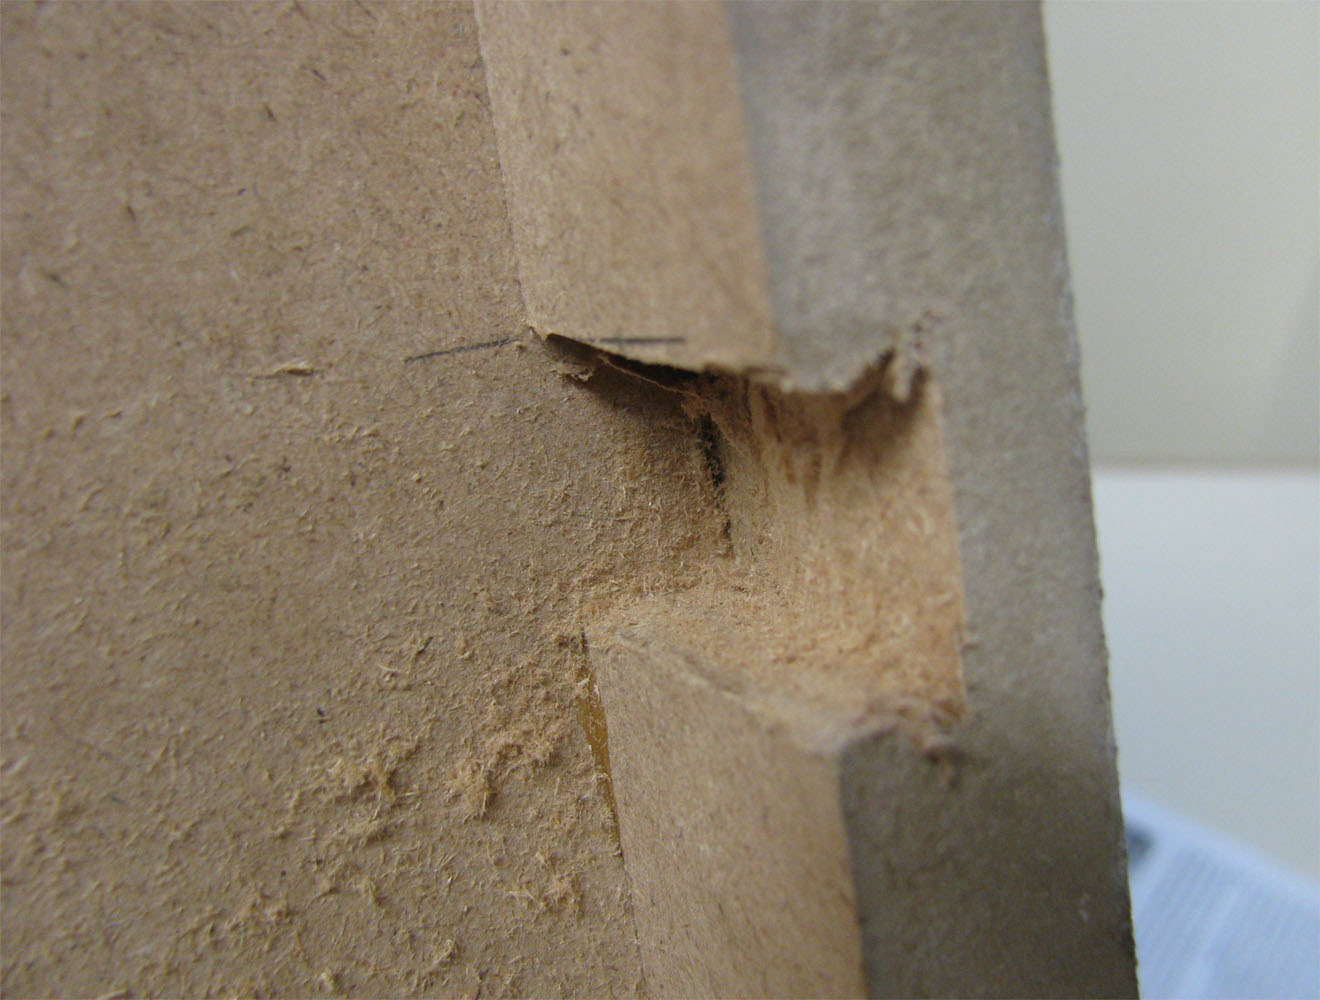
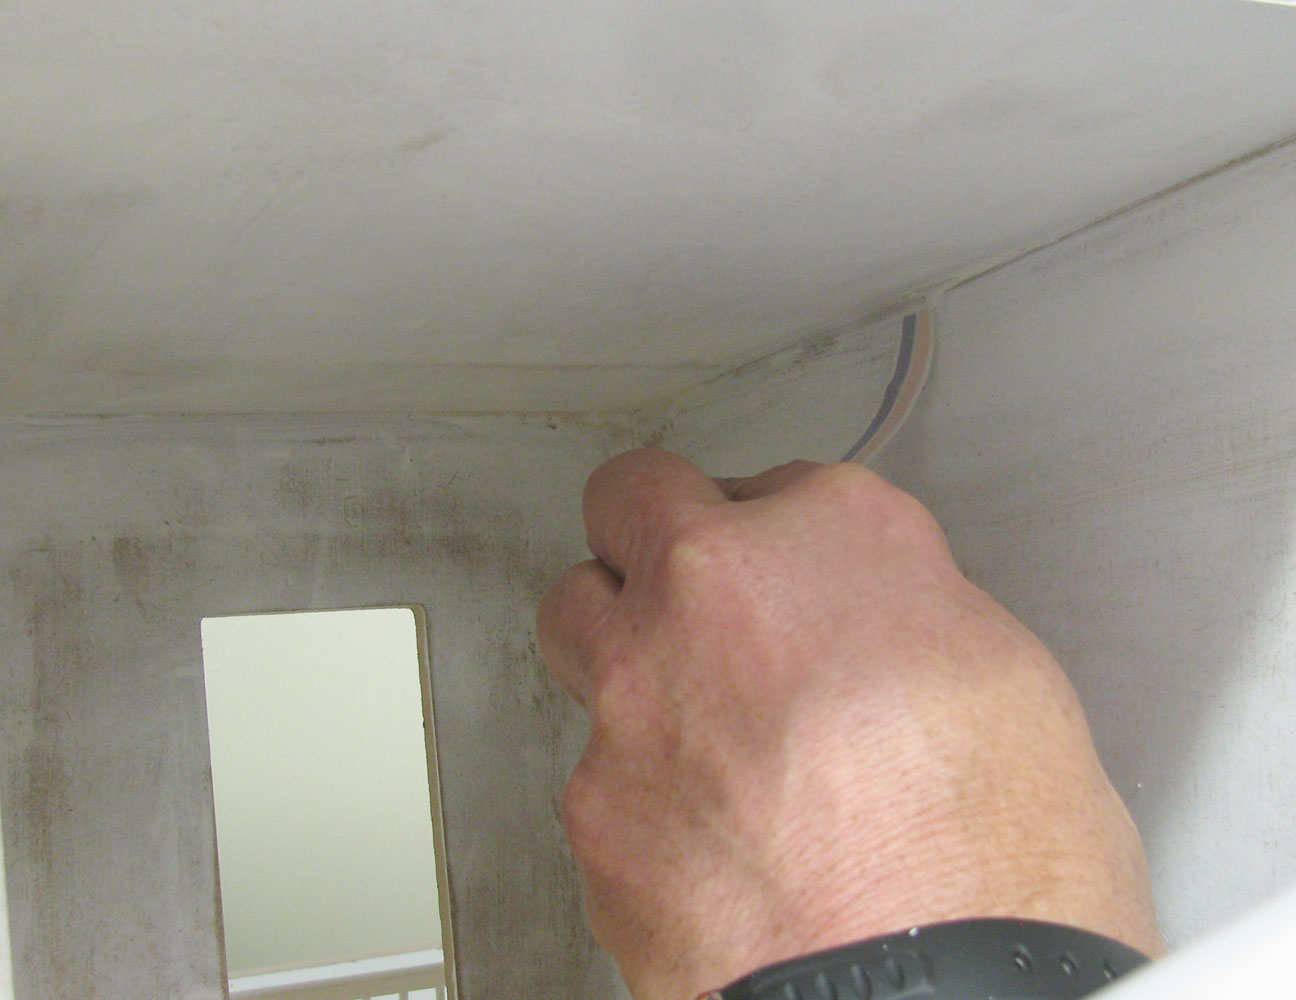
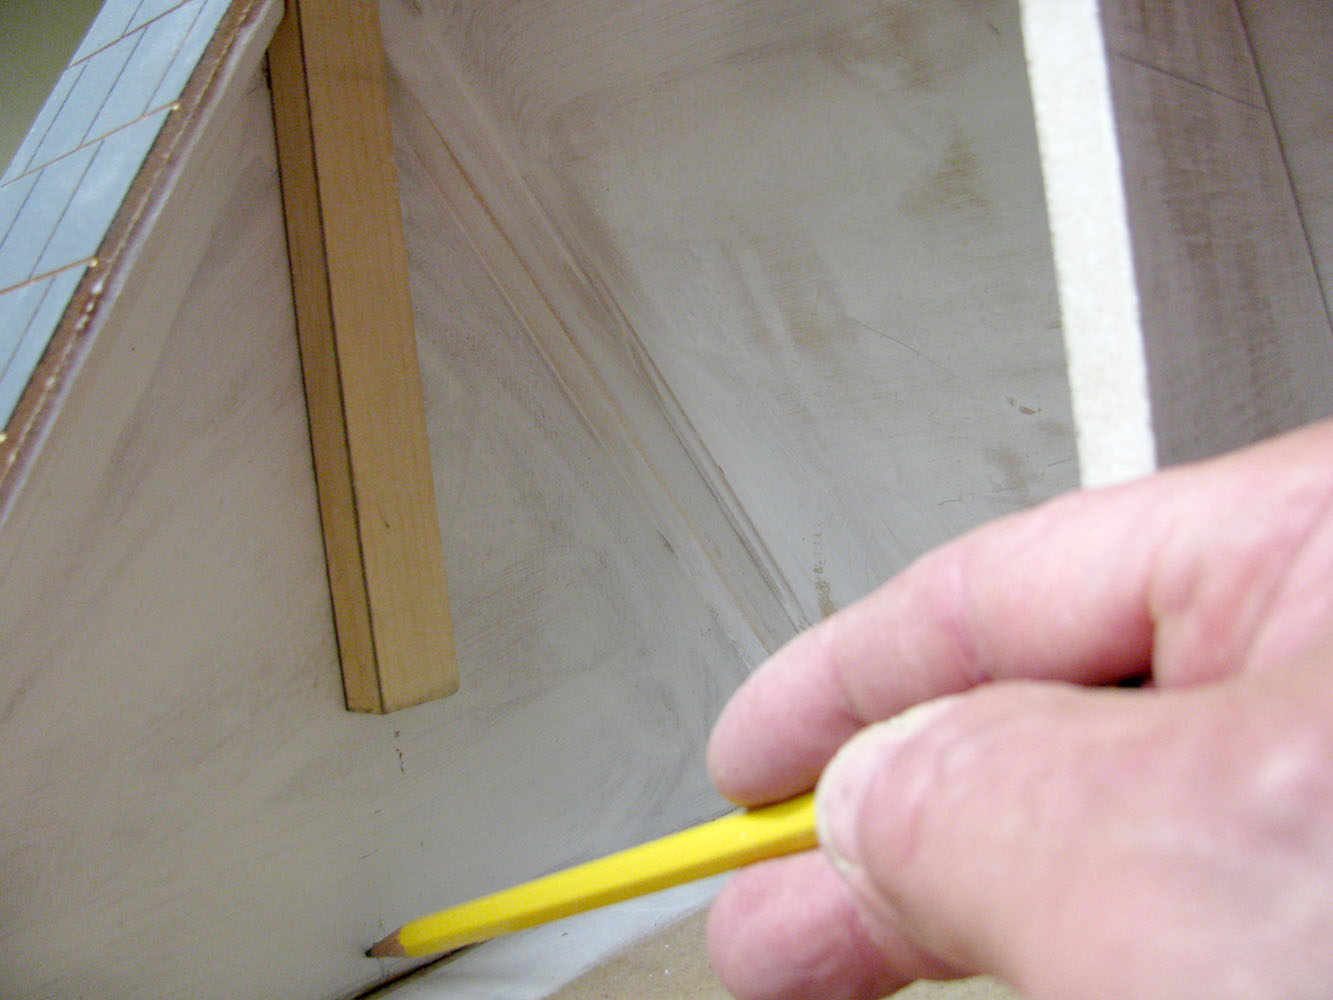
 Finding the bottom of the E-slot is always deeper than I expect
WiringAssets/211_lg.jpg
Finding the bottom of the E-slot is always deeper than I expect
WiringAssets/211_lg.jpg
Finding the bottom of the E-slot is always deeper than I expect
WiringAssets/211_lg.jpg
DHTMLGoodies.com
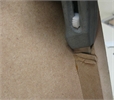
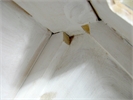
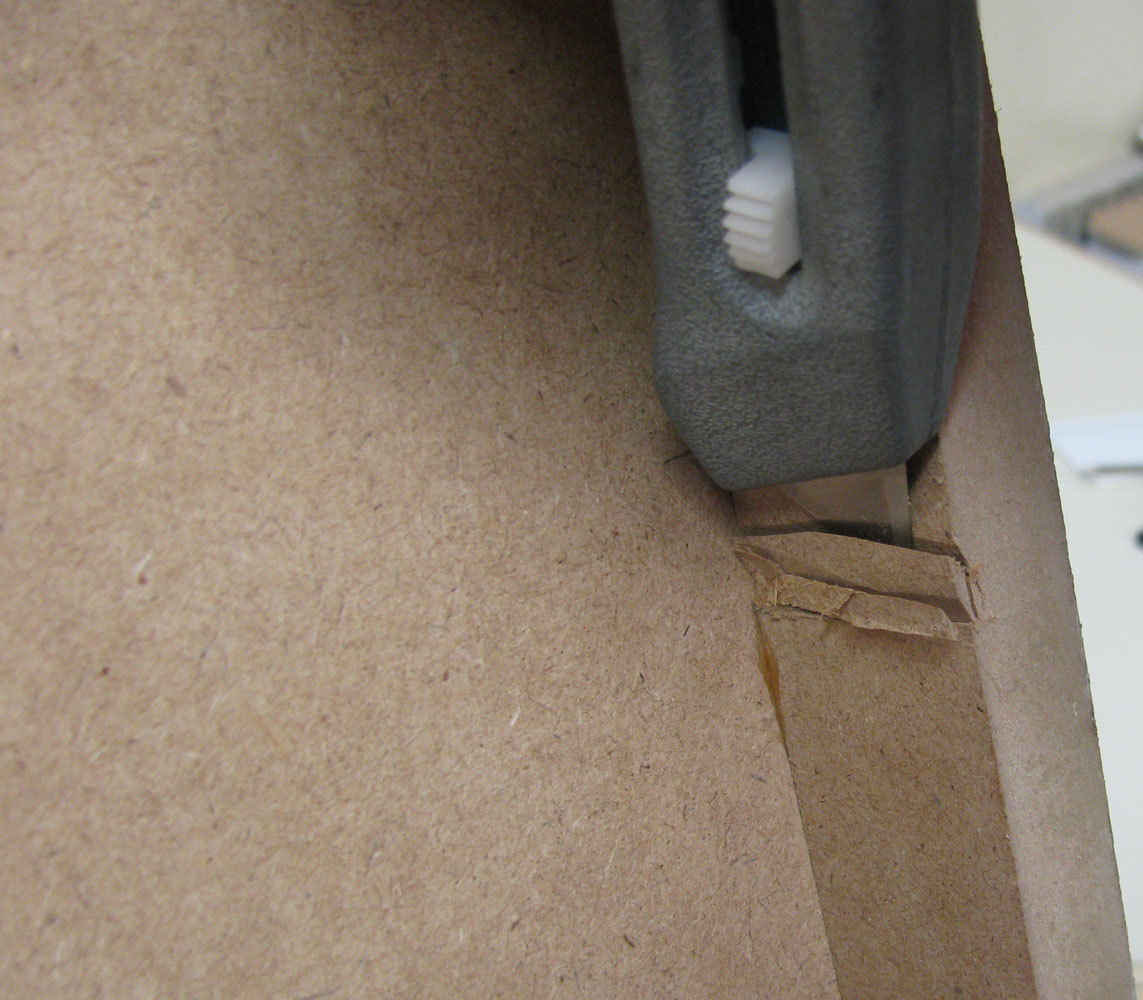
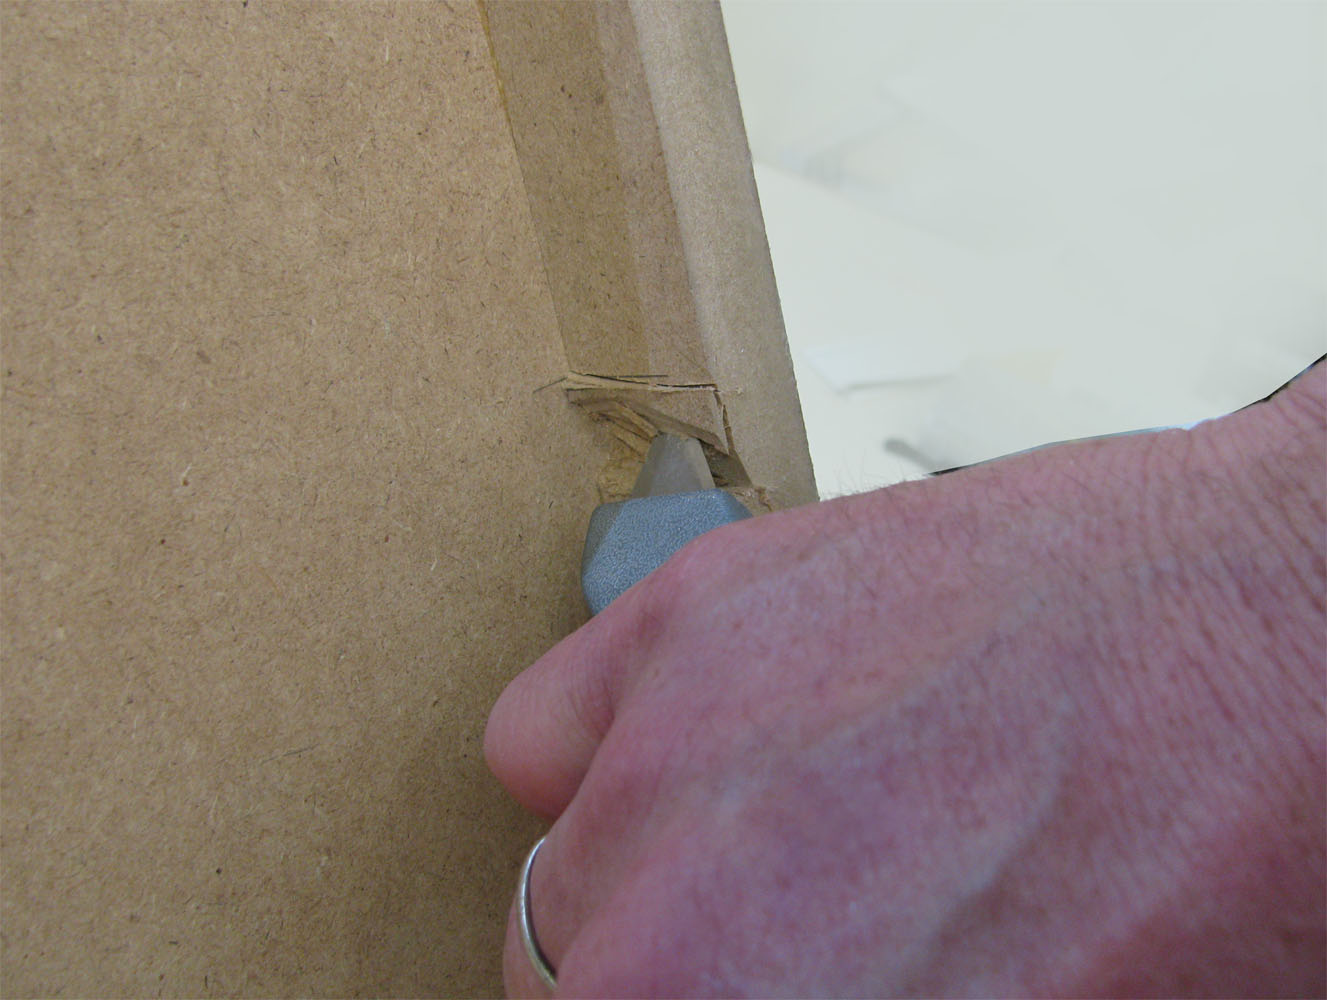
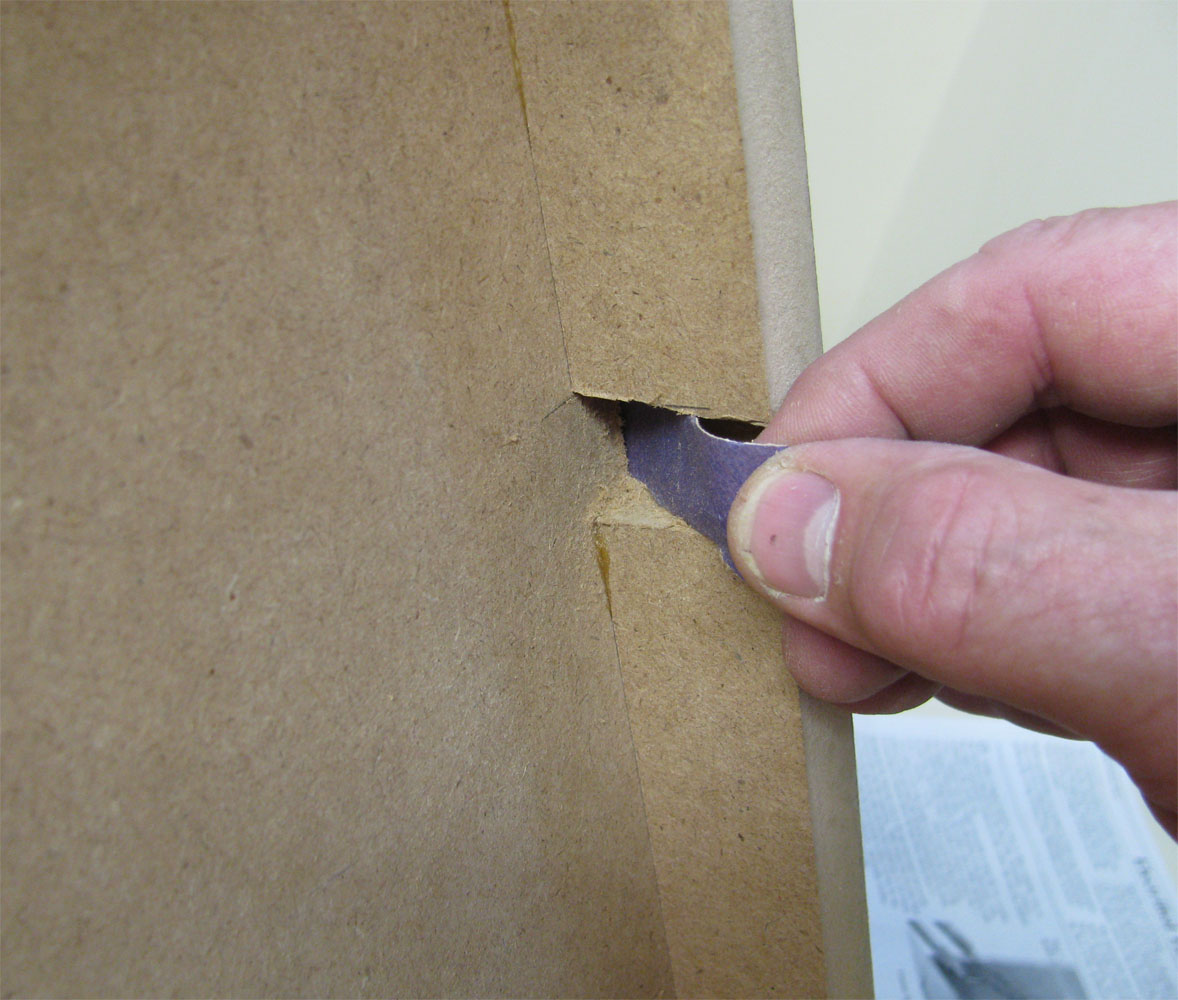
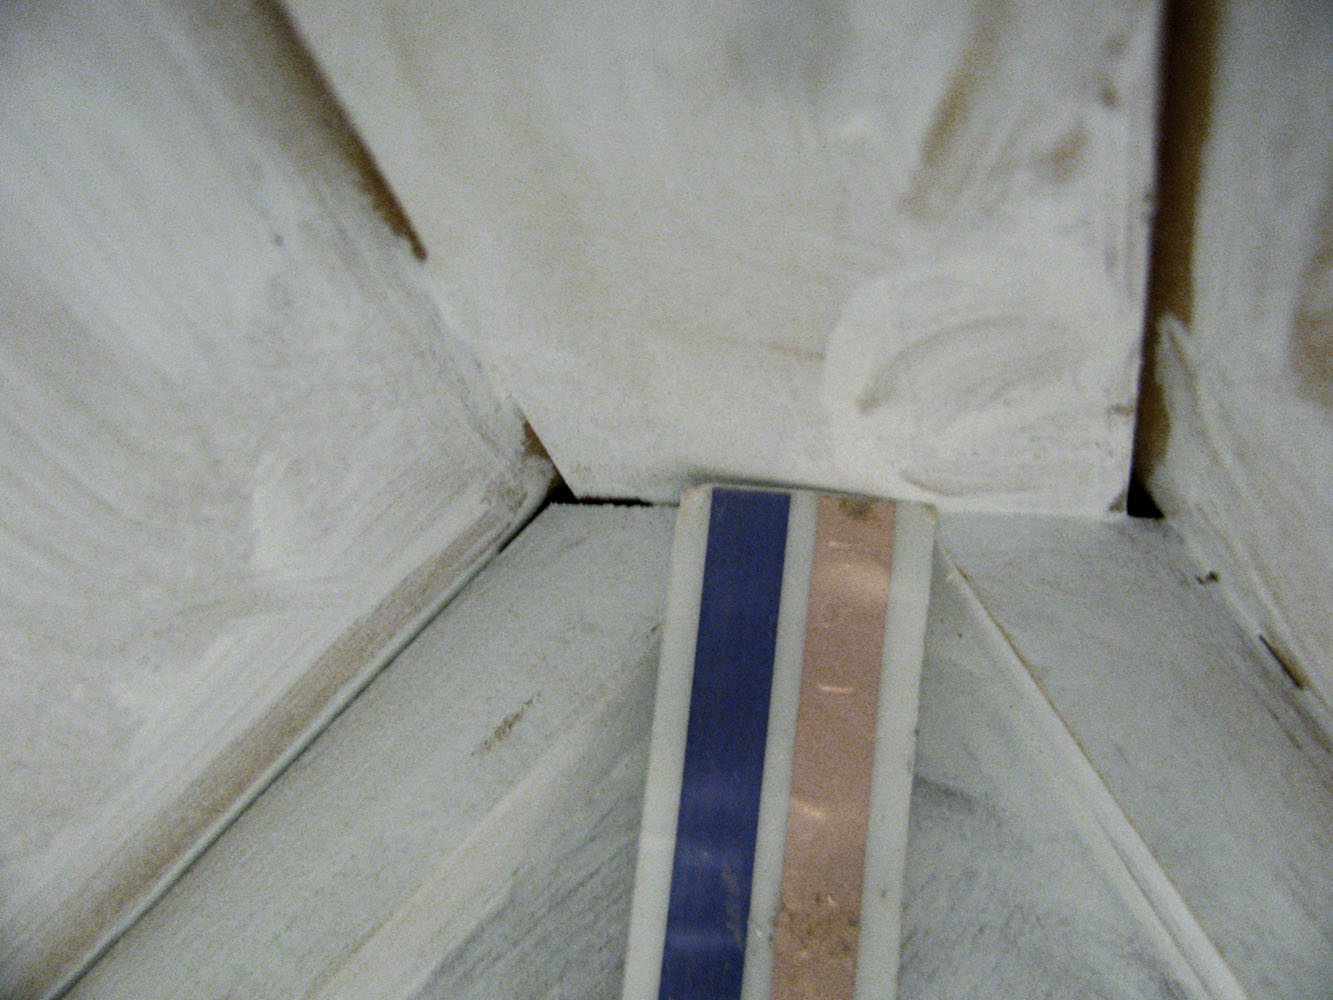
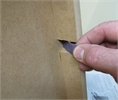 The E-slot always has sawdust and trash in the slot... "floss" with a strip of sandpaper
WiringAssets/212_lg.jpg
The E-slot always has sawdust and trash in the slot... "floss" with a strip of sandpaper
WiringAssets/212_lg.jpg
The E-slot always has sawdust and trash in the slot... "floss" with a strip of sandpaper
WiringAssets/212_lg.jpg


DHTMLGoodies.com
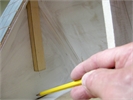
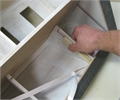
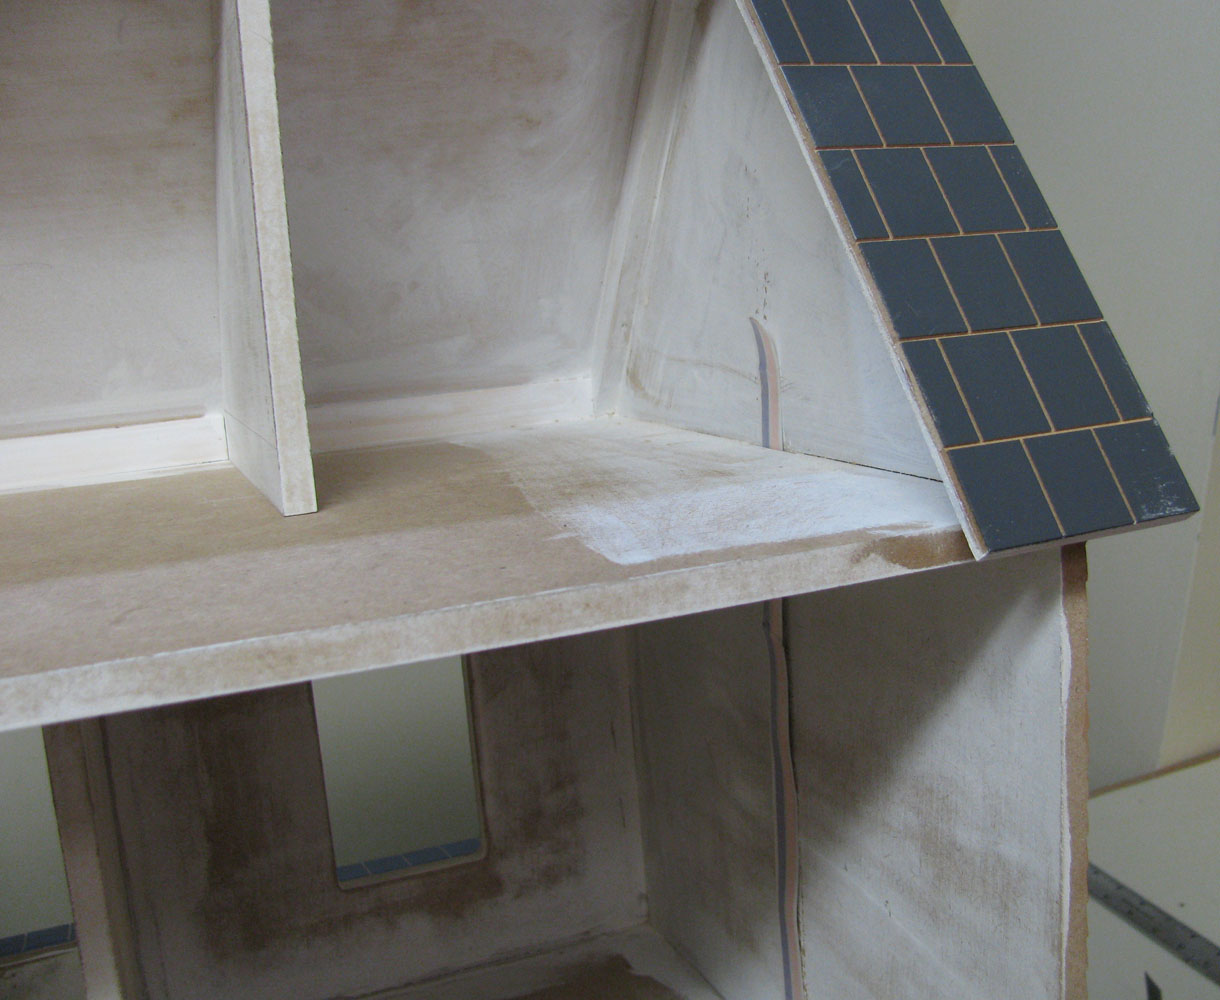
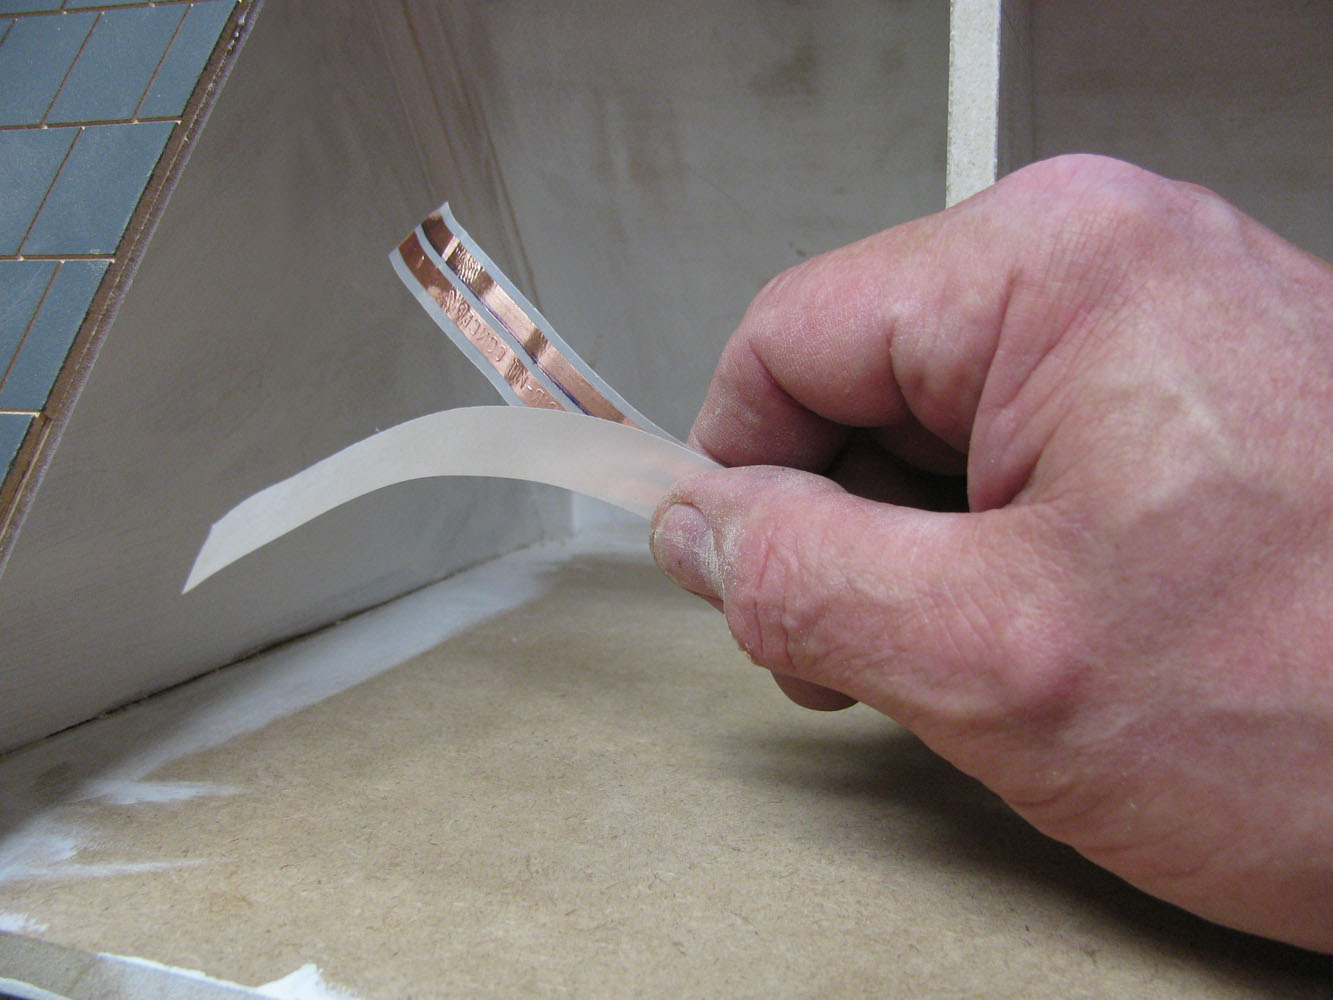
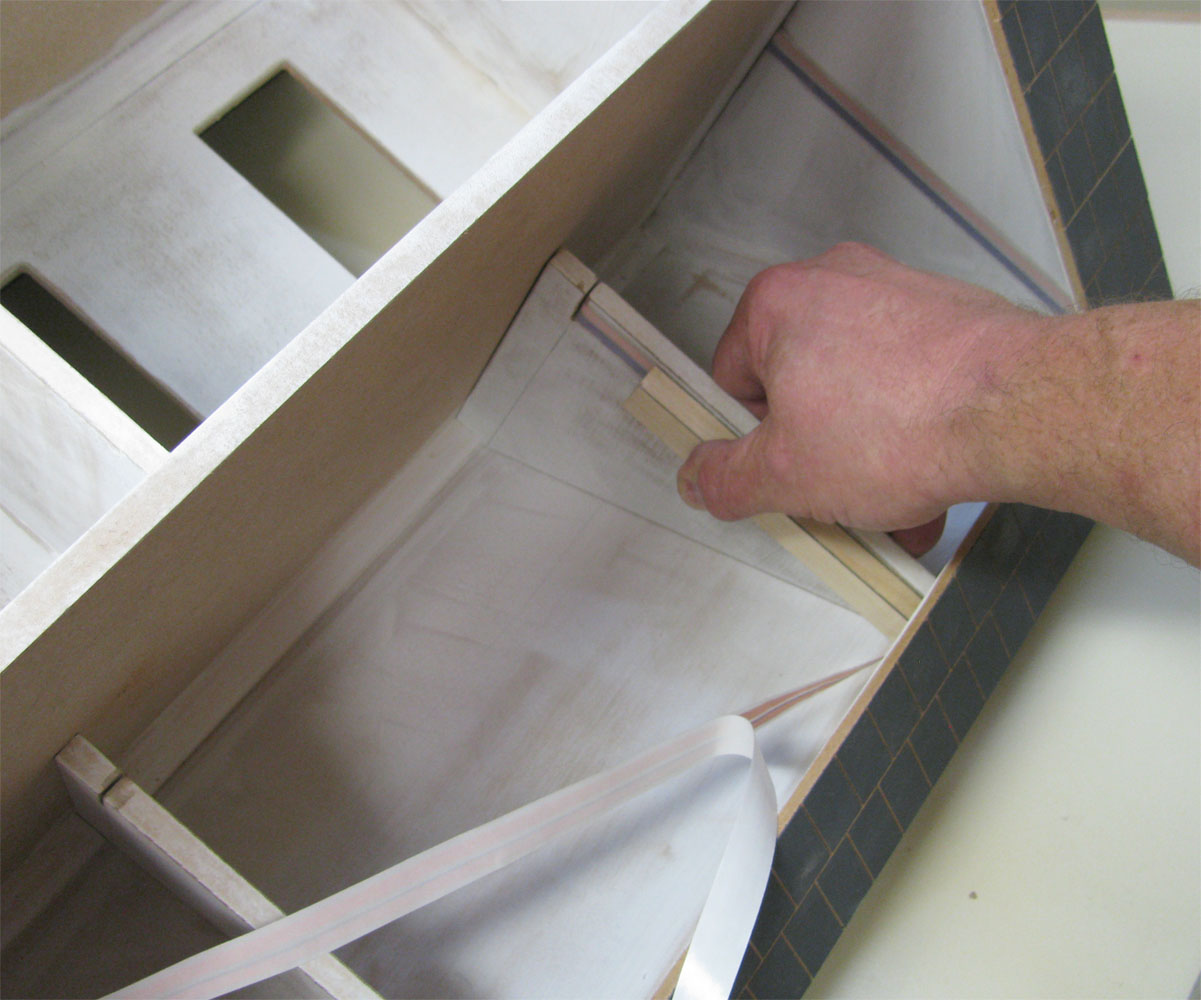
 As the tapewire is pulled thru the house, don't let the coil tangle
WiringAssets/215_lg.jpg
As the tapewire is pulled thru the house, don't let the coil tangle
WiringAssets/215_lg.jpg
As the tapewire is pulled thru the house, don't let the coil tangle
WiringAssets/215_lg.jpg


DHTMLGoodies.com
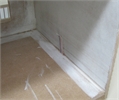
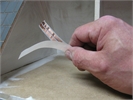
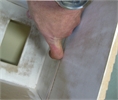
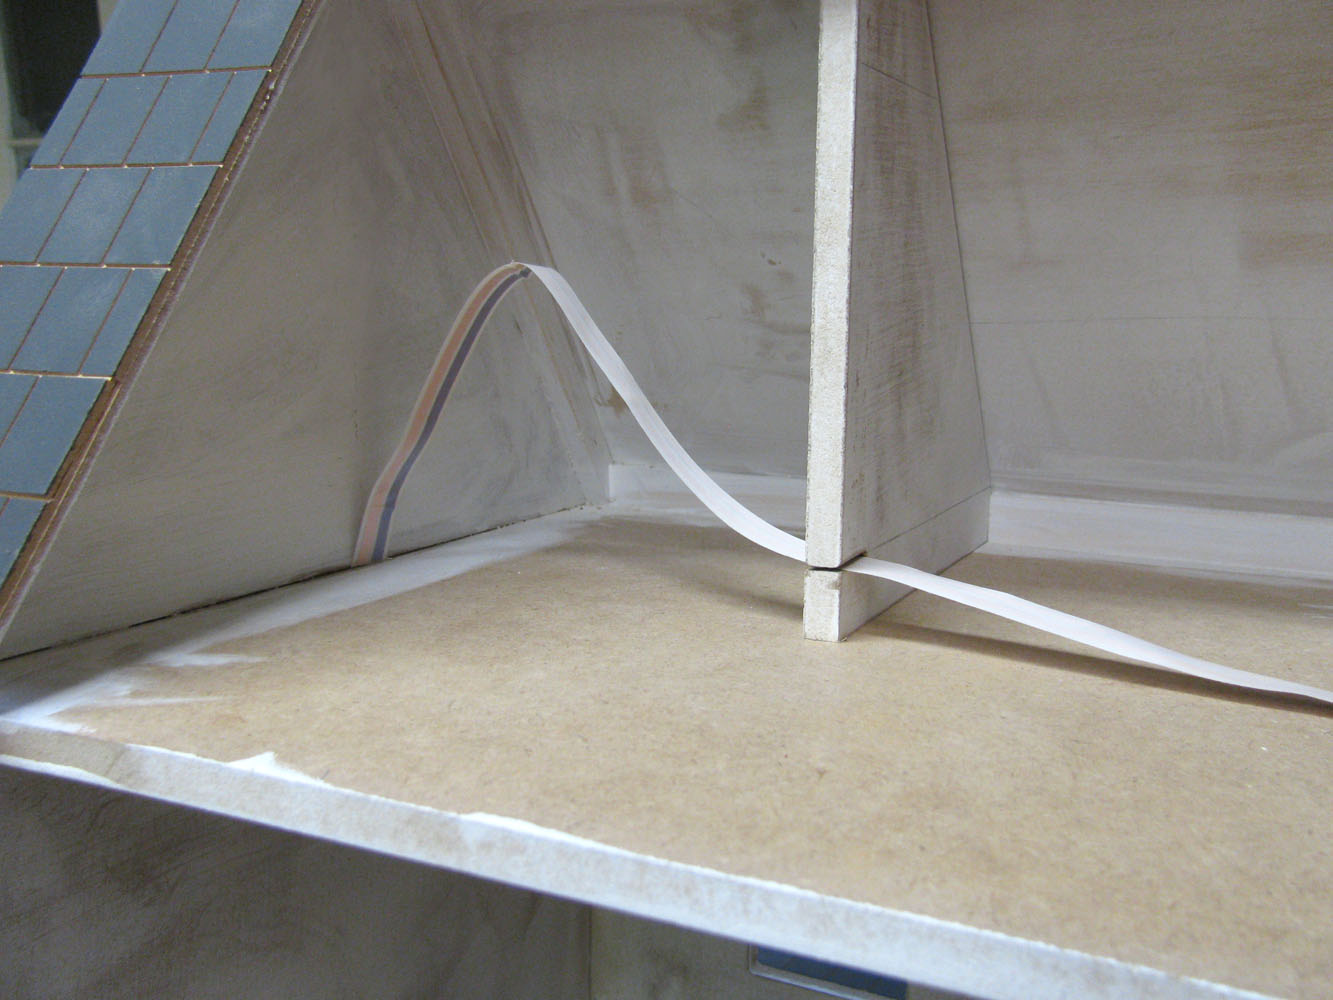
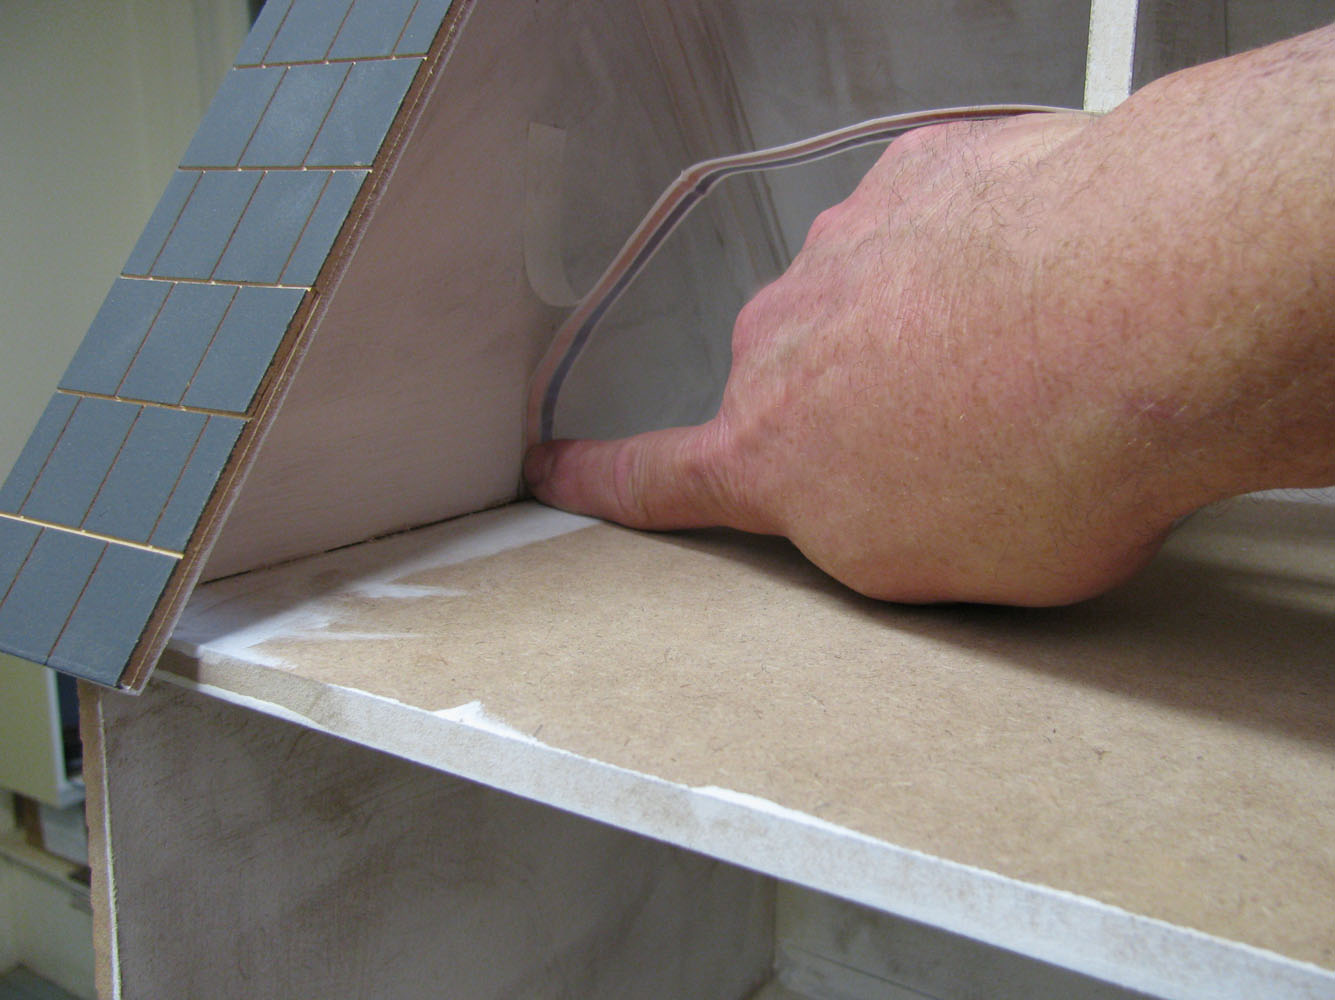
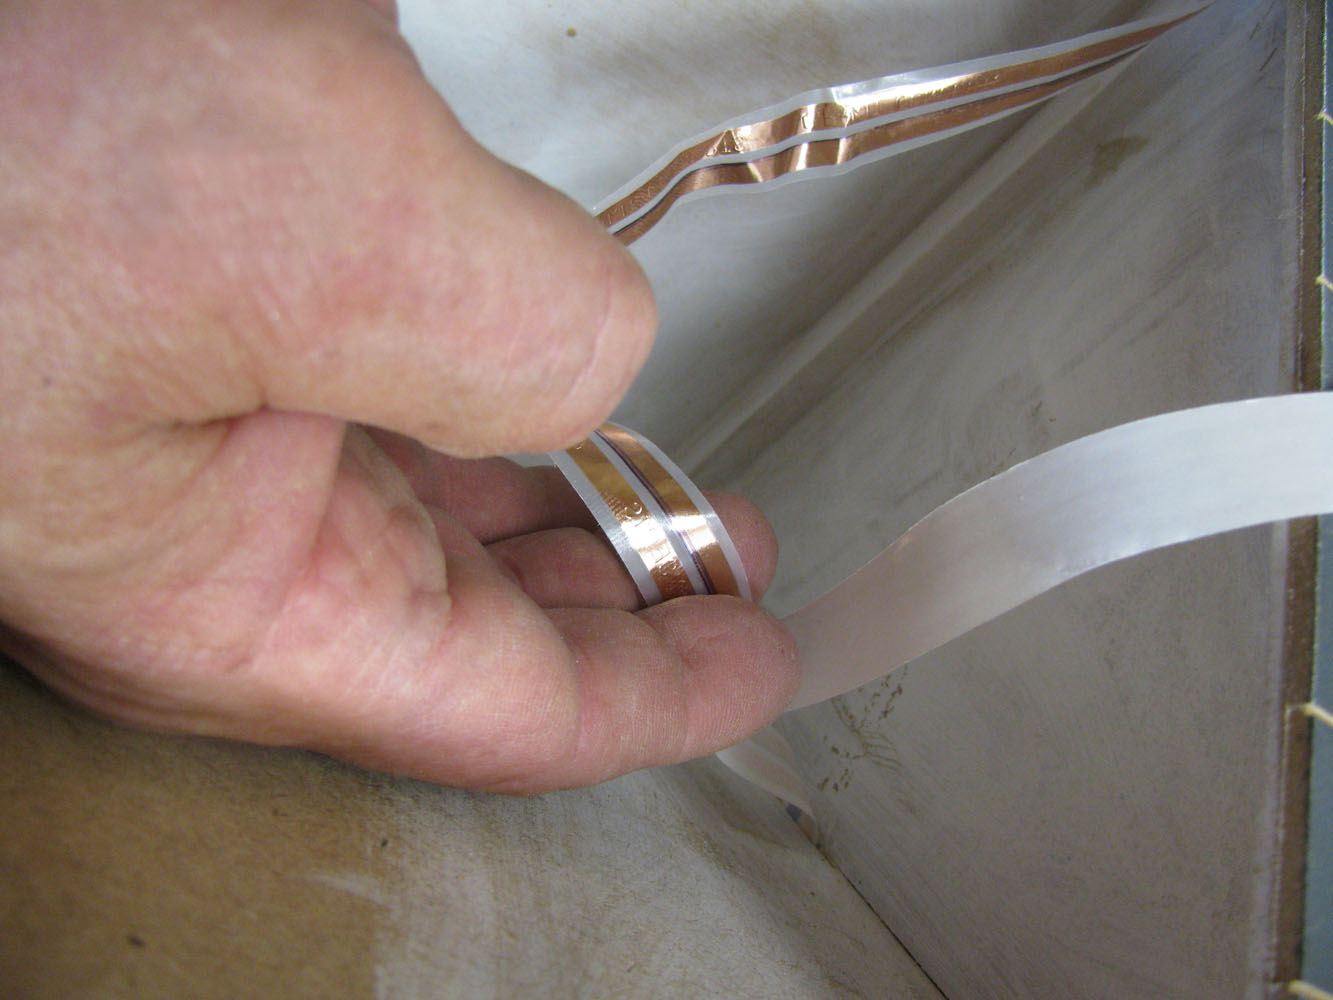
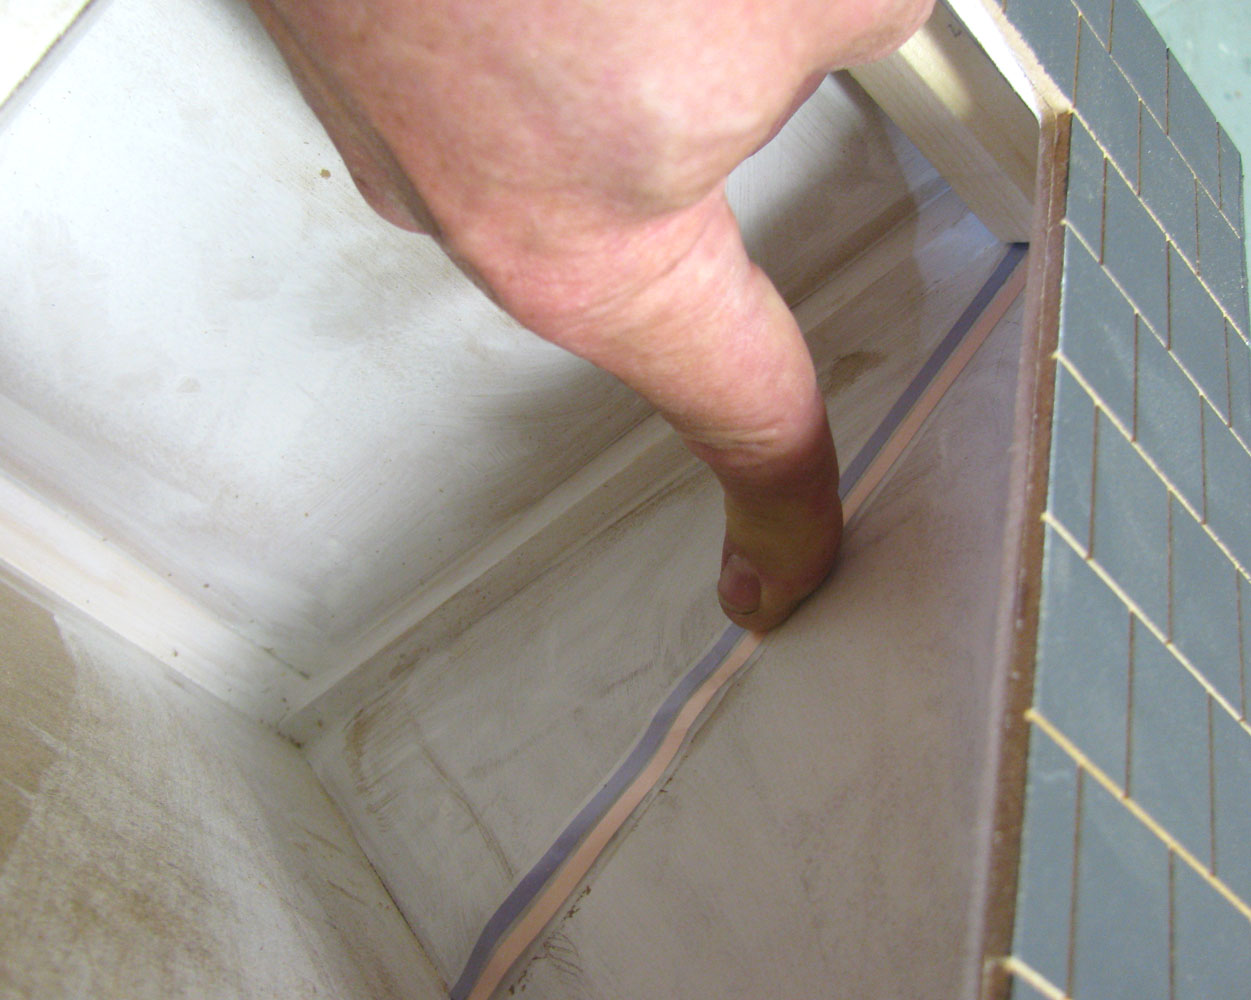
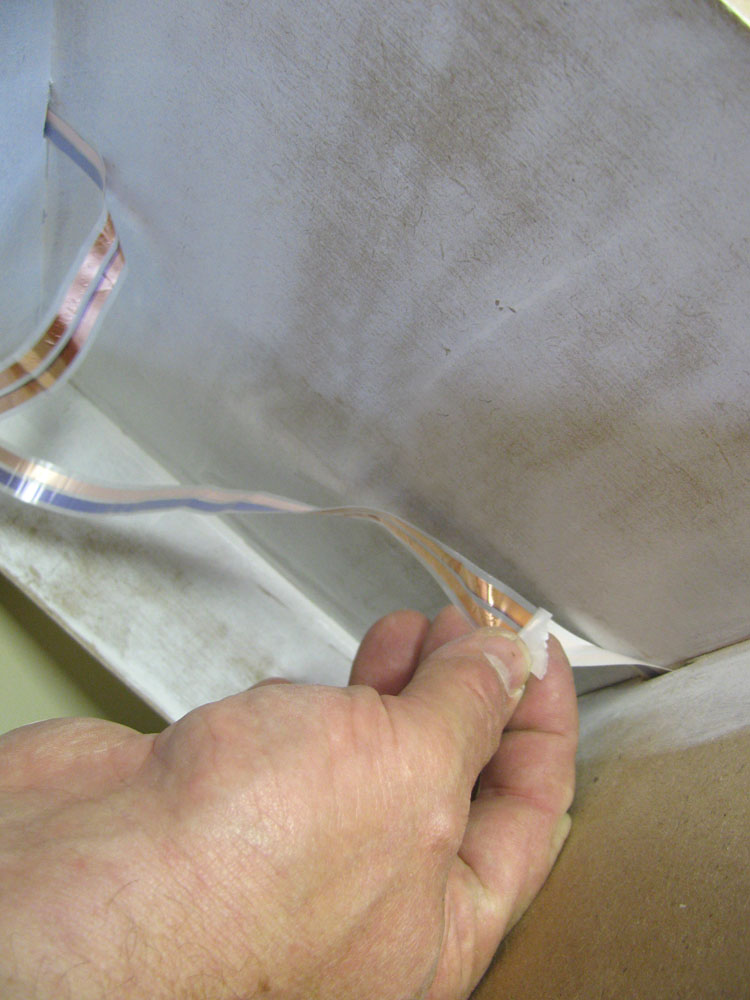
 Pull it back down so the tapewire is tight and the end of the backing is one floor down
WiringAssets/239_lg.jpg
Pull it back down so the tapewire is tight and the end of the backing is one floor down
WiringAssets/239_lg.jpg
Pull it back down so the tapewire is tight and the end of the backing is one floor down
WiringAssets/239_lg.jpg

DHTMLGoodies.com
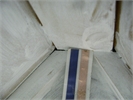
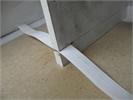
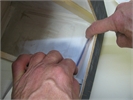
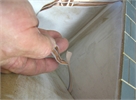
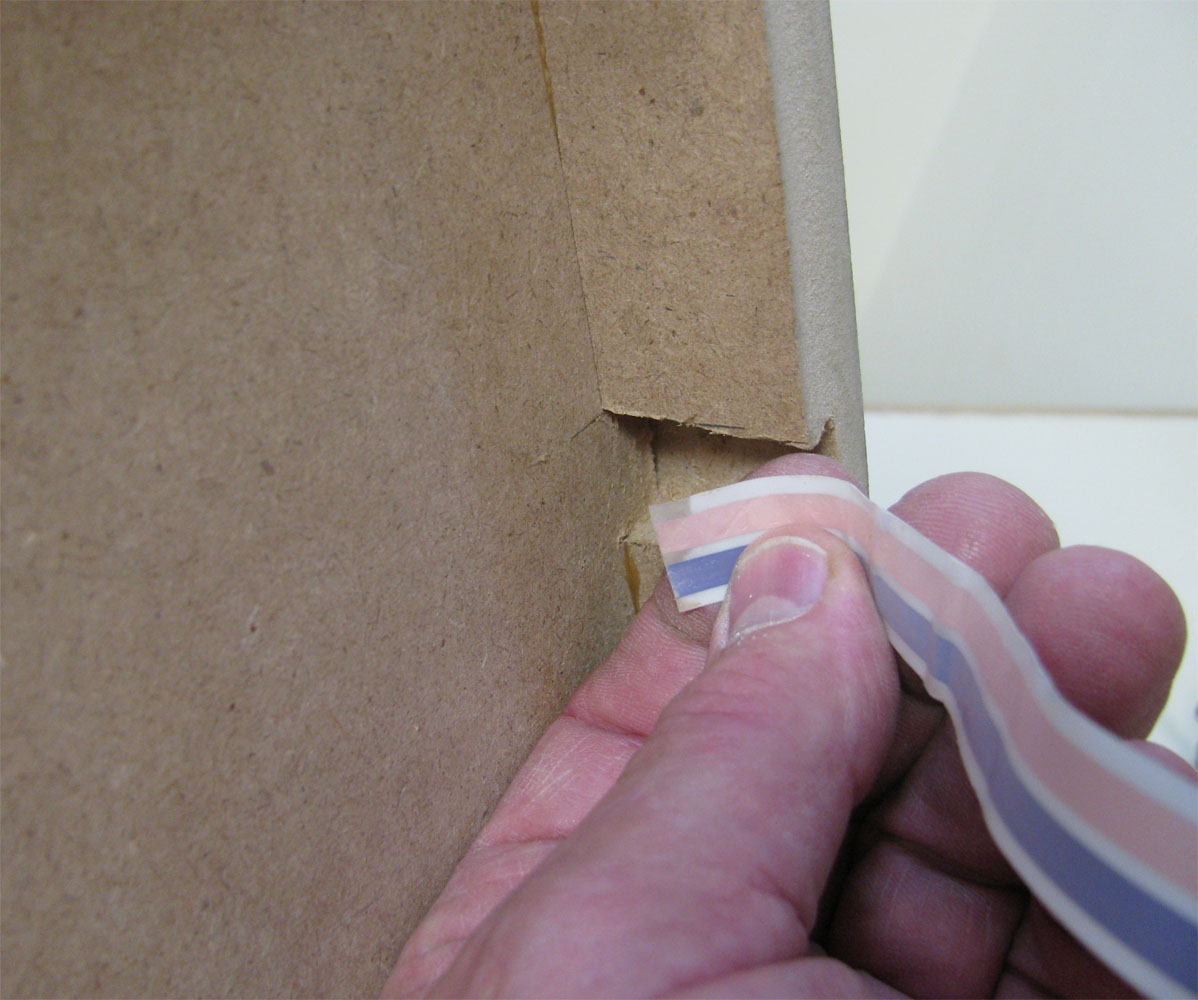
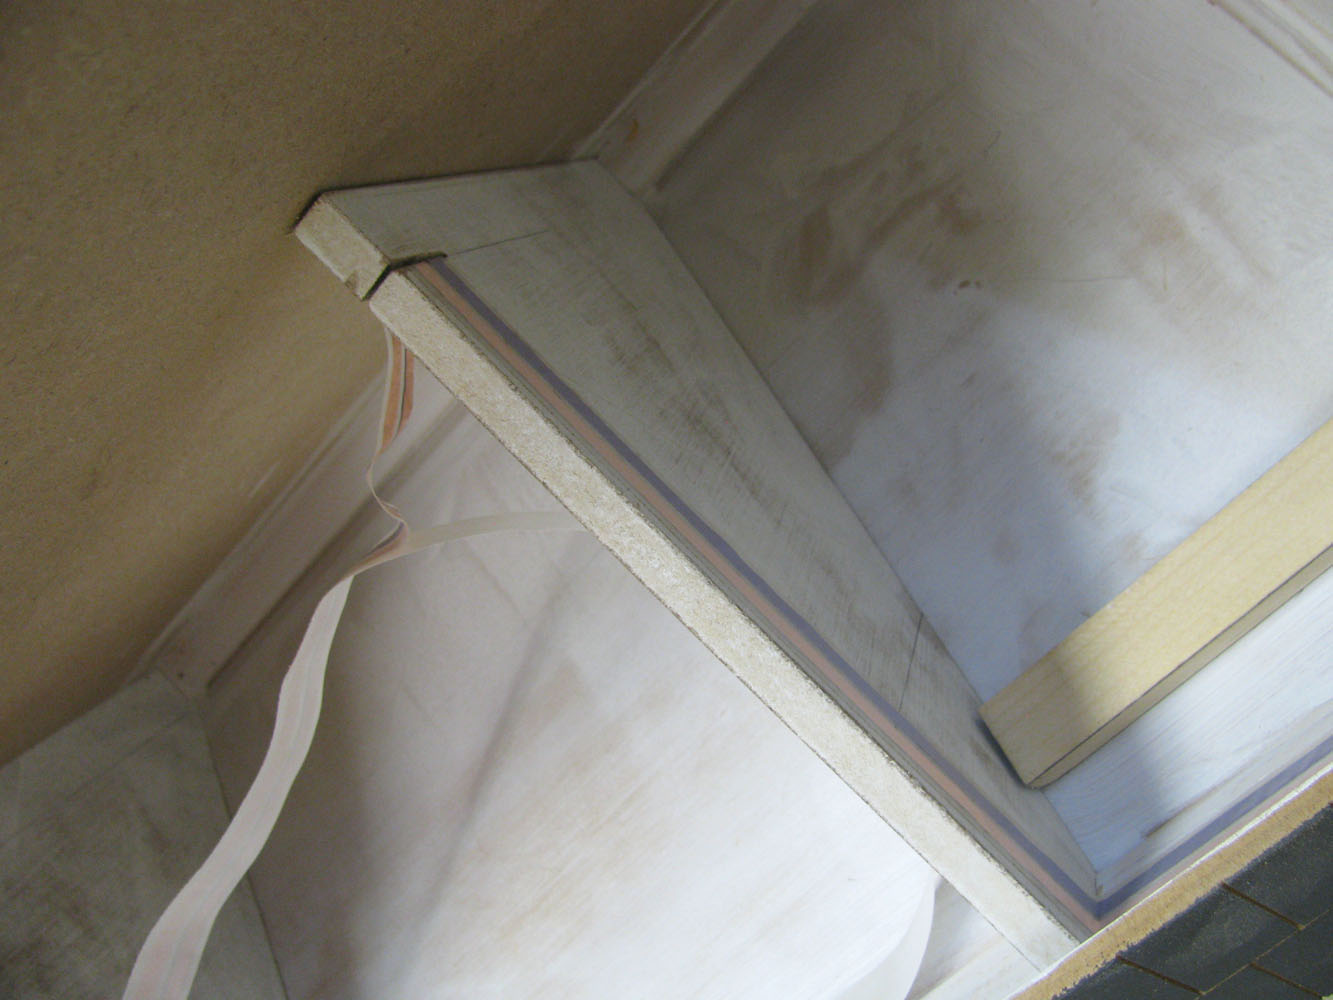
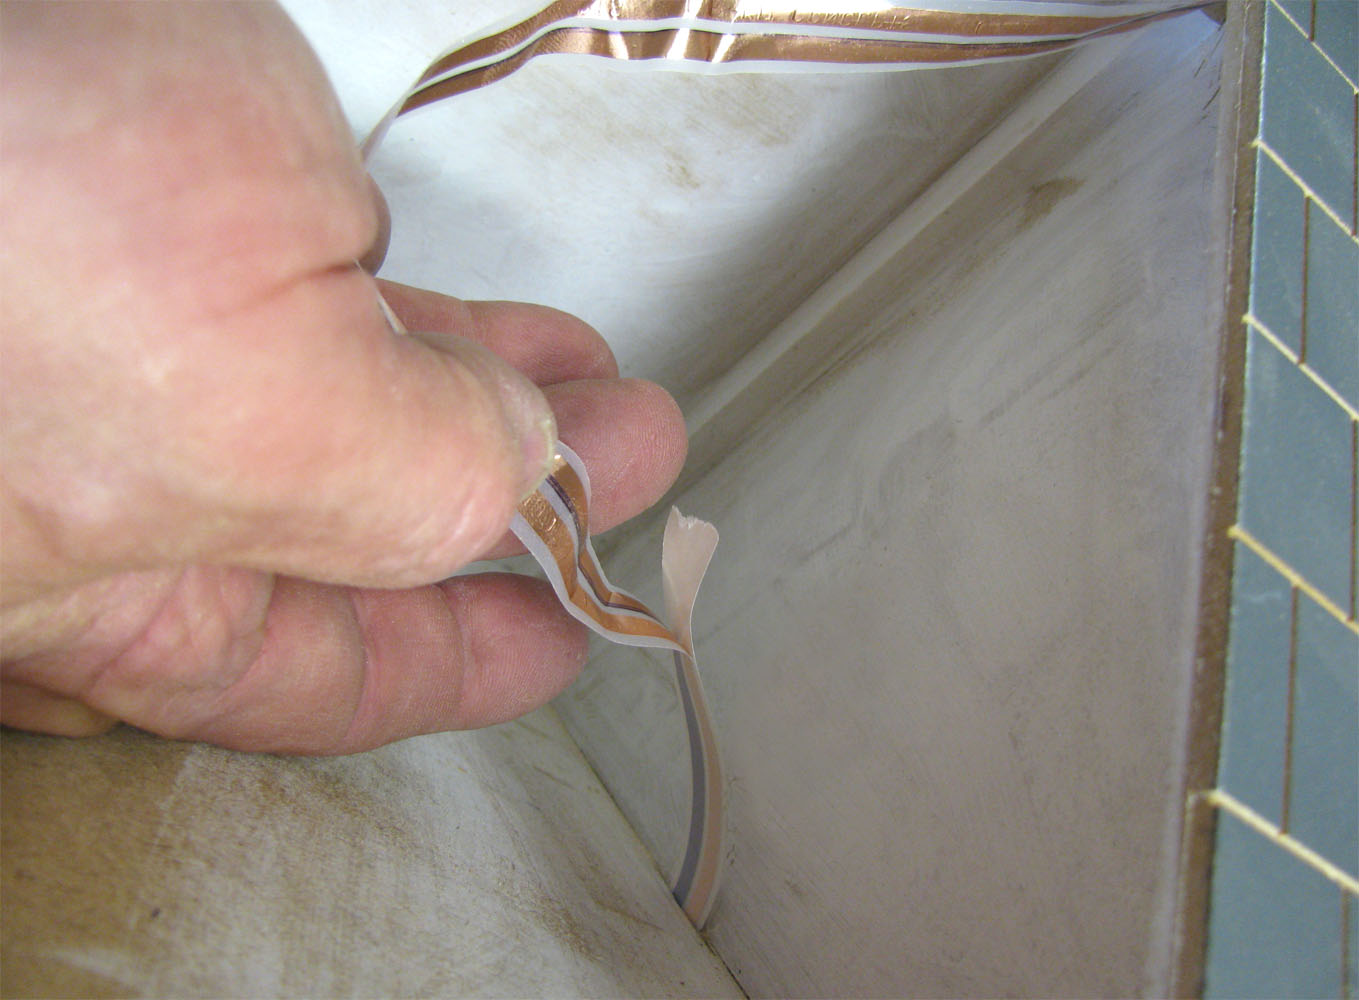
 Cut off the tapewire and stick it to the inside of the foundation
WiringAssets/242_lg.jpg
Cut off the tapewire and stick it to the inside of the foundation
WiringAssets/242_lg.jpg
 Cut off the tapewire and stick it to the inside of the foundation
WiringAssets/242_lg.jpg
Cut off the tapewire and stick it to the inside of the foundation
WiringAssets/242_lg.jpg