![]()
![]()
![]()
![]()
![]()
![]()
![]()
![]()
![]()
![]()
![]()
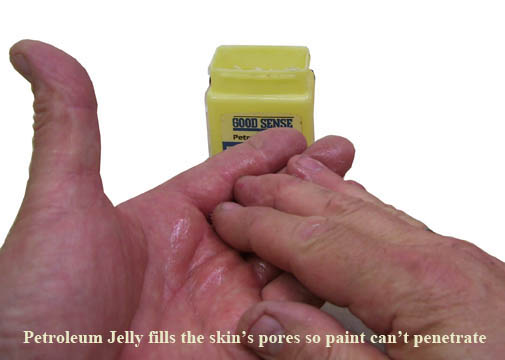

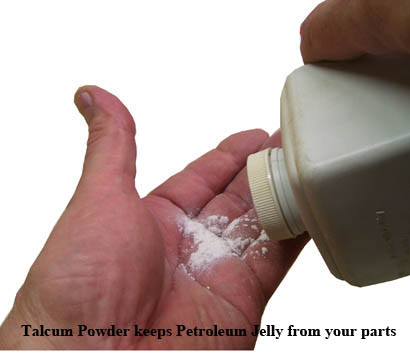
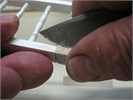
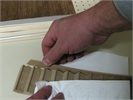
Protect your hands

DHTMLGoodies.com
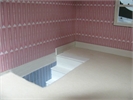
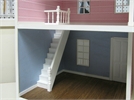
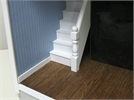
 Particularly if the second floor has a floor covering
StairsLanding/JFK/J-FK03_lg.jpg
Particularly if the second floor has a floor covering
StairsLanding/JFK/J-FK03_lg.jpg
Particularly if the second floor has a floor covering
StairsLanding/JFK/J-FK03_lg.jpg

DHTMLGoodies.com
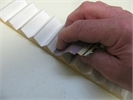 Sanding AFTER the first coat of paint is the key to smooth stairs
StairsLanding/JFK/J-FK09_lg.jpg
Sanding AFTER the first coat of paint is the key to smooth stairs
StairsLanding/JFK/J-FK09_lg.jpg
Sanding AFTER the first coat of paint is the key to smooth stairs
StairsLanding/JFK/J-FK09_lg.jpg


DHTMLGoodies.com
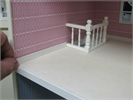
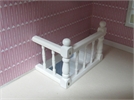
 Now the stairs can fit all the way to the top of the floor covering
StairsLanding/JFK/J-FK12_lg.jpg
Now the stairs can fit all the way to the top of the floor covering
StairsLanding/JFK/J-FK12_lg.jpg
Now the stairs can fit all the way to the top of the floor covering
StairsLanding/JFK/J-FK12_lg.jpg
DHTMLGoodies.com
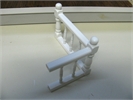
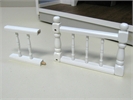
 Fit the J-FK Banister to the stairs (this is the Painted J-FK-P Banister)
StairsLanding/JFK/J-FK13_lg.jpg
Fit the J-FK Banister to the stairs (this is the Painted J-FK-P Banister)
StairsLanding/JFK/J-FK13_lg.jpg
Fit the J-FK Banister to the stairs (this is the Painted J-FK-P Banister)
StairsLanding/JFK/J-FK13_lg.jpg
DHTMLGoodies.com
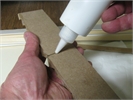
 Scrape a narrow section of wood for the glue to grab
StairsLanding/JFK/J-FK14_lg.jpg
Scrape a narrow section of wood for the glue to grab
StairsLanding/JFK/J-FK14_lg.jpg
Scrape a narrow section of wood for the glue to grab
StairsLanding/JFK/J-FK14_lg.jpg

DHTMLGoodies.com
 ... but this set has the dowels for the other orientation
StairsLanding/JFK/J-FK21_lg.jpg
... but this set has the dowels for the other orientation
StairsLanding/JFK/J-FK21_lg.jpg
... but this set has the dowels for the other orientation
StairsLanding/JFK/J-FK21_lg.jpg
DHTMLGoodies.com
 I will fill the dowel holes with spackle and let it dry
StairsLanding/JFK/J-FK22_lg.jpg
I will fill the dowel holes with spackle and let it dry
StairsLanding/JFK/J-FK22_lg.jpg
I will fill the dowel holes with spackle and let it dry
StairsLanding/JFK/J-FK22_lg.jpg