|


This slideshow supports but does not replace
the house assembly instructions |
Housebody Assembly
 Assemble the Imagination Dollhouse Housebody
WiringAssets/000_lg.jpg
Assemble the Imagination Dollhouse Housebody
WiringAssets/000_lg.jpg
DHTMLGoodies.com
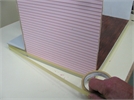
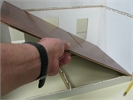
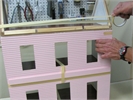
 Glue the Front into the Porch Base groove
Housebody/Assembly01_lg.jpg
Glue the Front into the Porch Base groove
Housebody/Assembly01_lg.jpg
DHTMLGoodies.com
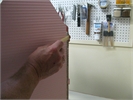
 Clean paint from the grooves and edges
Housebody/Assembly02_lg.jpg
Clean paint from the grooves and edges
Housebody/Assembly02_lg.jpg
DHTMLGoodies.com
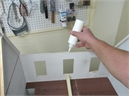
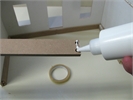
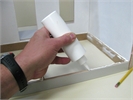
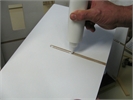
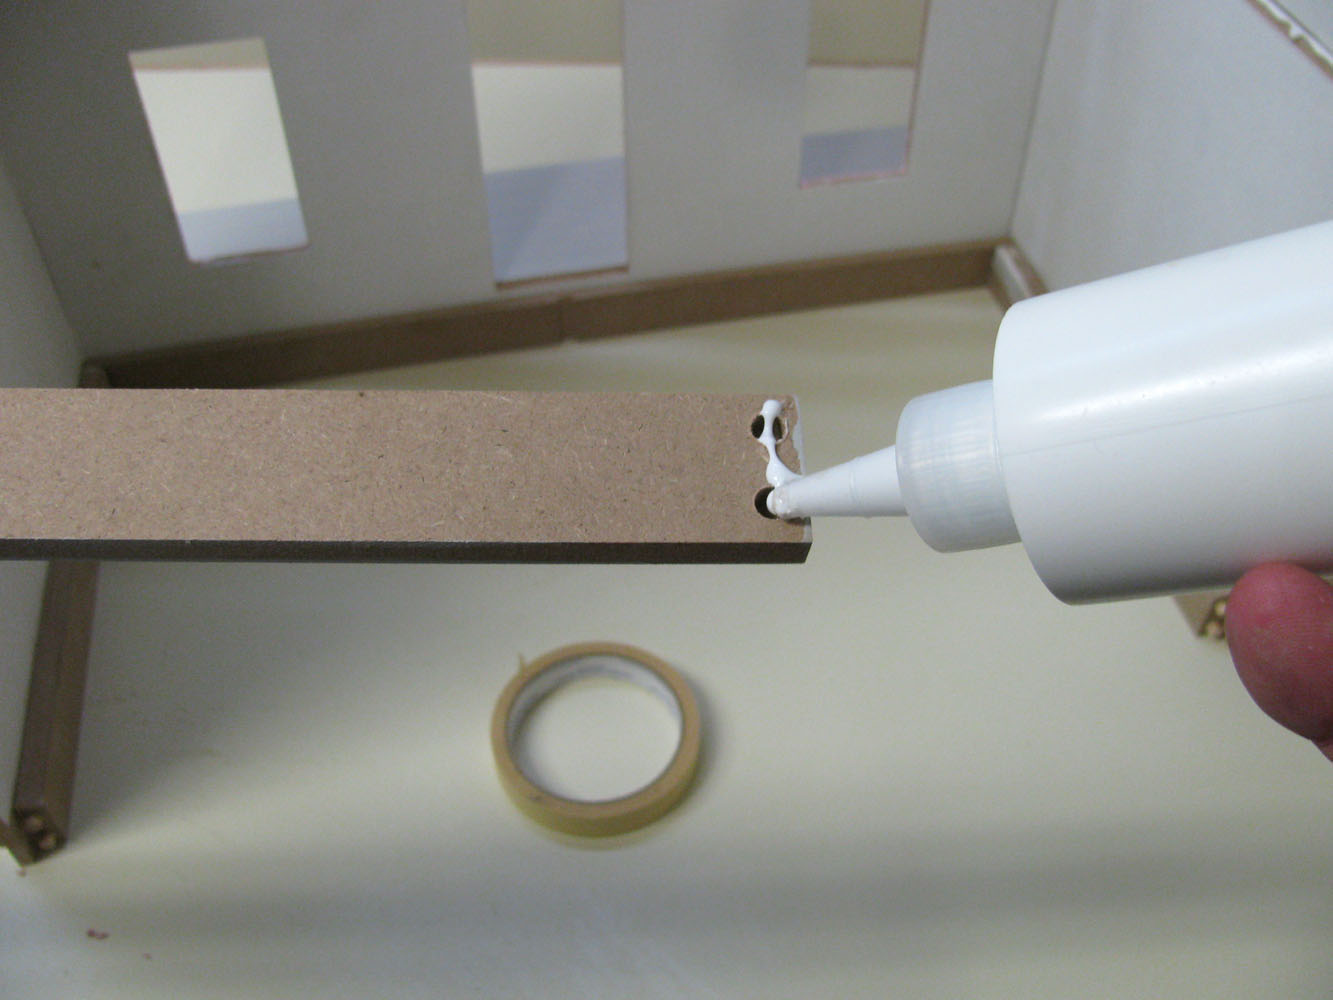
 Spread glue on the Foundation Dowels
Housebody/Assembly04_lg.jpg
Spread glue on the Foundation Dowels
Housebody/Assembly04_lg.jpg
DHTMLGoodies.com
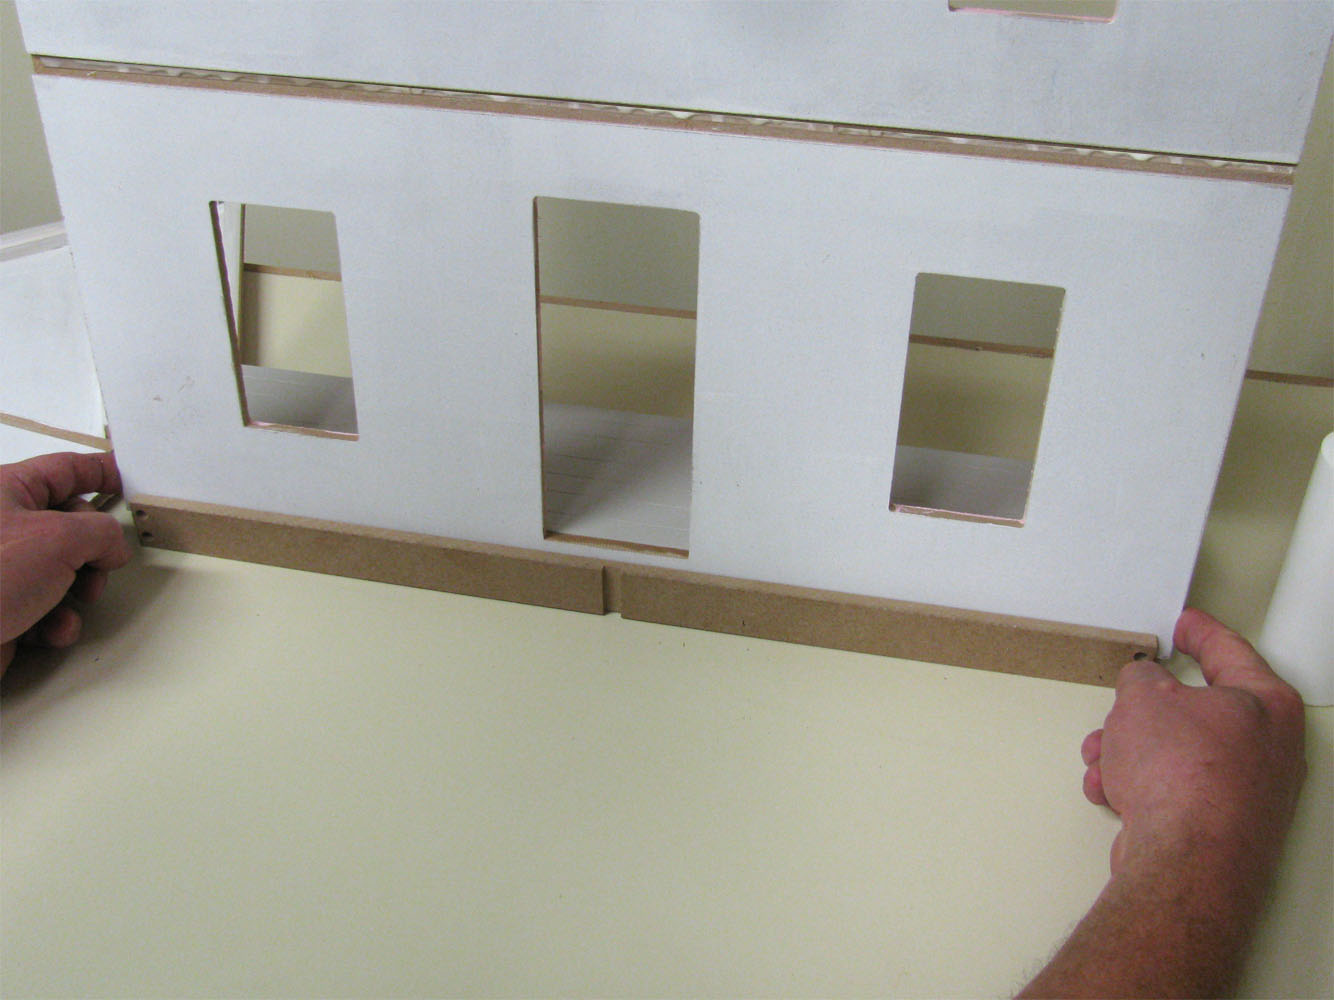
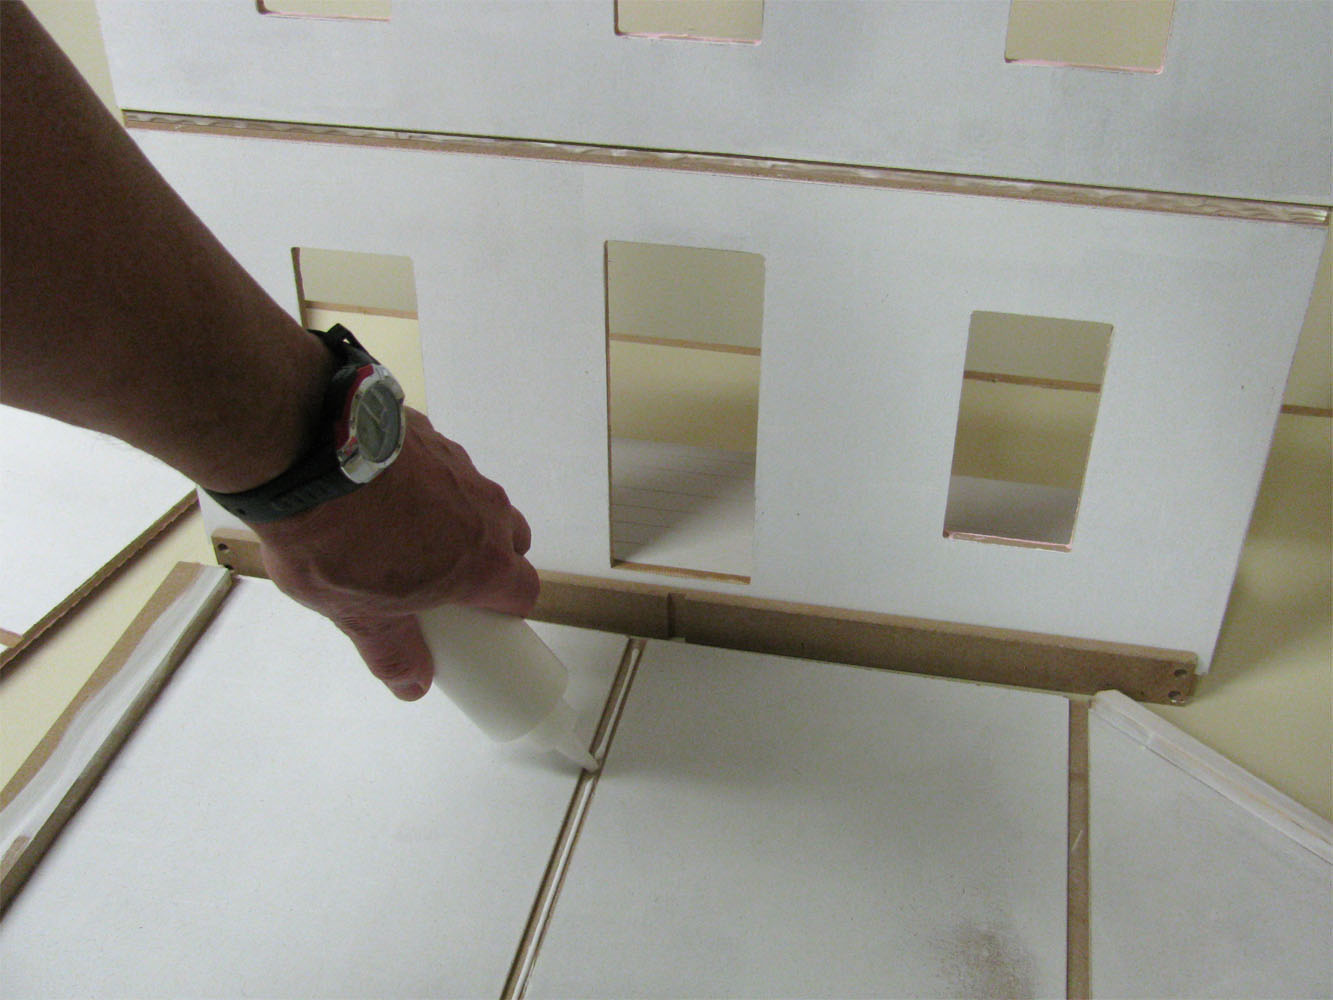
 Spread glue on the front edge of the Side
Housebody/Assembly05_lg.jpg
Spread glue on the front edge of the Side
Housebody/Assembly05_lg.jpg
DHTMLGoodies.com
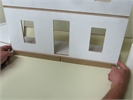
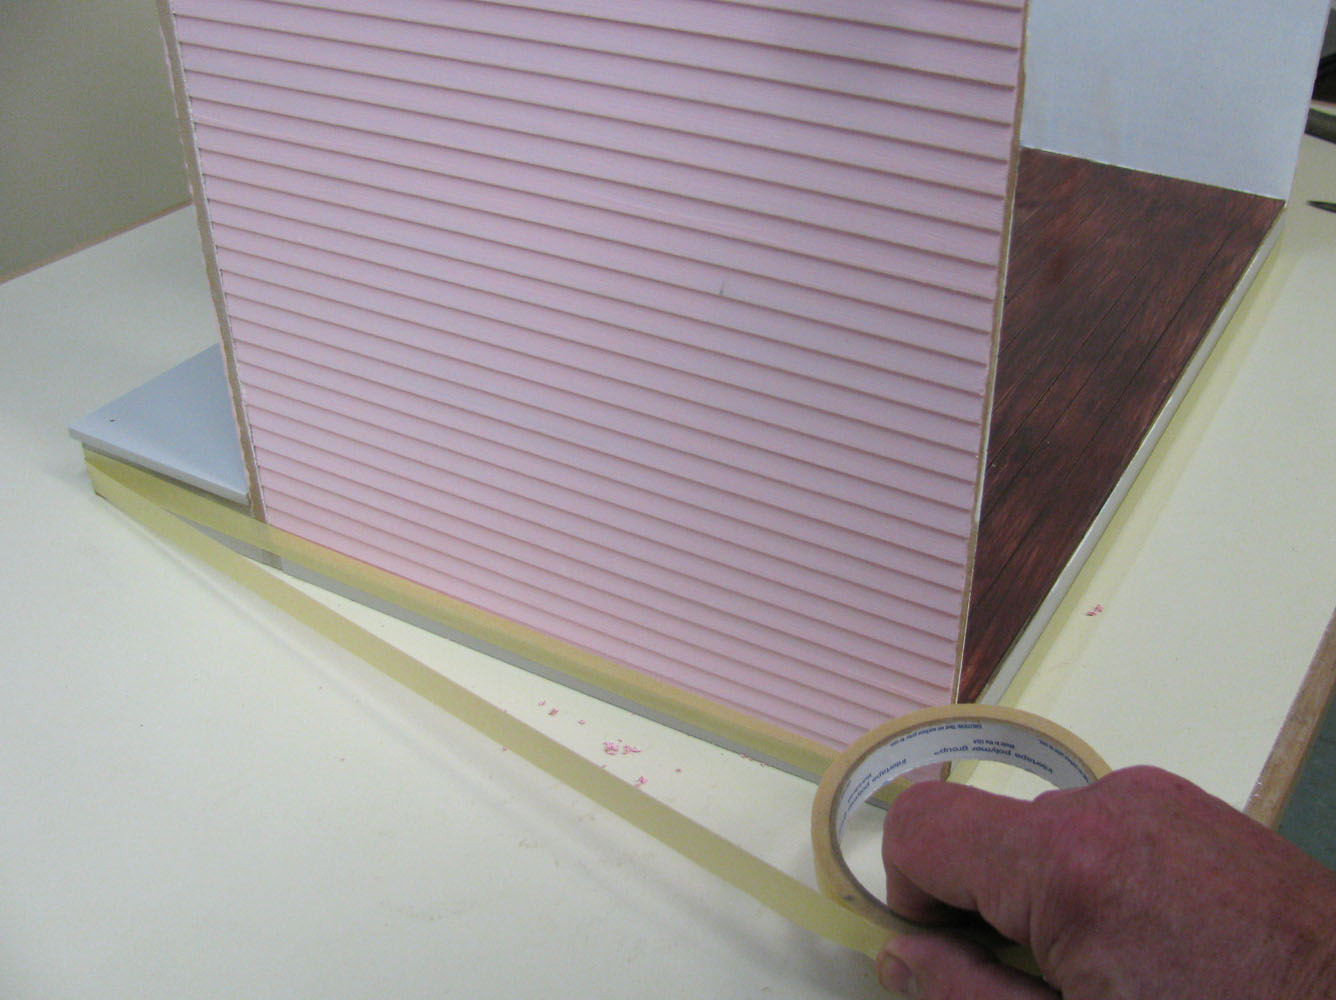
 Be gentle until the Sides are taped to the front
Housebody/Assembly06_lg.jpg
Be gentle until the Sides are taped to the front
Housebody/Assembly06_lg.jpg
DHTMLGoodies.com
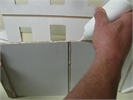
 Glue both Sides to the Front & Porch
Housebody/Assembly08_lg.jpg
Glue both Sides to the Front & Porch
Housebody/Assembly08_lg.jpg
DHTMLGoodies.com
 Have a damp rag and a dry rag for cleaning extra glue
Housebody/Assembly10_lg.jpg
Have a damp rag and a dry rag for cleaning extra glue
Housebody/Assembly10_lg.jpg
DHTMLGoodies.com
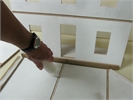
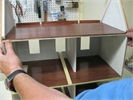
 Tighten the house (twice around) around the Foundation
Housebody/Assembly17_lg.jpg
Tighten the house (twice around) around the Foundation
Housebody/Assembly17_lg.jpg
DHTMLGoodies.com
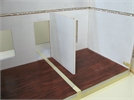 The Divider's notches are to the back
Housebody/Assembly19_lg.jpg
The Divider's notches are to the back
Housebody/Assembly19_lg.jpg
DHTMLGoodies.com
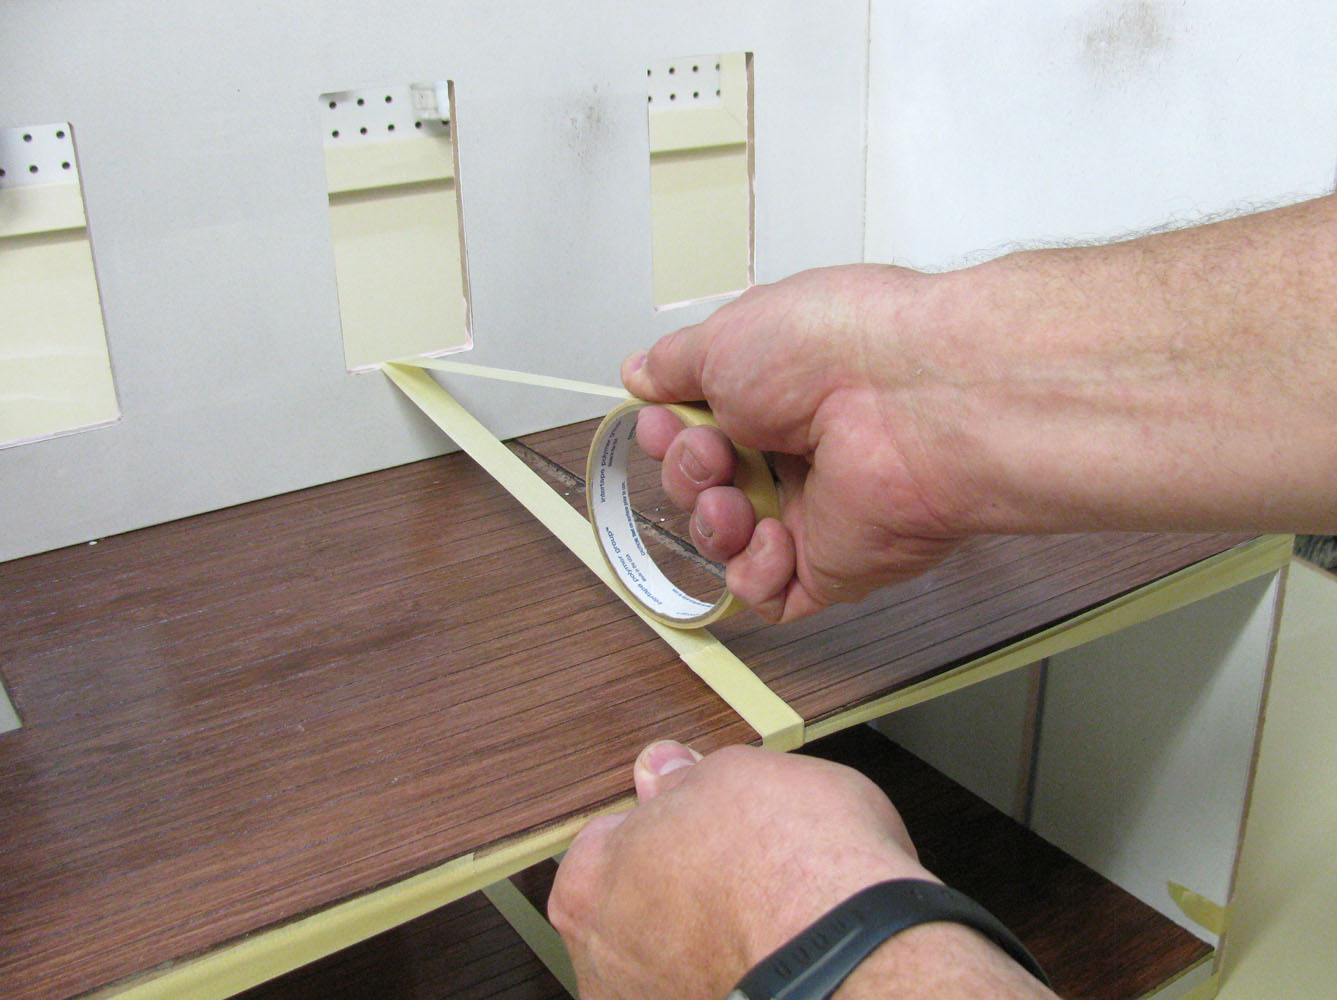
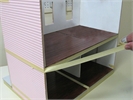 Tighten the house (twice around) at the Mid Floor
Housebody/Assembly22_lg.jpg
Tighten the house (twice around) at the Mid Floor
Housebody/Assembly22_lg.jpg
DHTMLGoodies.com
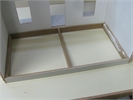
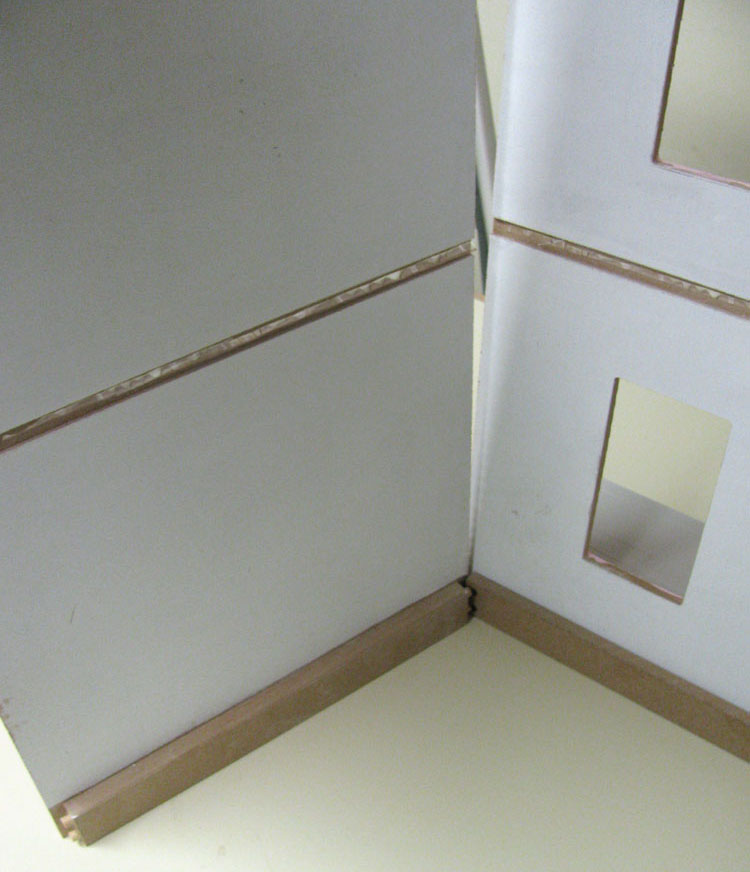
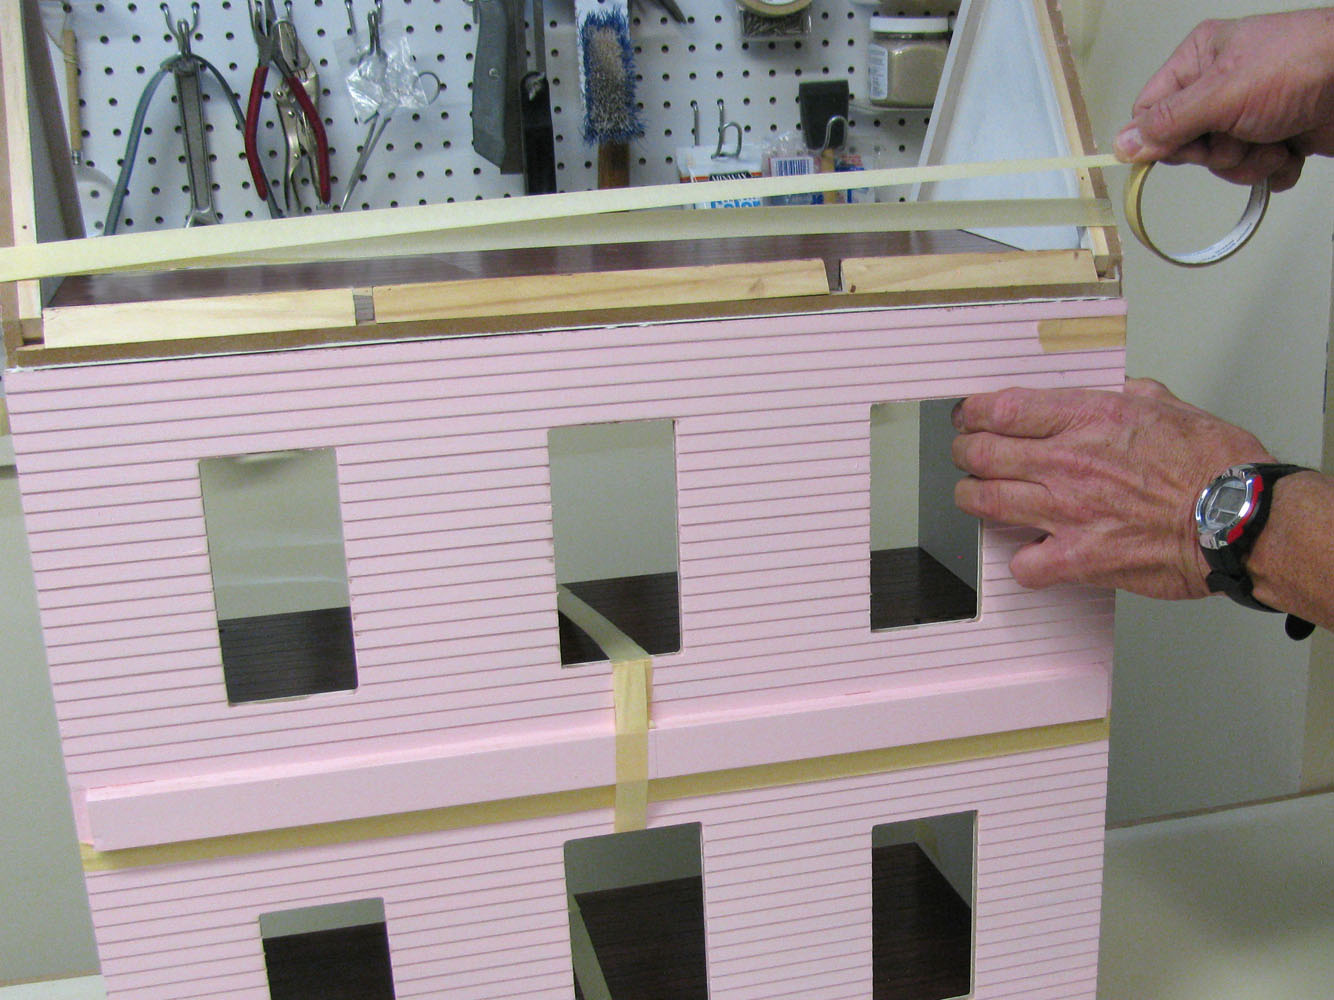
 Adjust the Sides on both ends of the Front
Housebody/Assembly24_lg.jpg
Adjust the Sides on both ends of the Front
Housebody/Assembly24_lg.jpg
DHTMLGoodies.com
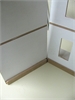
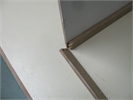
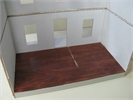
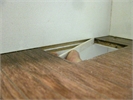
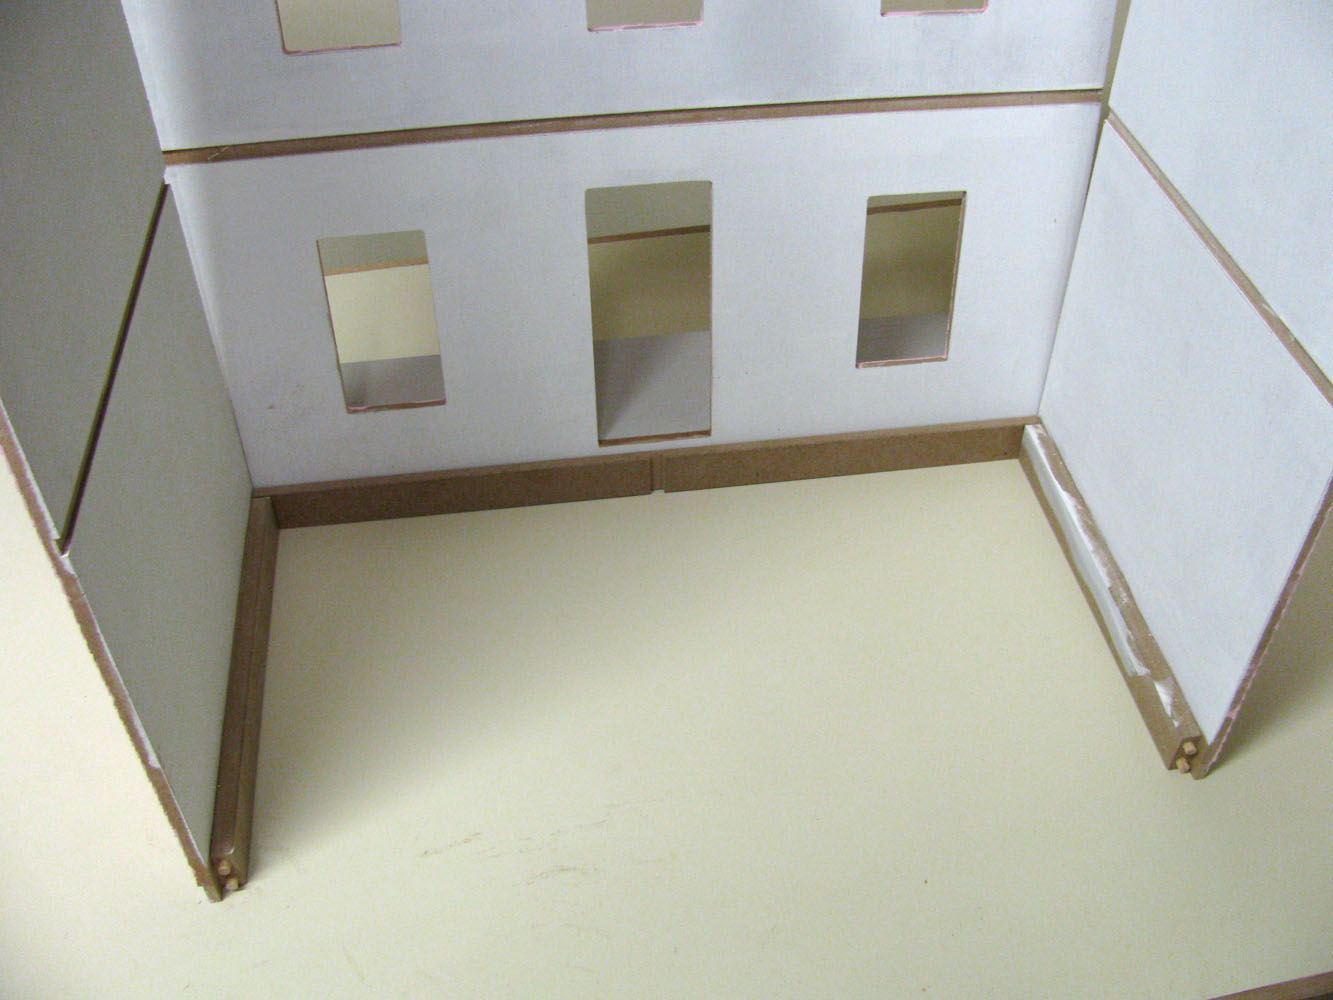
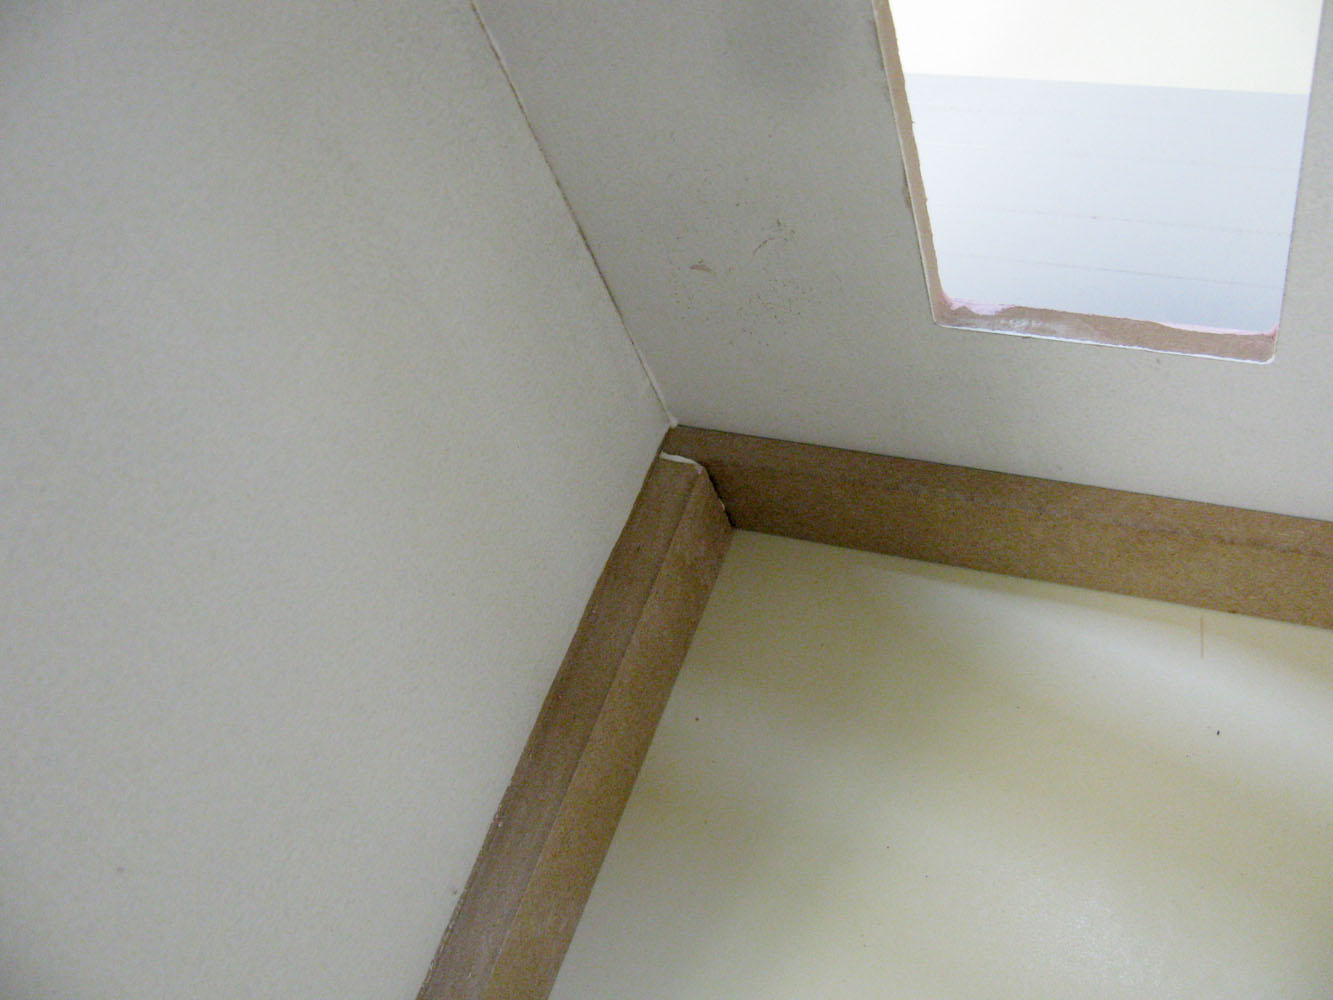
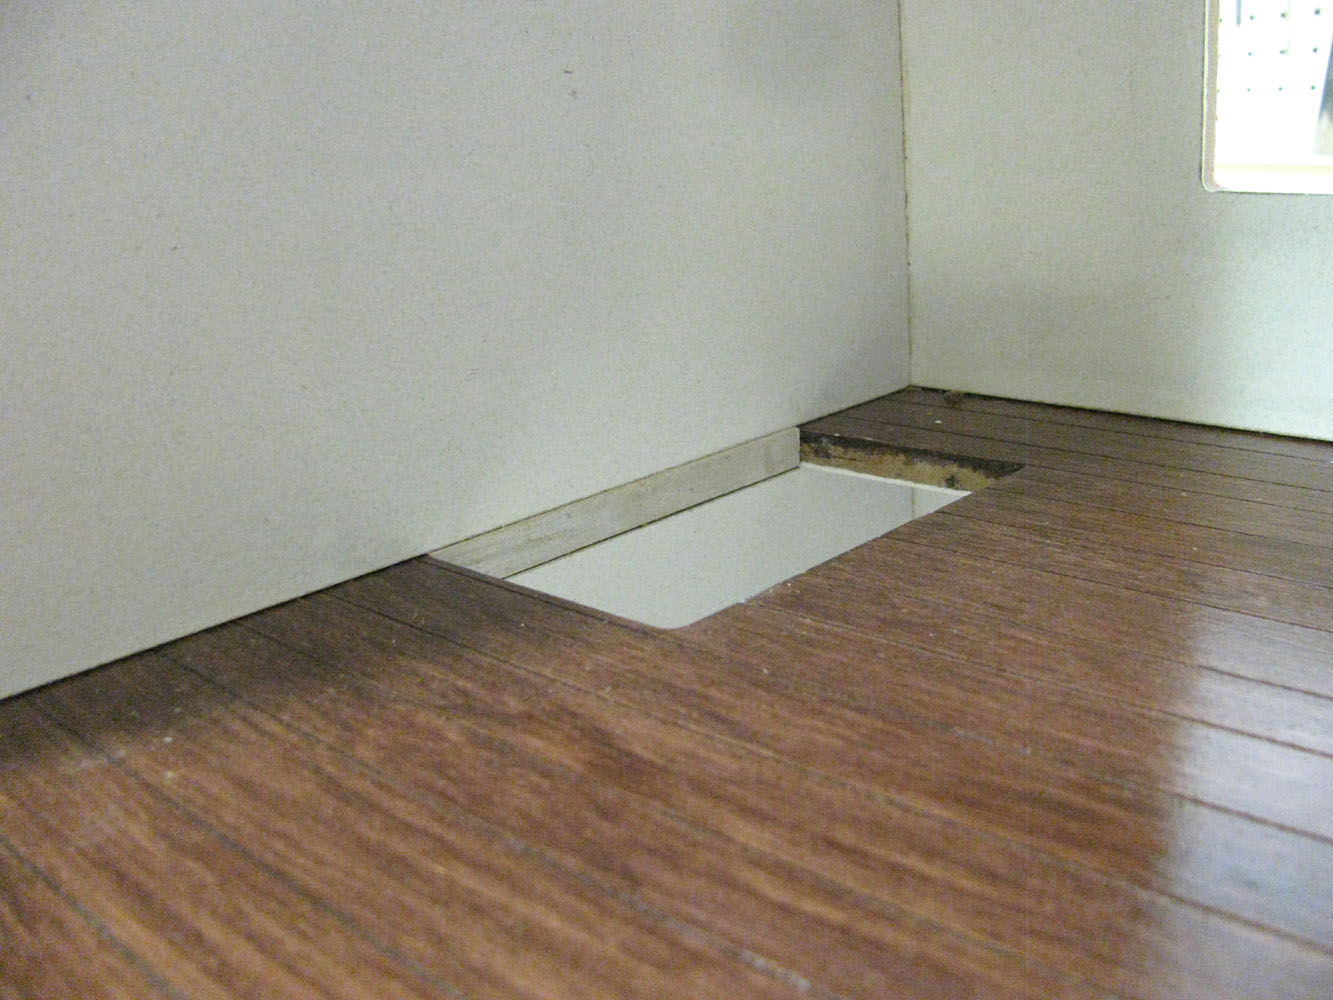
 Clean the Grooves (floor and ceiling)
Housebody/Assembly25_lg.jpg
Clean the Grooves (floor and ceiling)
Housebody/Assembly25_lg.jpg
DHTMLGoodies.com
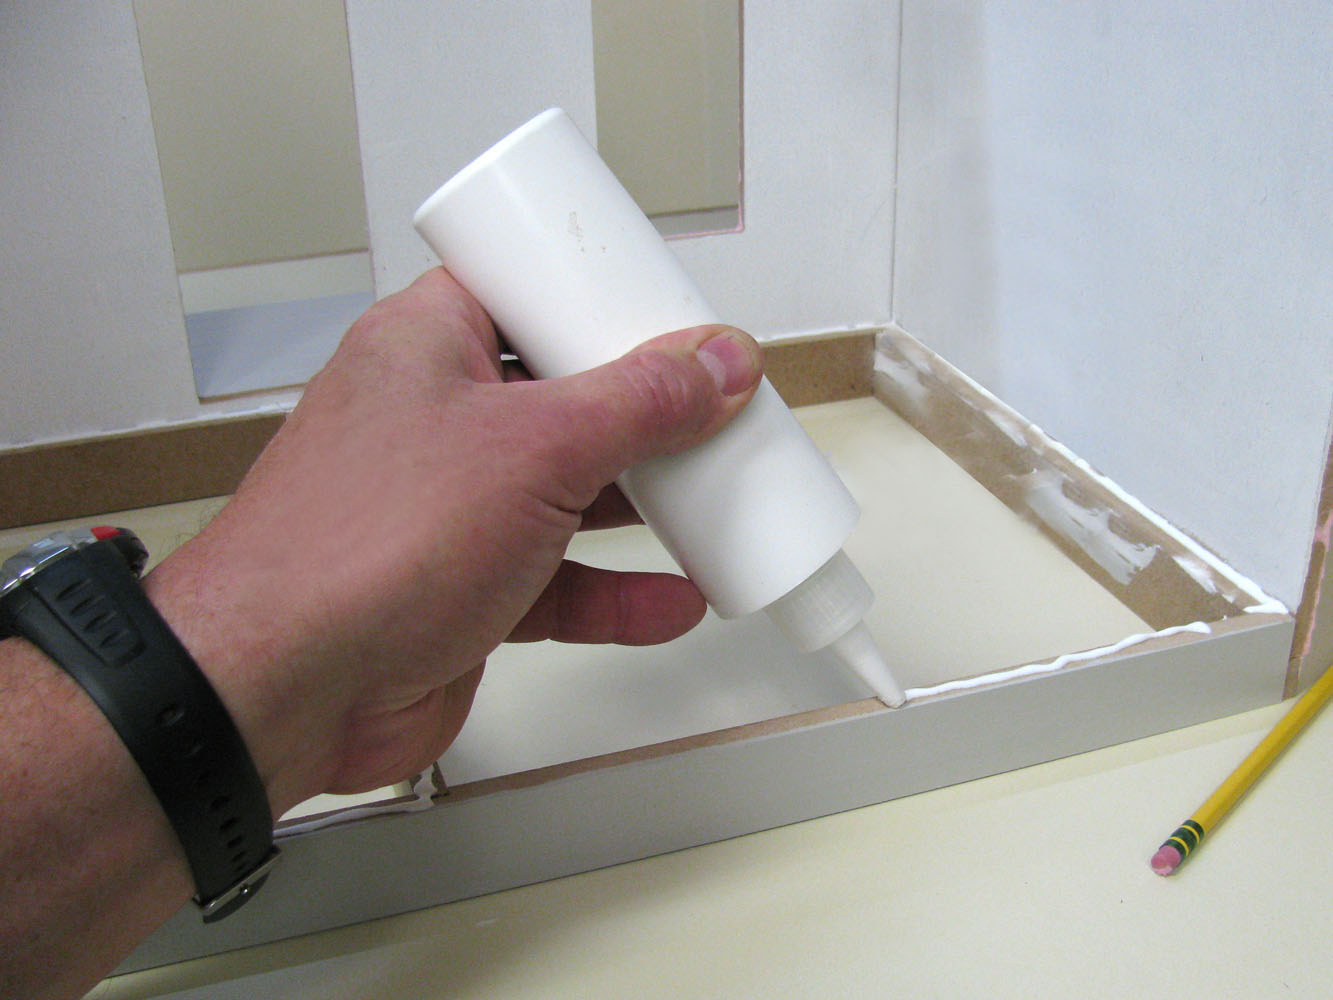
 Spread glue on the top edge of the Front
Housebody/Assembly26_lg.jpg
Spread glue on the top edge of the Front
Housebody/Assembly26_lg.jpg
DHTMLGoodies.com
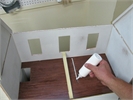 Spread glue in the grooves, floor and ceiling
Housebody/Assembly27_lg.jpg
Spread glue in the grooves, floor and ceiling
Housebody/Assembly27_lg.jpg
DHTMLGoodies.com
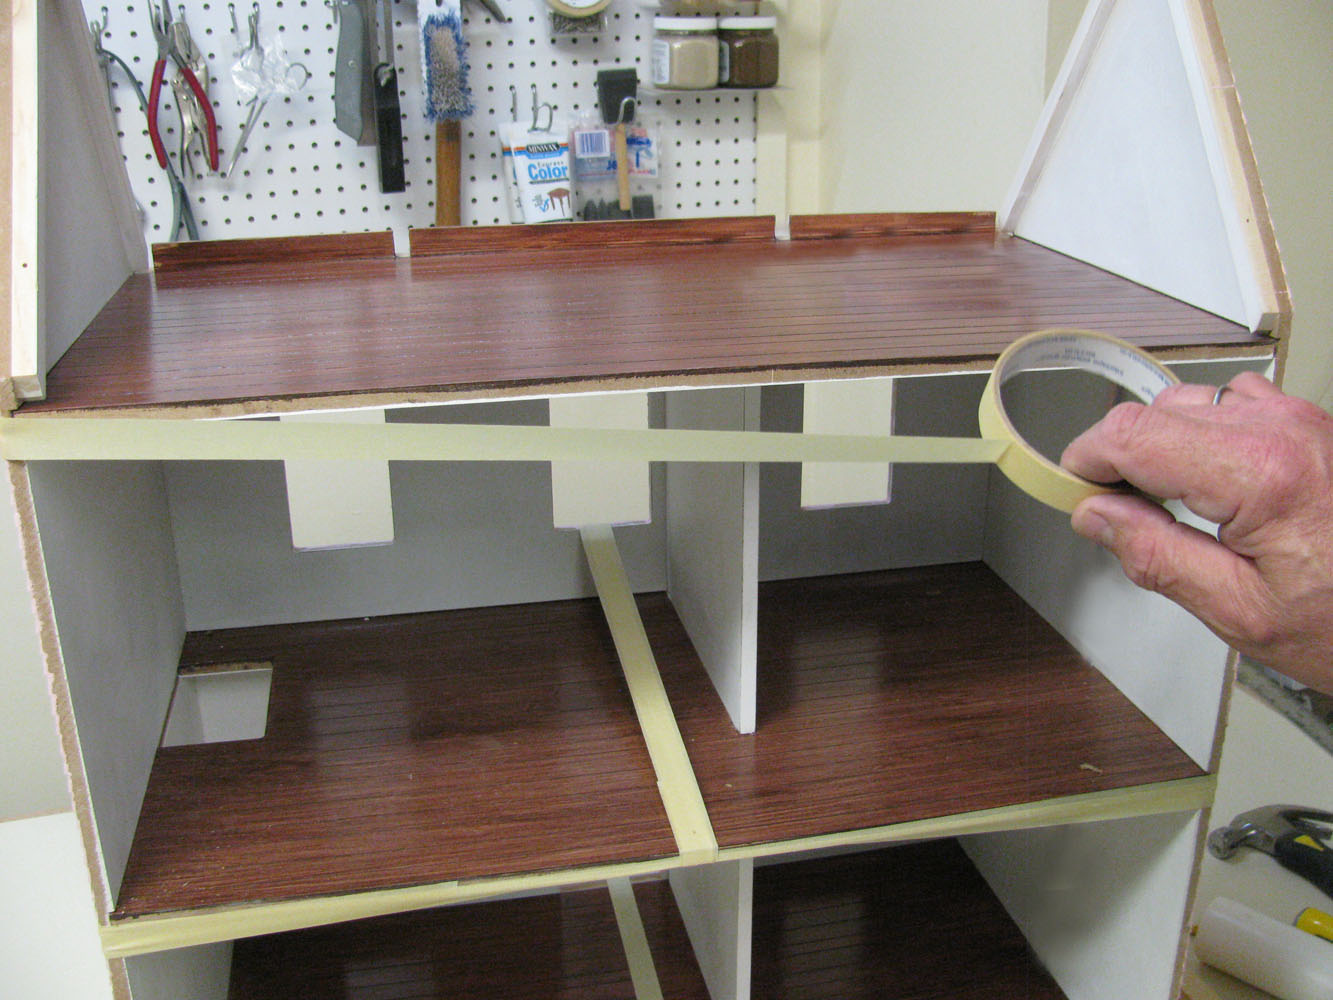
 Tighten the house around the Top Floor
Housebody/Assembly31_lg.jpg
Tighten the house around the Top Floor
Housebody/Assembly31_lg.jpg
DHTMLGoodies.com
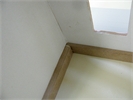
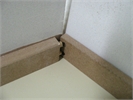
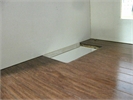
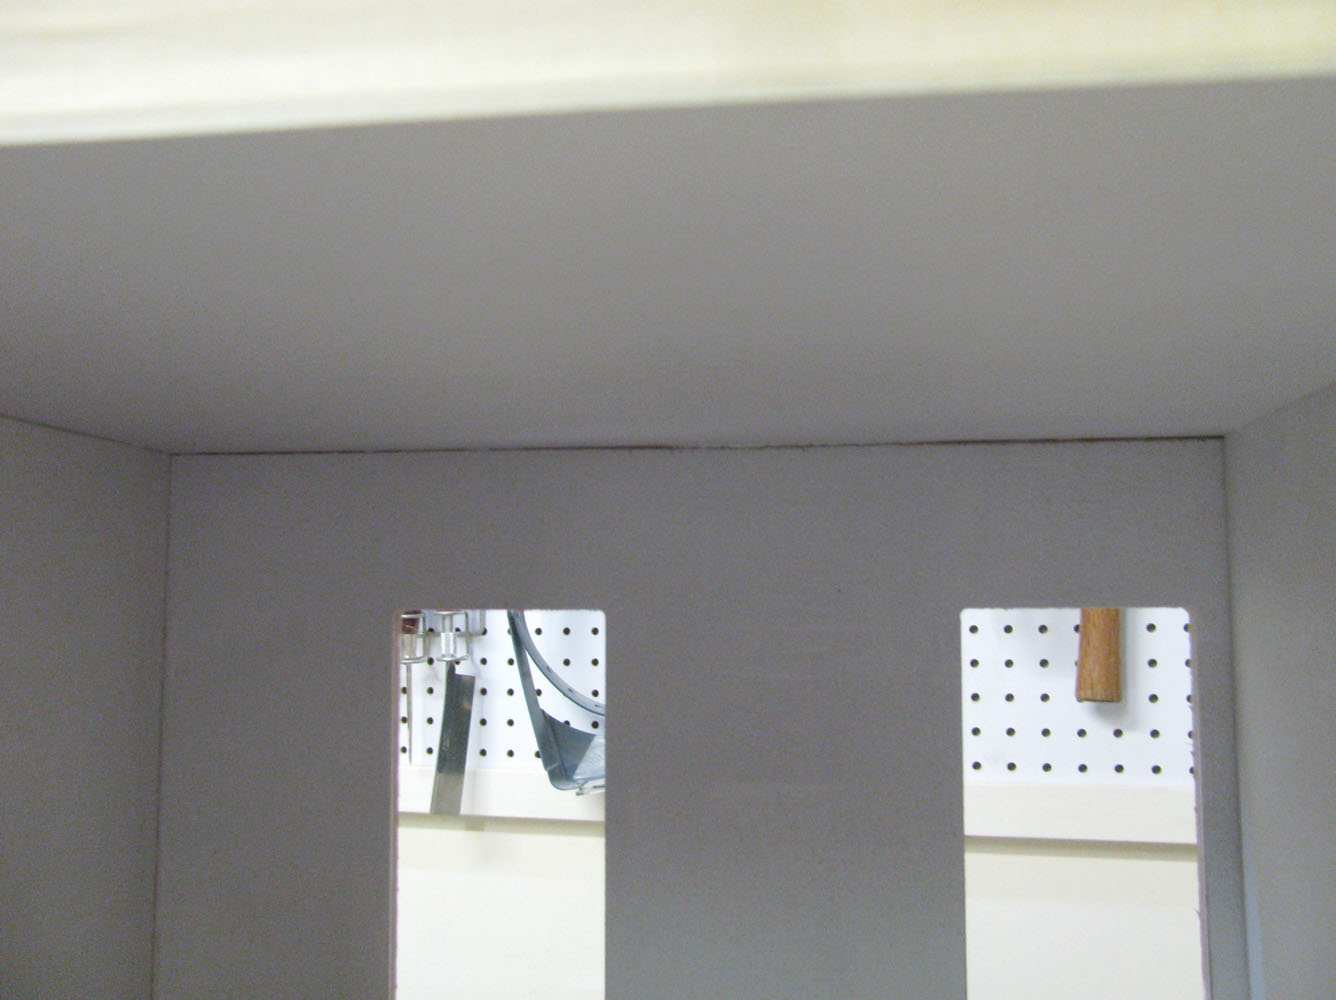
 A good fit! No light shows above the Front
Housebody/Assembly35_lg.jpg
A good fit! No light shows above the Front
Housebody/Assembly35_lg.jpg
DHTMLGoodies.com
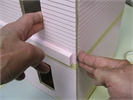
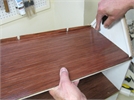
 Adjust the Sides on both ends of the Front
Housebody/Assembly36_lg.jpg
Adjust the Sides on both ends of the Front
Housebody/Assembly36_lg.jpg
DHTMLGoodies.com
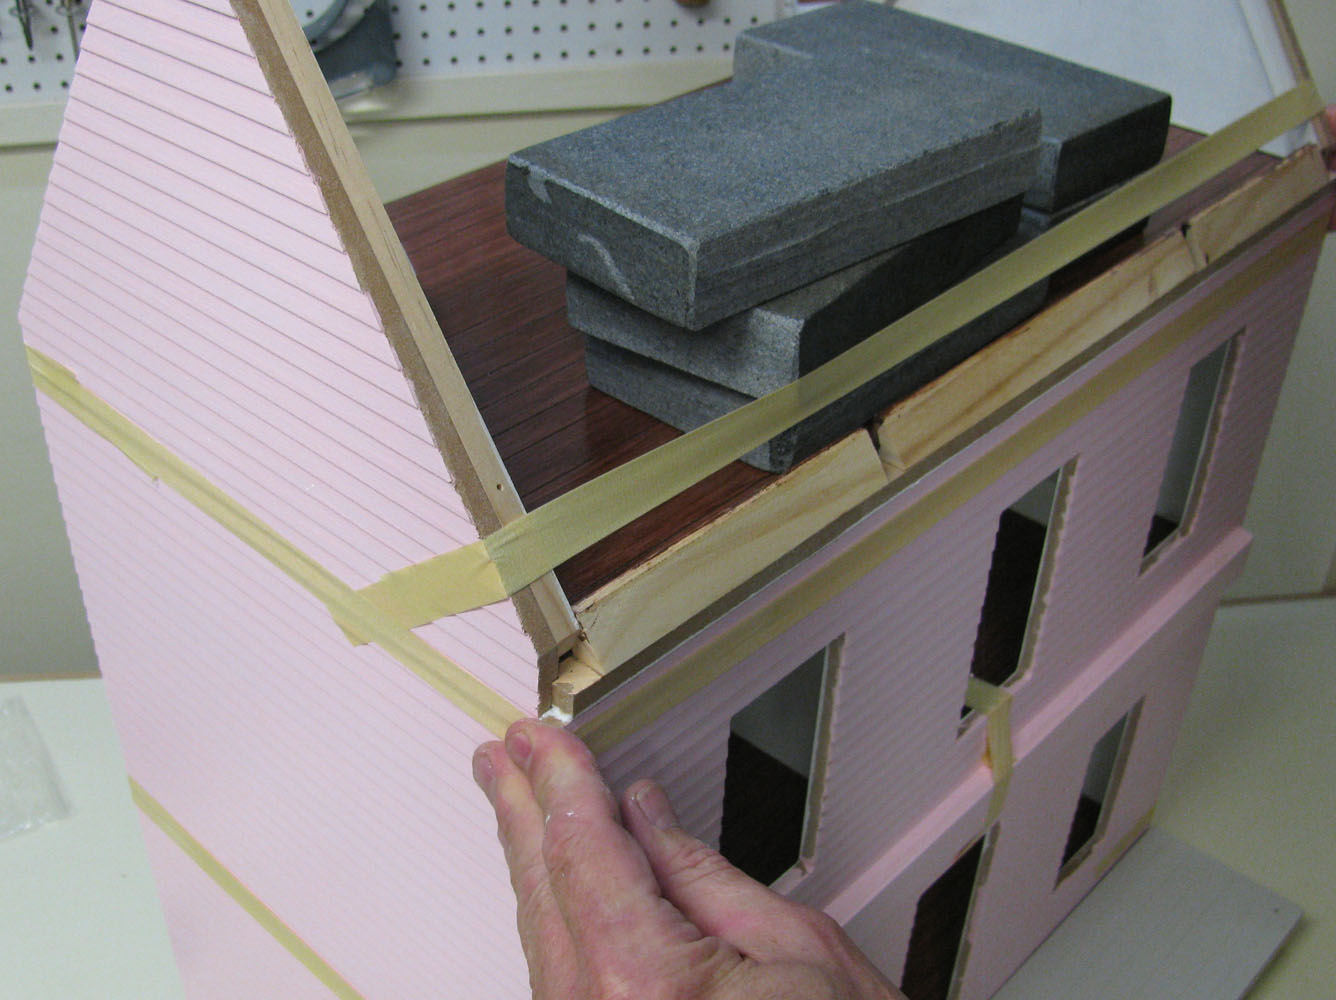
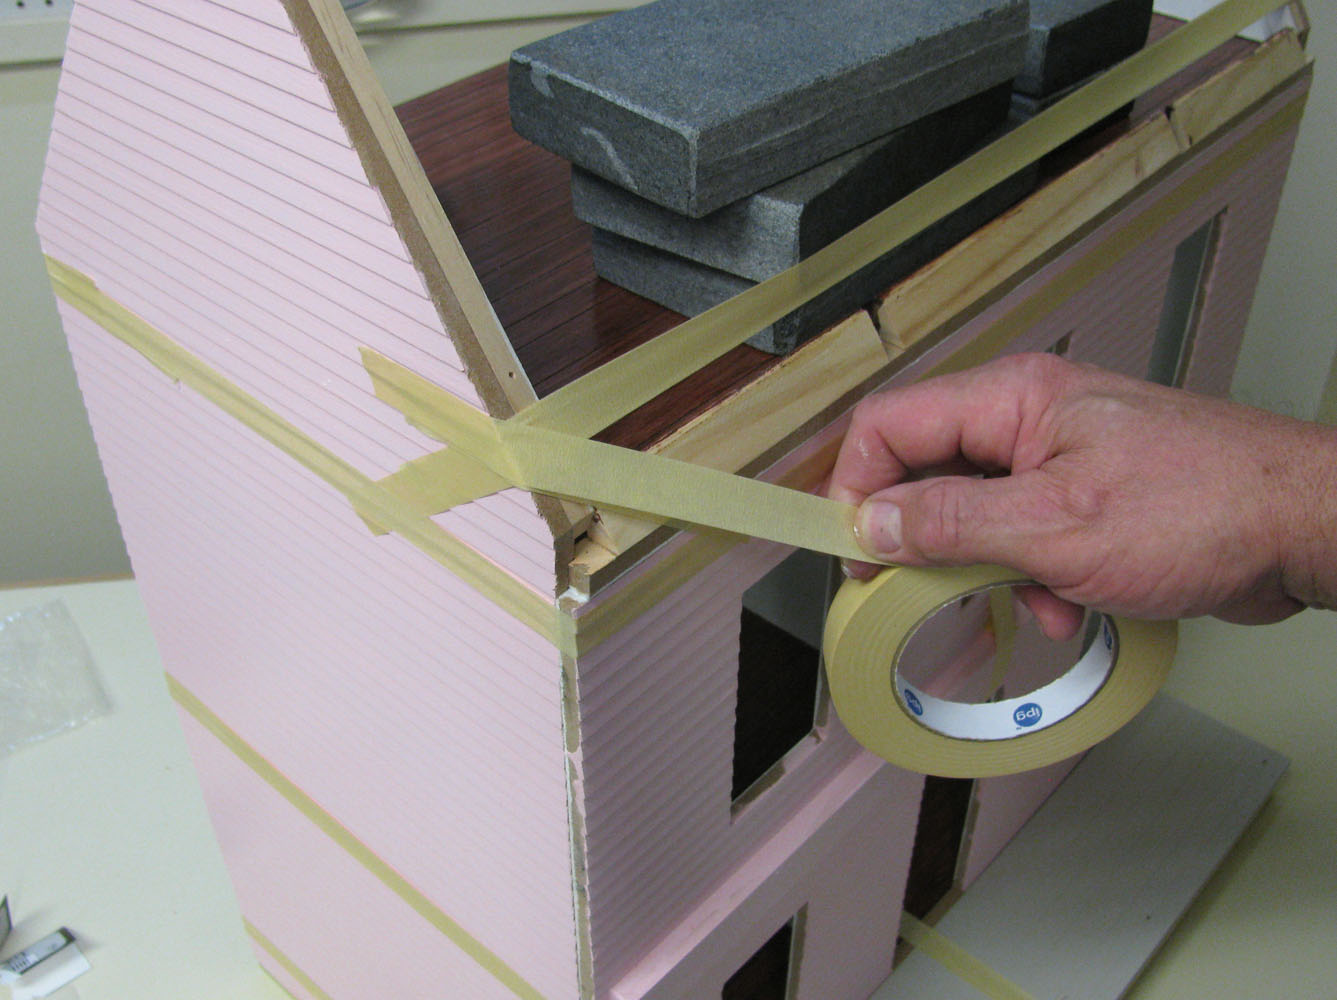
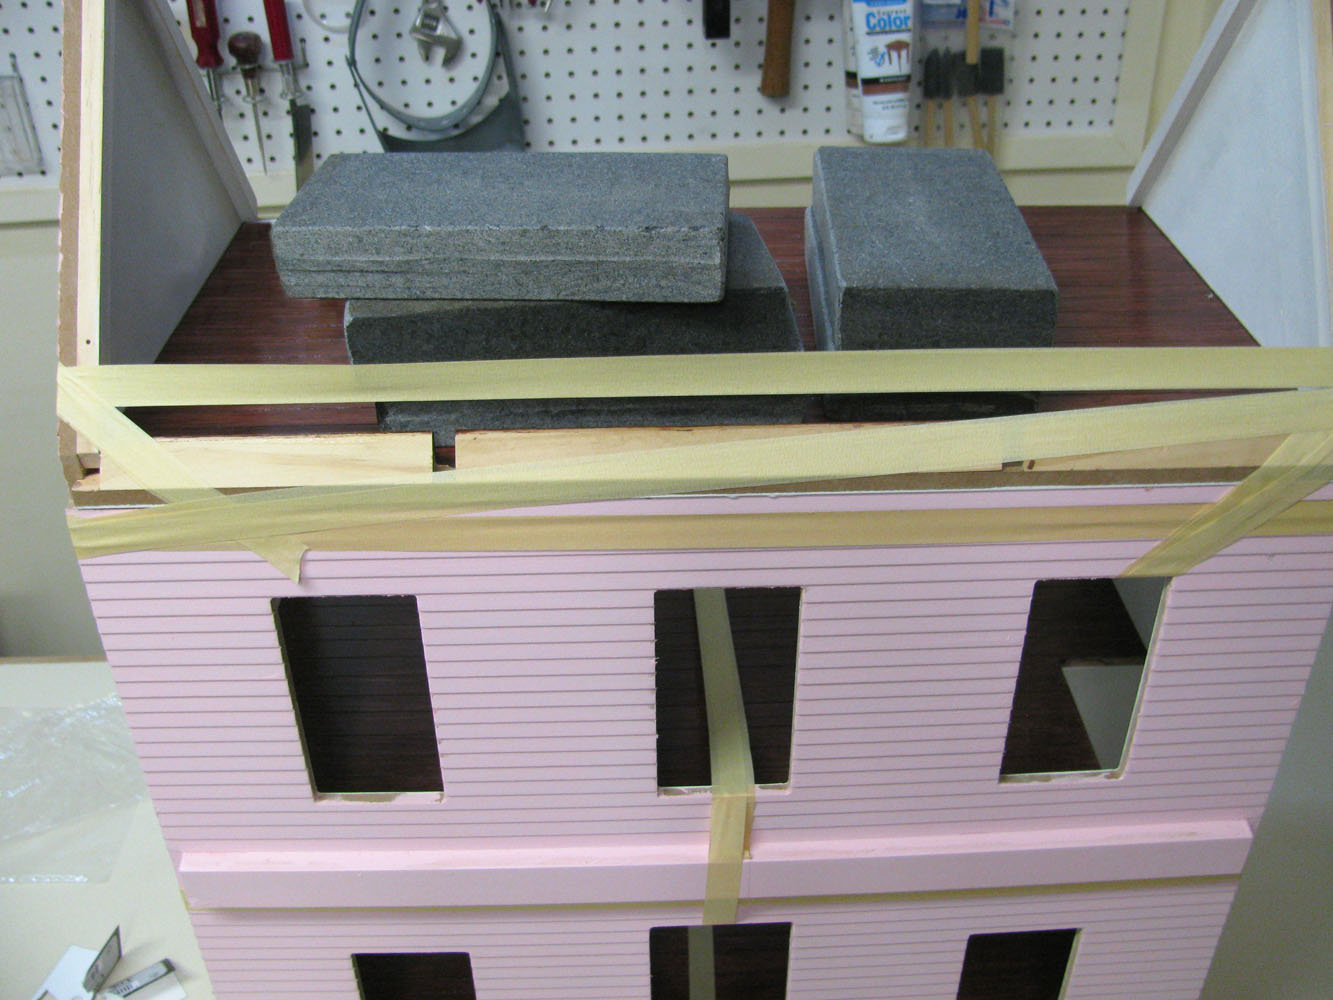
 Tape and weight while the glue dries
Housebody/Assembly38_lg.jpg
Tape and weight while the glue dries
Housebody/Assembly38_lg.jpg
|


